Skybox
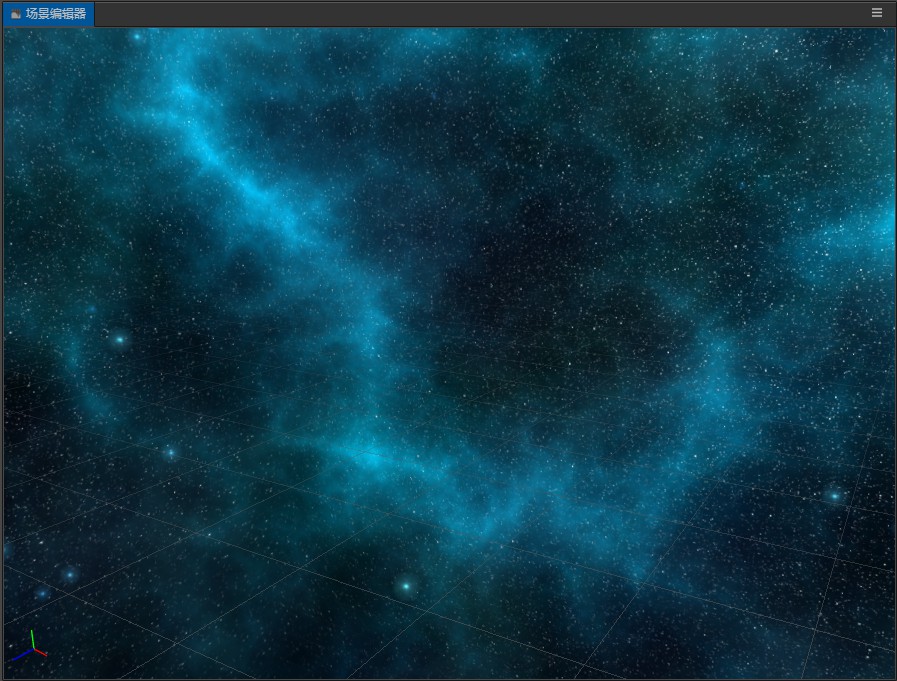
Skybox, in video games, is a cube that wraps the entire scene. The Skybox can render the atmosphere of the entire environment and express the environment of the entire scene. The Skybox is also a very important part in the PBR-based workflow.
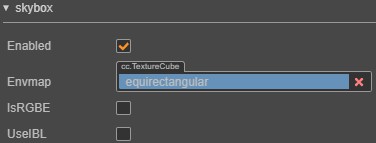
The Skybox in Cocos Creator 3D, is shown below:
Enabling Skybox
Enabling the Skybox effect in Cocos Creator 3D, takes just one step:
The Skybox panel is on the Scene node's Properties panel. Check the Enabled property to enable the Skybox.
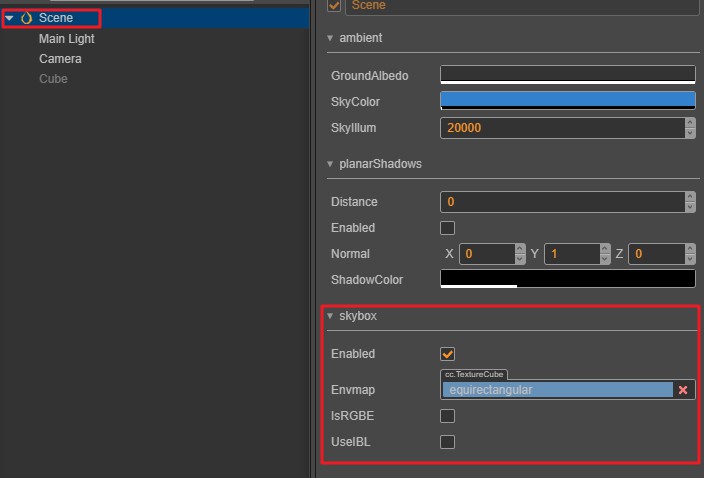
Note: When the Envmap property of Skybox is empty, the default pixel map will be used and displayed.
Modify the environment map of the Skybox
Modifying the environment map of the Skybox in Cocos Creator 3D is done by setting a asset of type TextureCube. Importing from a asset into a TextureCube and setting it into a Skybox can be done in the following steps:
- Import picture assets.
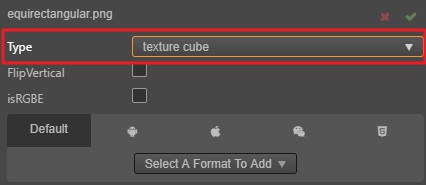
Note: Here is an example of a panorama, we will introduce how to make a
CubeMaplater in this documentation. - Select the imported panorama asset and set it to the TextureCube type in the Inspector panel on the right, as shown in this figure:
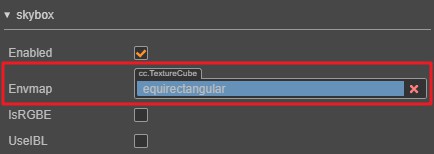
- Drag the TextureCube asset to the Envmap property on the Skybox's Inspector Panel.
Skybox panel
The following describes all the properties of the Skybox panel:
| Properties | Explanation |
|---|---|
| enabled | whether to enable Skybox |
| envmap | environment map, type is TextureCube |
| isRGBE | whether the pixel format of the environment map is RGBE |
| useIBL | whether to use ambient light |
CubeMap
CubeMap is a kind of environment map asset for a Skybox. It is composed of map assets of six faces on a cube. It can be used as a TextureCube asset.
Making and applying a CubeMap
To make a CubeMap in Cocos Creator 3D and set it to a Skybox, follow these steps:
- Create a new CubeMap asset, and import the six texture map assets prepared in advance, and set these texture assets to the Texture type.
Drag the imported texture assets into the corresponding input box, and click the green check button when you are finished.

Finally, drag the completed CubeMap asset into the Envmap property box of the Skybox. This completes the application of a CubeMap.
Note: Faces that are not mapped in CubeMap. It will be filled with a default texture.