Cocos Creator
Engine Customization Workflow
The engine part of Cocos Creator 3.x includes TypeScript and engine-native. The engine is all open-source on GitHub. They are in the same Github repo. The address is:
It is recommended to maintain custom code using the GitHub's Fork workflow. This workflow allows developers to easily update custom engine parts when the engine is upgraded in the future. This workflow is described in the Fork a repo documentation. For more GitHub-related workflows, please refer to the GitHub Help.
Also, depending on the version of Creator, developers may need to switch to a different engine branch, it is recommended to use the same branch that corresponds to the version of Creator being used.
1 Customize the TypeScript engine
If you only need to customize the engine functionality of the web version of the game, or if you only need to modify the pure TypeScript layer logic (e.g.: UI system, animation system), simply modify the TypeScript engine by following the procedure below:
1.1 Get the TypeScript engine
It is possible to modify the engine based on the one built in Cocos Creator 3.x to make some adjustments based on the current version. Click the App button at the top right of the editor, and then copy the built-in engine directory to another local path.
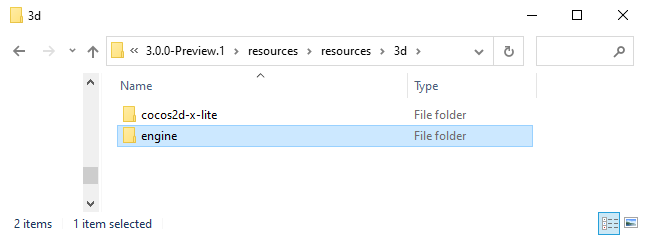
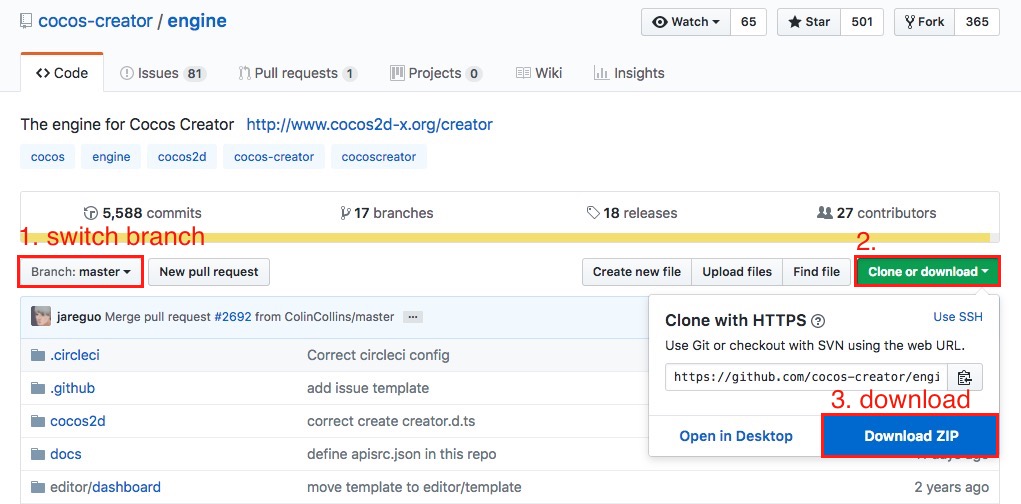
To get the latest official version in development, fork or clone the original version of the TypeScript engine from GitHub (see above), and switch the corresponding branch of the TypeScript engine according to the version of Creator before using it. Once downloaded, store it to any local path.
1.2 Modify the TypeScript Engine Path
Set the path of the TypeScript engine to be customized via the Engine Manager tab of Cocos Creator -> Preferences.
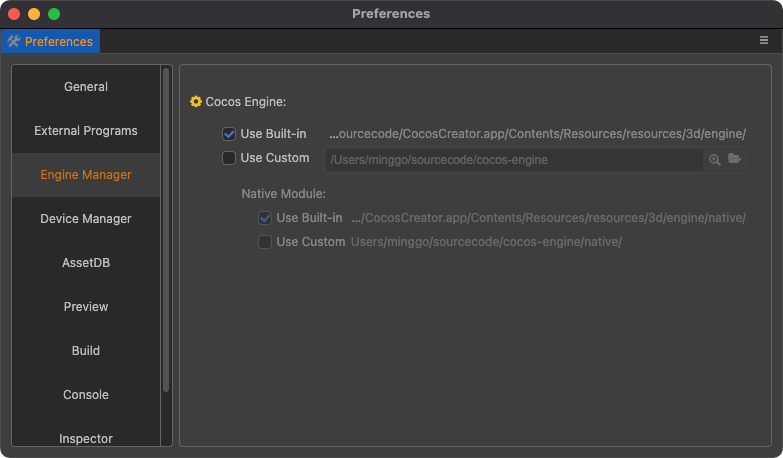
Note: it is necessary to restart Creator after modifying the engine path.
1.3 Install Compilation Dependencies
bash
### Go to the engine path in the command line
cd E:/engine
# Install the gulp build tool
npm install -g gulp
# Install dependent modules
npm install
# Compile some data, including 'debug infos' and '.d.ts'
gulp buildNote: the gulp build tool is required to generate debug infos.
1.4 Make changes and compile
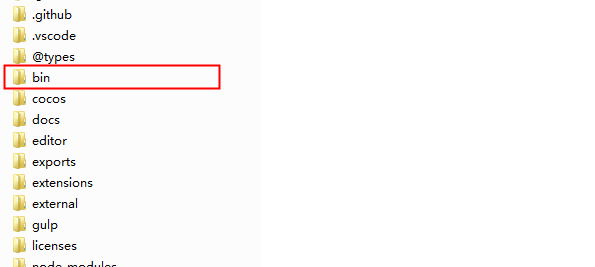
Next, customize the engine modifications and then click Developer -> Compile the engine in the Cocos Creator editor menu bar to compile.
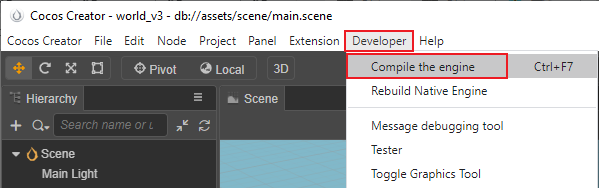
This command will generate a bin folder under the engine directory and compile the engine source code under the bin directory.
2 Customize the engine-native Engine
Since v3.5.0, engine-native engine is merged into and TypeScript engine. But you can custom them separately.
2.1 Get the engine-native Engine
The engine-native engine and TypeScript engine are merged. After cloning TypeScript engine, engine-native engine is in cocos-engine/native.
2.2 Initialization
Since engine-native is merged into engine. So it is the same as TypeScript engine initialization.
2.3 Configure a custom engine-native in Cocos Creator 3.x
Set the path to the engine-native engine to be customized via the Engine Manager tab of Cocos Creator -> Preferences.
2.4 Modify the Engine
It is possible to customize the engine-native engine. Since the code is only compiled during the build release process, directly open the Build panel after modifying the engine and select the link template to build and compile.
2.5 Customizing the native engine simulator
To prevent the package from becoming too large, Creator excludes the native engine simulator related projects at release time, if it is necessary to use a custom native simulator, recompile it by following the steps below:
Refer to the CMake Official Documentation to install CMake and configure system environment variables.
Compile the native simulator engine, which can be divided into TypeScript and C++:
If the developer is customizing the TypeScript part, click Developer -> Rebuild Native Engine in the top menu bar of Creator after the customization is finished.
If the developer is customizing the C++ part, after the customization is completed, execute the following commands in the
cocos-engine/nativedirectory in order.bash# Install the dependent modules npm install # Generate native simulator-related files gulp gen-simulatorOnce executed, a simulator project and simulator executable will be generated under the
cocos-engine/native/simulatorpath, and the native simulator will be ready to run.