Web Preview Customization Workflow
Starting with v2.2, Cocos Creator supports for custom web preview.
Custom Web Preview
Create
preview-templatesfolder in the project path.Folder Structure:
project-folder
  |--assets
  |--build
  |--preview-templates
Start customizing the web preview, you can refer to the editor's builtin
preview-templates. After the customization is complete, you need to restart the editor, then select the Browser above the editor and click the Preview button to see the effect.The editor's builtin
preview-templatesfolder are placed here:Mac:
CocosCreator.app/Contents/Resources/static/preview-templatesWindows:
CocosCreator/resources/static/preview-templates
preview-templates
The preview-templates folder is equivalent to a normal web template, which contains:
  preview-templates
    // Required entry file
    |--index.html
    // Other files can be added as needed
Developers can customize index file as needed. You can use .jade or .ejs rather than .html.
Example
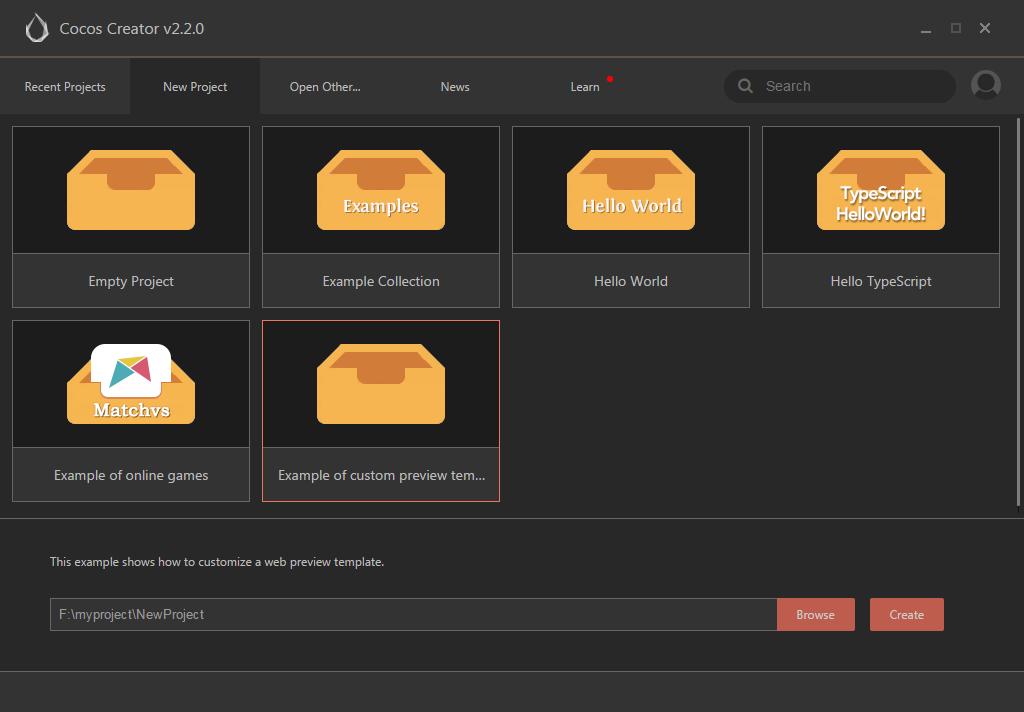
Creator provides a sample project in the Dashboard -> New Project panel, which comes with a simple example of preview-templates.
Creator will parse the ejs syntax in the html template. And Creator currently supports the following custom variables:
| Variable Name | Description |
|---|---|
| title | CocosCreator + project name |
| cocos2d | The path where the engine script is located |
| enableDebugger | When preview on a mobile browser platform, the value is true |
Note: The html template in the example uses <%=title%> and <%=cocos2d%> of the custom variable. If you want to customize other variables, then you need to parse them on your own.
preview-templates expansion
If you are not familiar with the three file types, you can refer to the following basic documents:
| File types | Link |
|---|---|
| html | https://developer.mozilla.org/zh-CN/docs/Web/HTML |
| jade | http://jade-lang.com/ |
| ejs | https://ejs.bootcss.com/ |