Tizen Installation and Setup
Deprecated Document. Cocos2d-x V3.15 or less is the last supported version.
Environment Requirements
- Windows, macOS or Ubuntu (a relatively recent version should suffice)
- Cocos2d-x v3.11 https://cocos2d-x.org/download
- Tizen 2.4 Rev3+ SDK https://developer.tizen.org/development/tools/download
- Java JDK for your platform (a relatively recent version should suffice)
Prerequisites
- Download Cocos2d-x.
- Download Tizen installer.
- Download Java JDK for your platform.
Installation
- Install Java JDK for your platform. You may or may not need to do this depending upon your current setup.
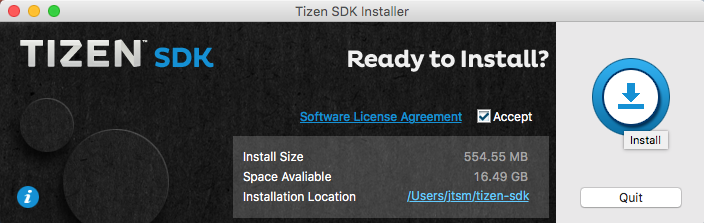
Install Tizen using the installer you downloaded. If you haven't downloaded it, please refer to prerequisites above.
Double click the Tizen installer that you downloaded and follow the prompts.
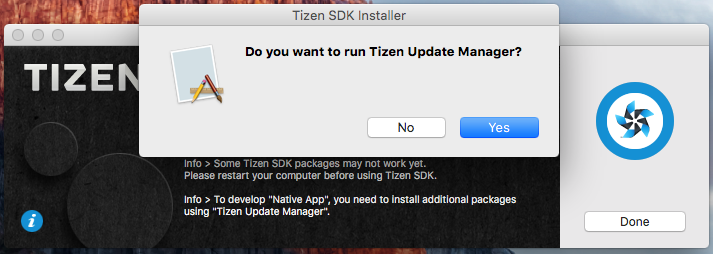
Click the 'Done' button, then when prompted to run the Update Manager, click 'Yes(Y)'.
Select 2.4 Mobile and click the down-arrow at the right side to install. If you install version 2.4, the resulting TPK could also be installed on Tizen device runs 2.3 version system. The resulting TPK is back compatible for old version devices.
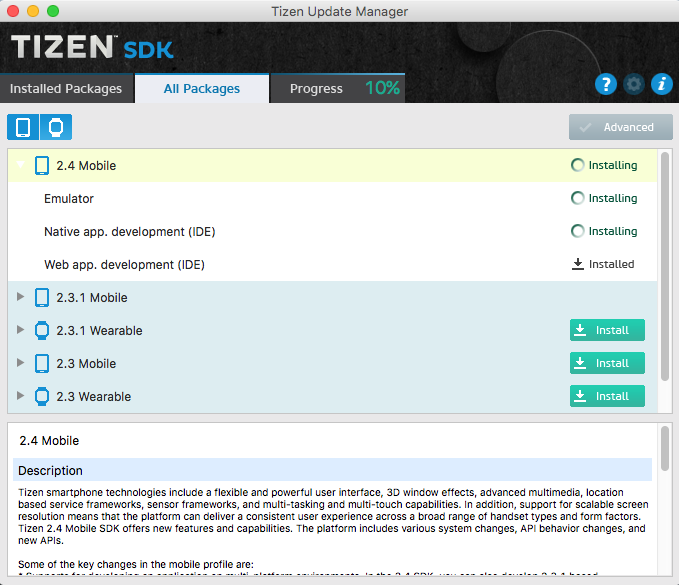
After completing all steps, you should be able to launc the Tizen IDE 2.4.
Running the built in tests
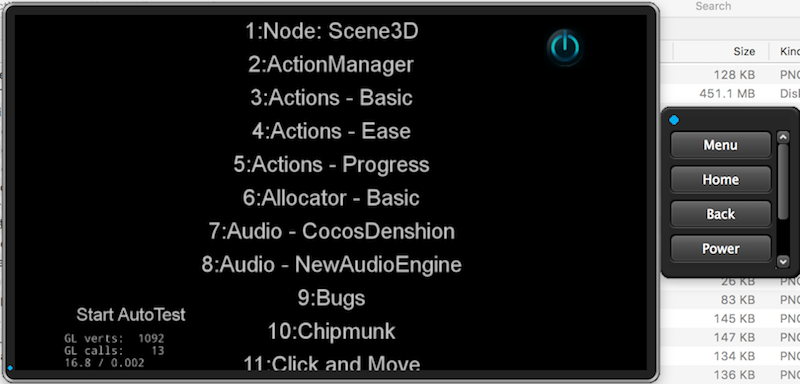
Just like with any platform Cocso2d-x supports, you can run our sample tests to understand the engine's functionality.
For c++ you want to look at cpp-tests and for Lua, lua-tests.
- Launch the Tizen IDE
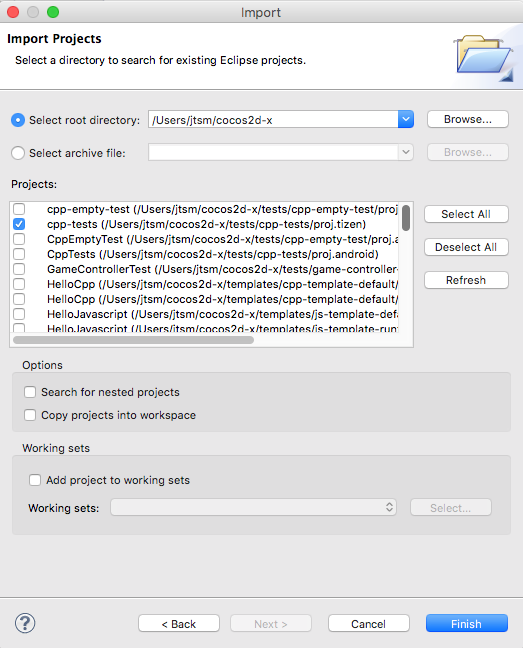
Select File -> Import
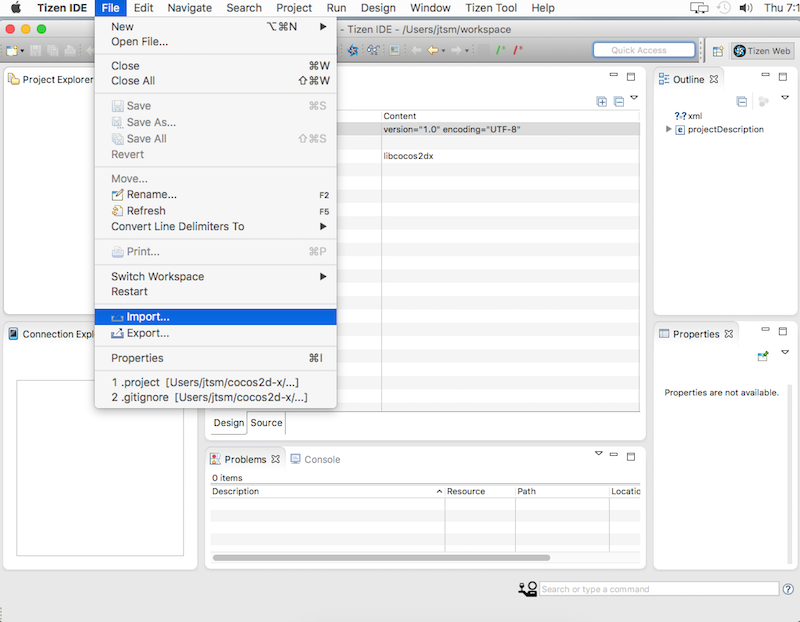
Under General, select Existing Projects into Workspace
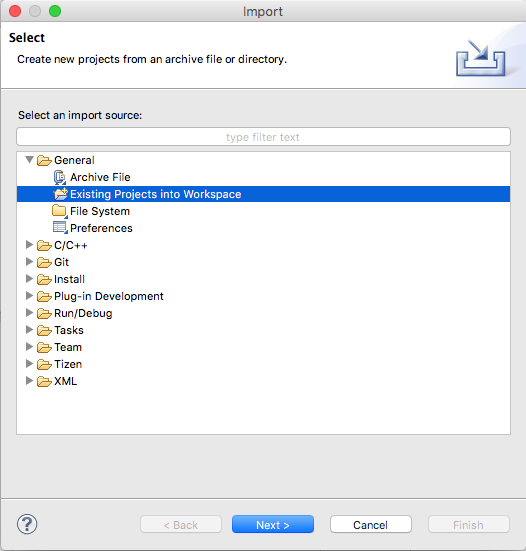
Browse to where the Cocos2d-x root is. Then select cpp-tests and libcocos2d-x ensuring that the path for both contains proj.tizen as it is possible to import projects for Android, but we don't want to do this.
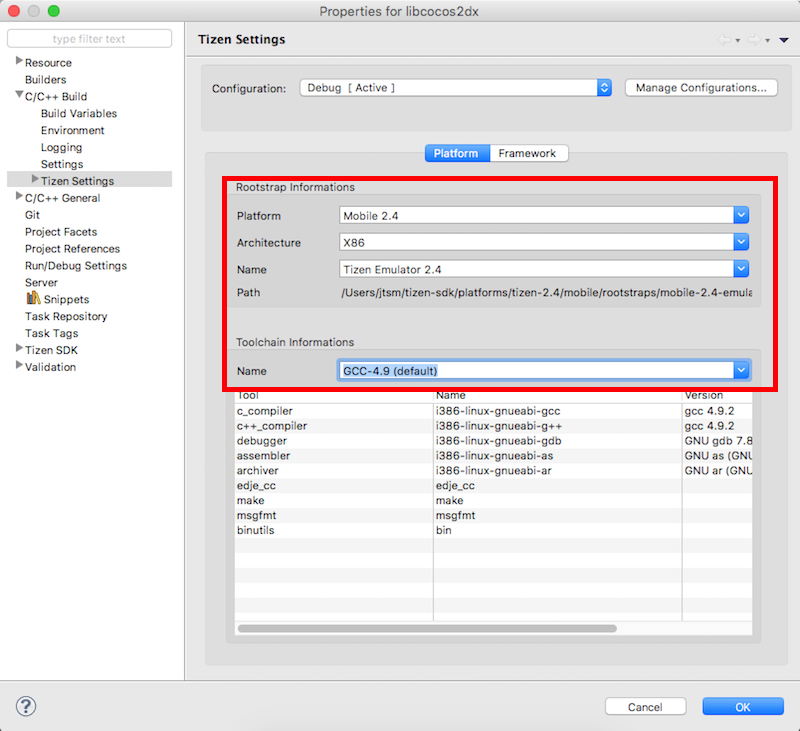
By default, a project has three configurations Debug, Release and Emulator. Debug and Release are settings that build for hardware. Emulator is for simulating a hardware device when one is not available. It is always best to test on actual hardware before deploying your app to production.
To change either Debug or Release, right click on the libcocos2d-x project and select Properties. When this window opens, select C/C++ Build -> Tizen Settings. A few items here need to be changed. Change the properties with the red boxes on the screenshot below.
- Choose Mobile 2.4, x86 and GCC 4.9 of the toolchain.
Then click the OK button.
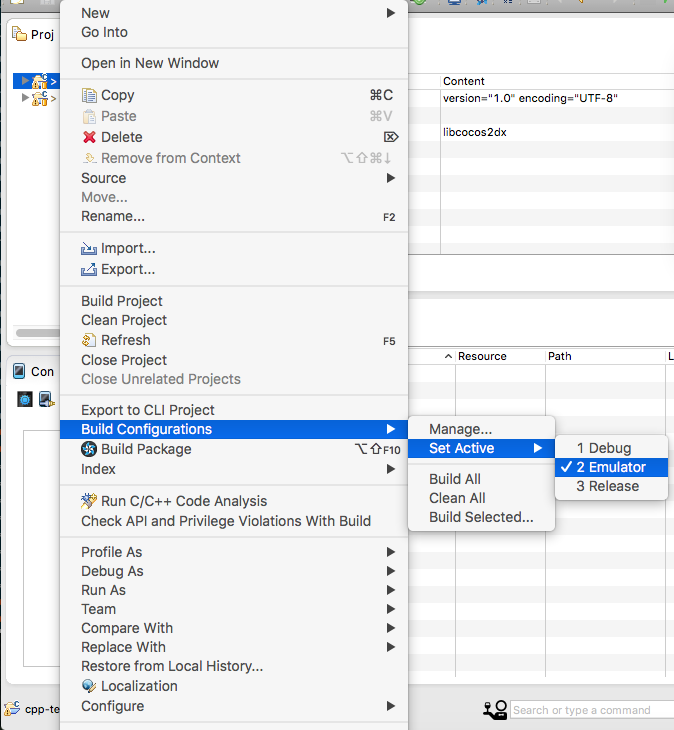
Repeat this same step for the cpp-tests project.
To build for the Emulator, right click on the libcocos2d-x project and select Build Configurations -> Set Active -> Emulator
Now, we can build. First, build libcocos2d-x. Right click on the libcocos2d-x project and select Build Project or press the F10 key.
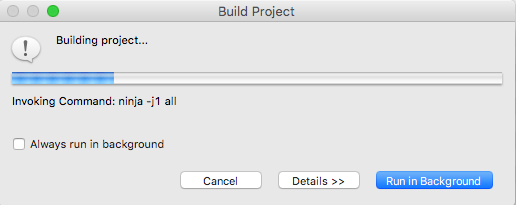
Repeat this same step for the cpp-tests project.
Once everything is built cpp-tests will run and you can experiment with it's functionality.
Compiling & Running with Command-line tool
You also can compile & run your project on Tizen with cocos command. There are some arguments for the Tizen platform:
| Argument | Available Value | Description |
| ----|----|----|
| --tizen-arch | x86, arm | Determines the architecture type for the rootstrap. Default is x86. (x86 is for simulators, and arm for devices) |
| --tizen-profile | Path of signing profile | Set the profile path for signing. |
| --tizen-sign | String | Set the profile name to use for signing. |
| --tizen-strip | - | Determines whether to strip the native binary. |
Sample commands:
cocos compile -s PROJECT_PATH -p tizen -m release --tizen-arch arm --tizen-profile PROFILE_PATH --tizen-sign SIGN_STRING --tizen-stripCompile the project for the ARM architecture. A .tpk file will be generated.
cocos run -s PROJECT_PATH -p tizen --tizen-profile PROFILE_PATH --tizen-sign SIGN_STRINGLaunch the Tizen simulator and then run the project on the Tizen simulator. (Note: it is important to remember that the Tizen simulator must always be running in-order to run your project.)
Starting a new project
Once everything above works, you can start a new project! To do this, read our document on the Cocos Command-line tool.