Android Publish Example
In this section, we will introduce how to build Cocos Creator project with Android Studio.
Please prepare a Cocos Creator project with at least one scene.

Set Android Development Environment
To publish an Android native application, you need to install the Android Studio development environment, as well as specific versions of JDK (or OpenSDK), Android SDK, NDK, and more. For more details, please refer to the Android Native Development Environment Setup.
Publish Process
The next step is to create a new build task and publish an Android APK on the Build panel in Cocos Creator.
Create Build Task
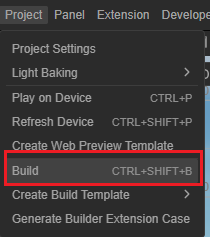
By clicking the Project -> Build menu to open Build panel.
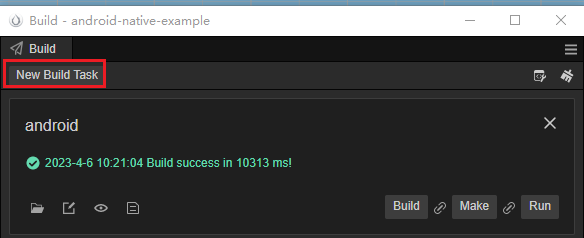
At the top of Build panel, click on the New Build Task button
 P
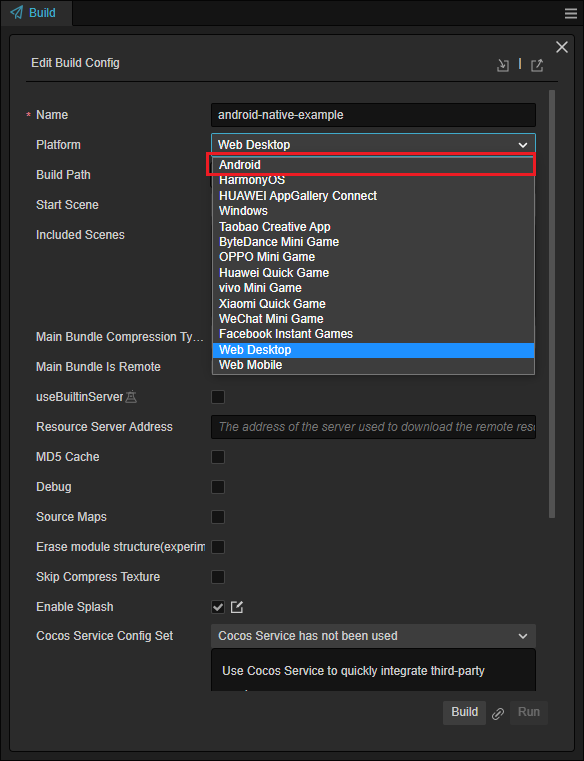
PTo select Android as the build target platform, click on the drop-down menu
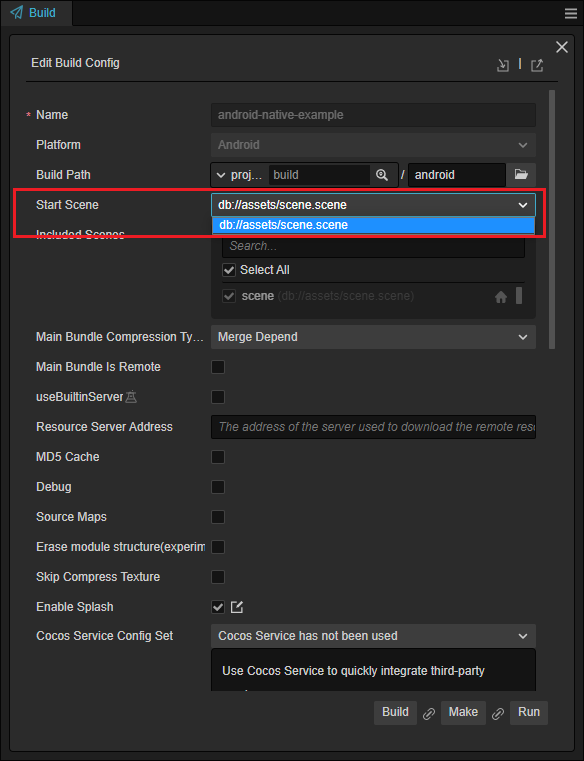
Make sure to have at least one scene designated as the Start Scene. If you have only one scene, it will be added by default
Please refer to Publishing to Native Platforms - Render BackEnd to select an appropriate render backend
Enter the Game Package Name
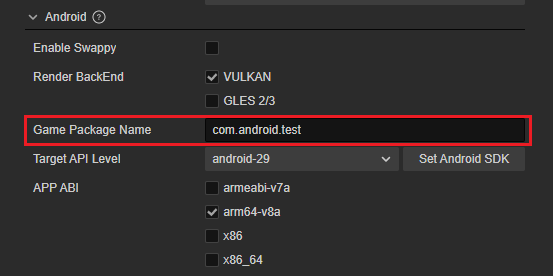
Please refer to Bundle Identifier for guidance your app's bundle identifier
Select Target API Level

In case no dropdown content, please check the SDK and NDK configuration in Cocos Creator
Other build options please refer to Publishing to Native Platforms
Build and Publish
To begin a build process, click on the Build button for the selected build task.
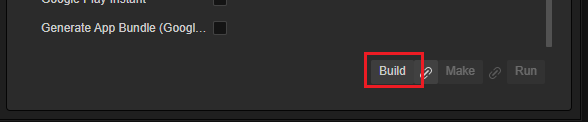
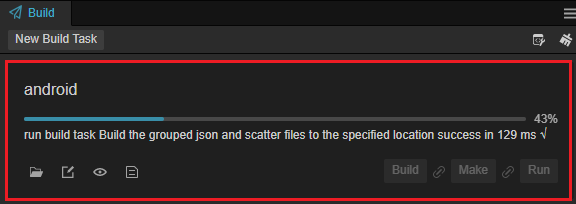
Please wait until the build process finished
Click on the button below to open the folder containing the exported Android Project
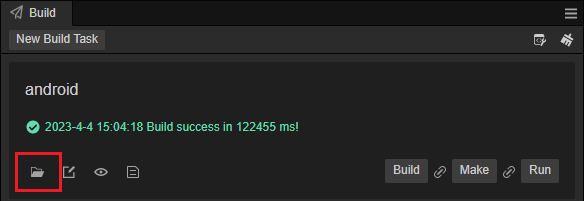
Locate the corresponding directory
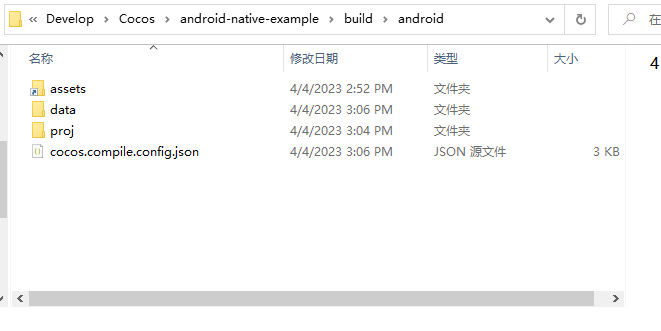
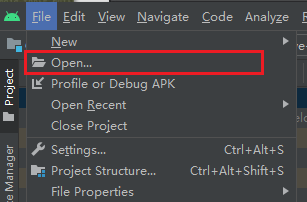
Click on the open menu on android studio
Navigate to the project path in the
{Your project}/builddirectory, which is named 'android' by default, and open it using Android Studio.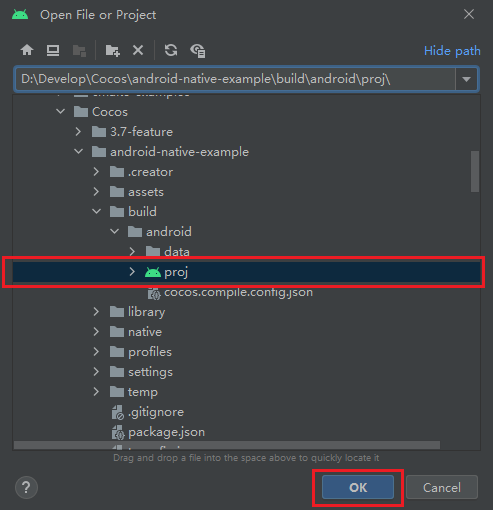
Generate APK in Android Studio
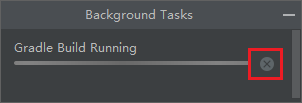
After the preparation has been completed by Android Studio, you can start building an Android APK. However, the sync process may take a long time to complete. If this happens, you can stop any ongoing background tasks by following the steps below:
Click on the background task on the status bar:

Close all background tasks by clicking on the close button
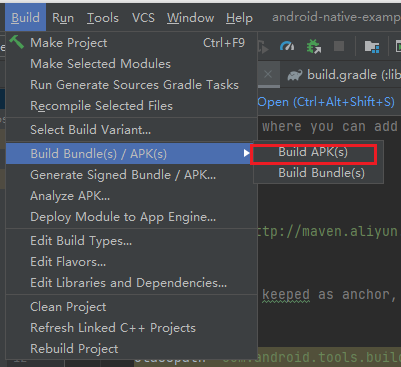
Click on Build Bundle(s) / APK(s) in the Build menu
The debug APK could be found in the
{proj/build}directory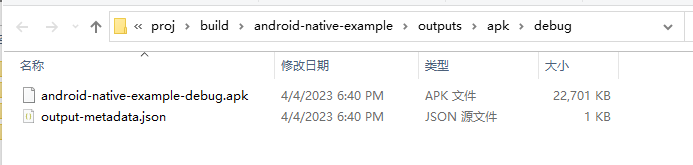
Keystore Generation and Usage
For the release of the final version, the debug key cannot be used. You need to create your own key.
Creating a Key
You can generate a key using Android Studio:
In Android Studio, click on the "Build" menu and select "Generate Signed Bundle / APK":

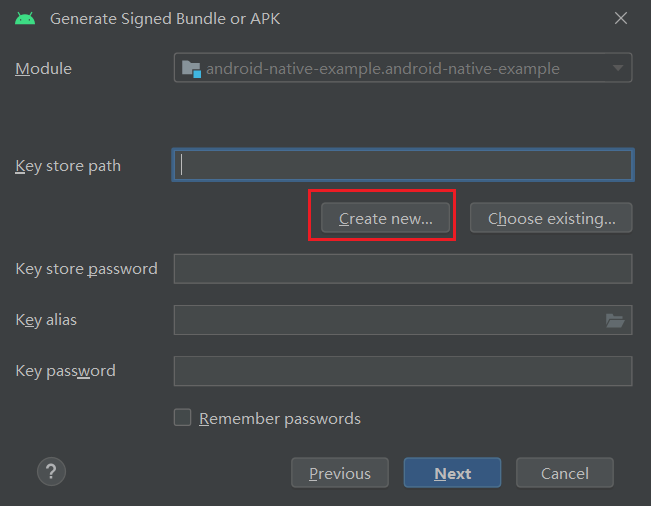
In the pop-up window, select "APK" and click "Next":
In the guided window, click on "Create new":
Fill in the required information in the pop-up window:
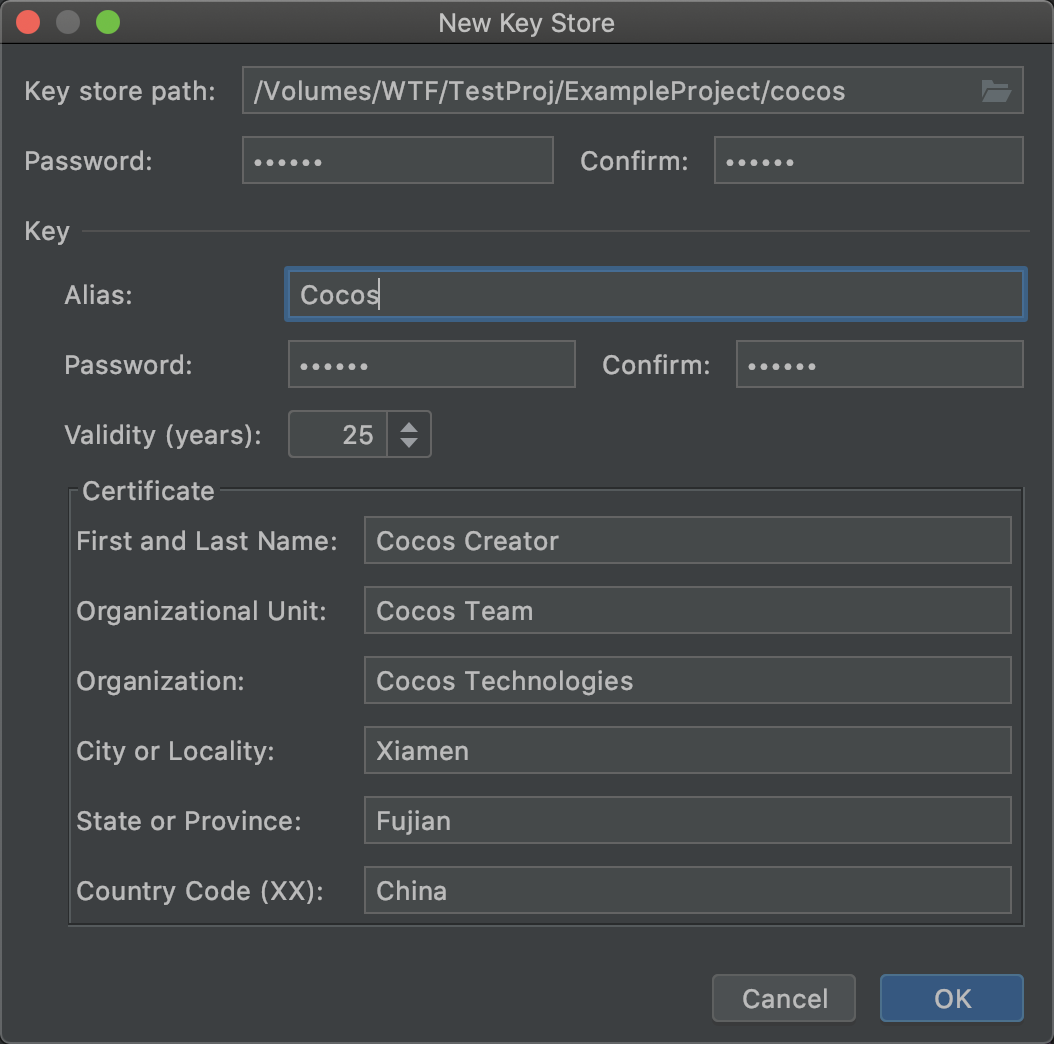
It is recommended to use different keys for different projects. You can store each project's key in the project's root directory.
Using the Key
After successfully creating the key, a key file will be generated in the selected directory. You can fill in the key information in the Android build panel. This way, both the debug and release versions will use the key you created.
As shown in the following image, uncheck the "Use debug keystore" option and select your custom key file from the "Keystore Path" below. Fill in the relevant information:

Considerations
- It is recommended to create a dedicated key for each project from the first release.
- Some SDK services require APK key signature verification. Using the default debug key may result in service call failures.
Advanced
Java and TypeScript Communication
The engine provides various methods to solve the communication issues between TypeScript and the native layer.
When integrating common SDKs, we often need to perform login operations through the SDK's login interface, and then pass the results to the TypeScript layer for further processing in the game.
The engine provides three methods for communication between TypeScript and Android native layer.
JavaScript and Java Communication using JsbBridge: This method is very convenient for integrating SDKs and handling actions such as registration, login, and displaying ads. It can quickly solve these types of problems.
Tutorial: JSB 2.0: This method is recommended for frequent C++ API calls or batch exporting of C++ APIs..
JavaScript and Android Communication with Reflection: This method is highly effective for non-frequent calls.
Importing Third-Party Libraries
To publish your application to the app market, you usually need to integrate certain third-party SDKs. These SDKs are typically provided in JAR or AAR format. You can refer to Using Your Library in Other Projects to import the local library into your project.
Extending Build Process
Please refer to Extending Build Process to extend the publishing mechanism by the extension system.
Q&A
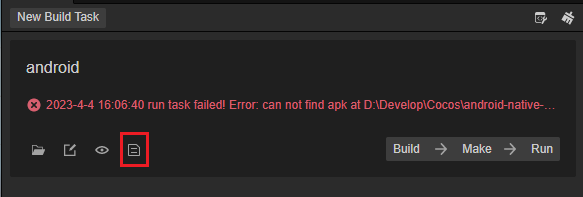
Q: How to debug publishing errors
A: You can debug publishing errors by opening the log.txt file using the log button
Q: Missing LIB_EGL
- A: Change your NDK to the version mentioned above.
Q: Asset name mechanism
- A: Since Android is based on Linux, some file specifications of Linux still apply in Android, such as
- Android is case-sensitive, make sure the path is case-sensitive, otherwise, it will not load correctly
- Do not include spaces in the folder or file name
- A: Since Android is based on Linux, some file specifications of Linux still apply in Android, such as