Windows Publishing Example
This guide demonstrates how to publish a project created with Cocos Creator as a Windows application. Before proceeding, make sure you have the following prerequisites:
- A Windows computer
- C++ development environment
Installing C++ Development Environment
First, you need to install Visual Studio 2019/2022.
During the installation of Visual Studio, make sure to select the modules Desktop development with C++ and Game development with C++.
Note: Within the Game development with C++ module, there is an option for Cocos. Please do not select this option.
Publishing Process
Prepare a Project for Testing
Open an existing project or create a new test project.
Build
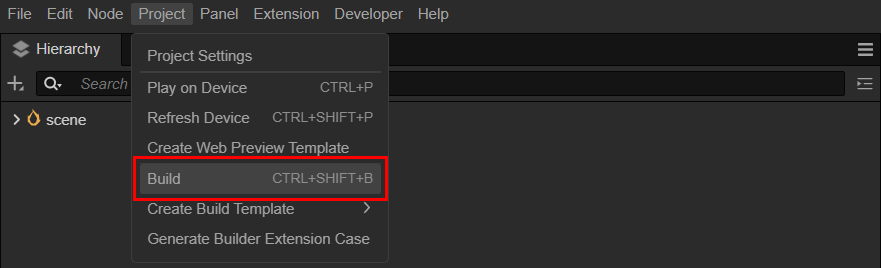
As shown in the above image, select Project -> Build from the top menu of Cocos Creator to open the Build panel.
General Options
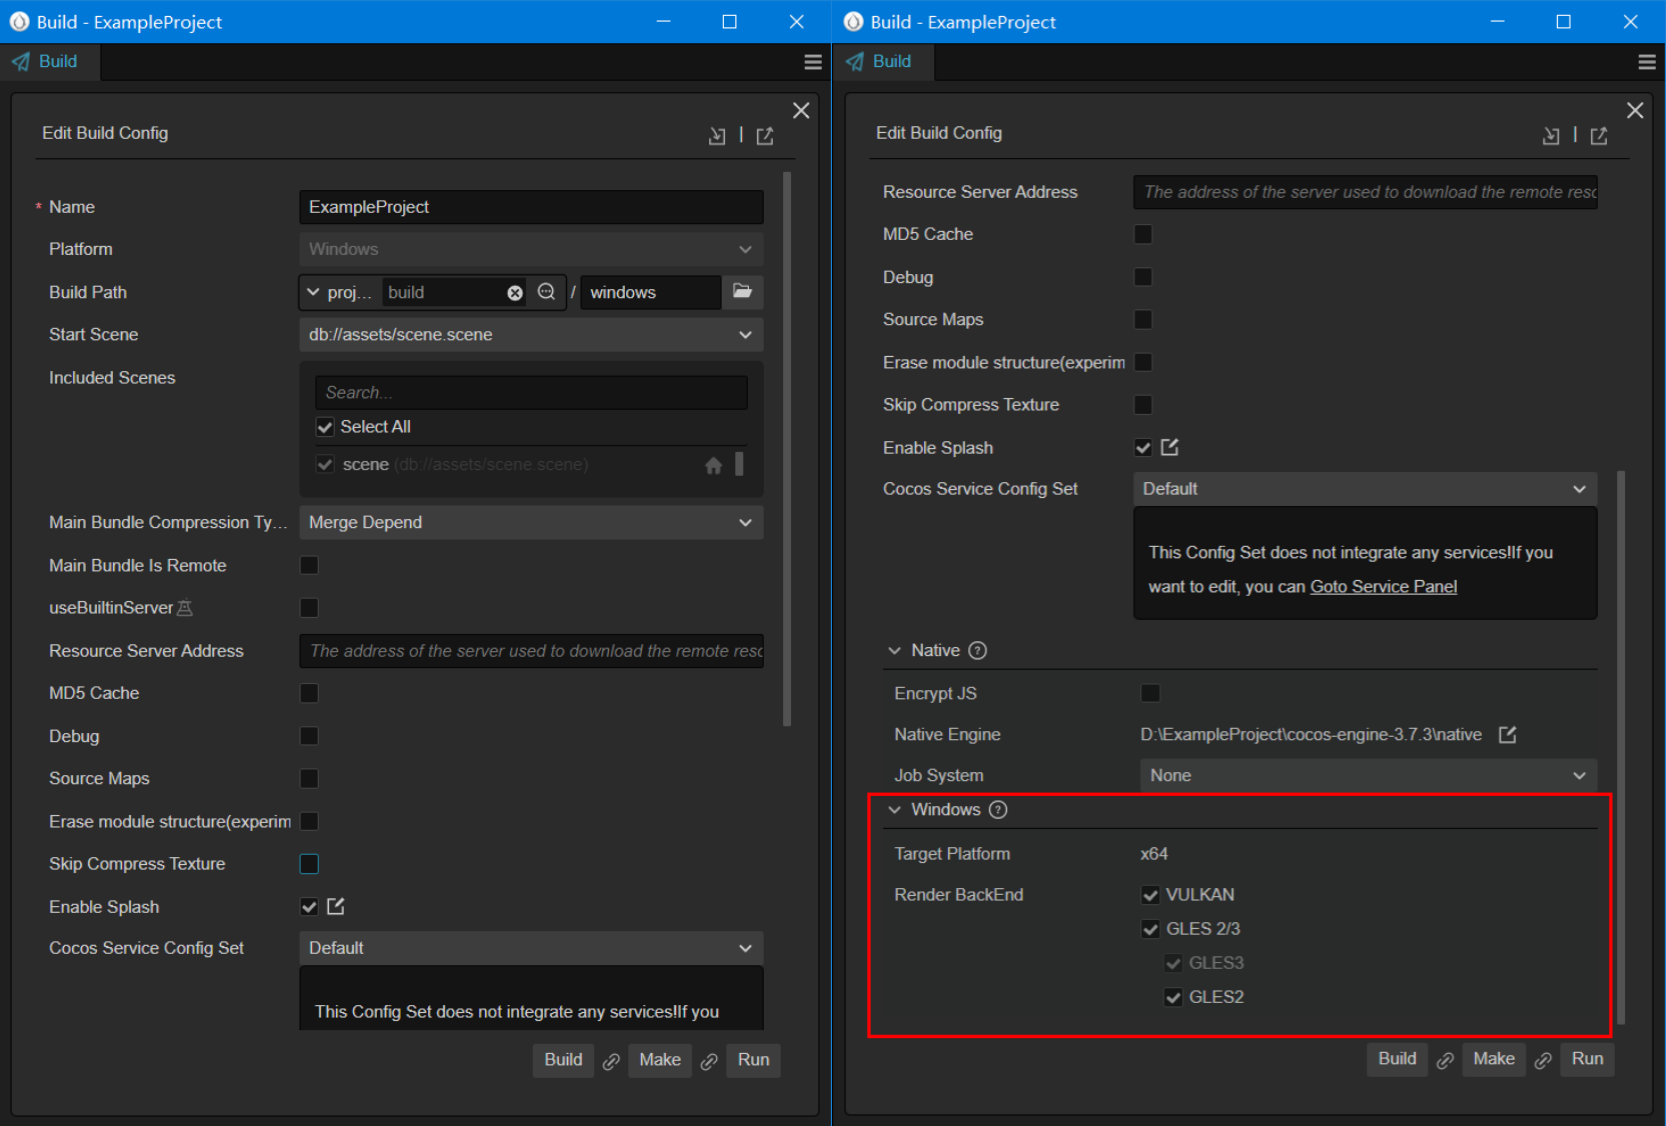
In the left section of the image above, you can find the common parameters that need to be configured for all platforms supported by Cocos Creator. For more details, refer to General Build Options.
Windows-specific Options
Select the platform as Windows, and scroll down the panel to see the native and Windows-specific options as shown in the image on the right. For more information, refer to General Native Build Options and Build Options - Windows.
Start to Build
Once the configuration is complete, click the Build button to generate the Visual Studio *.sln project.
After a successful build, you can click the open file button as shown below to open the generated project folder.

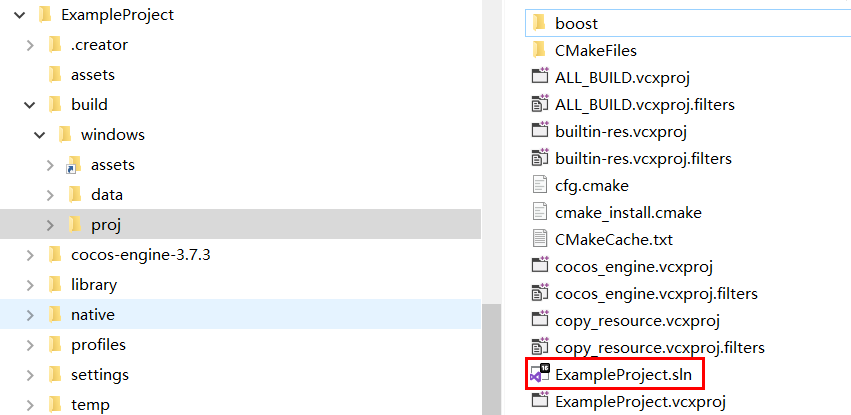
If you haven't changed the build path, you can find the build/windows/proj directory located in the project root, which contains the following files:
Compile and Run in Visual Studio
Double-click on build/windows/proj/<project_name>.sln to open the project with Visual Studio.
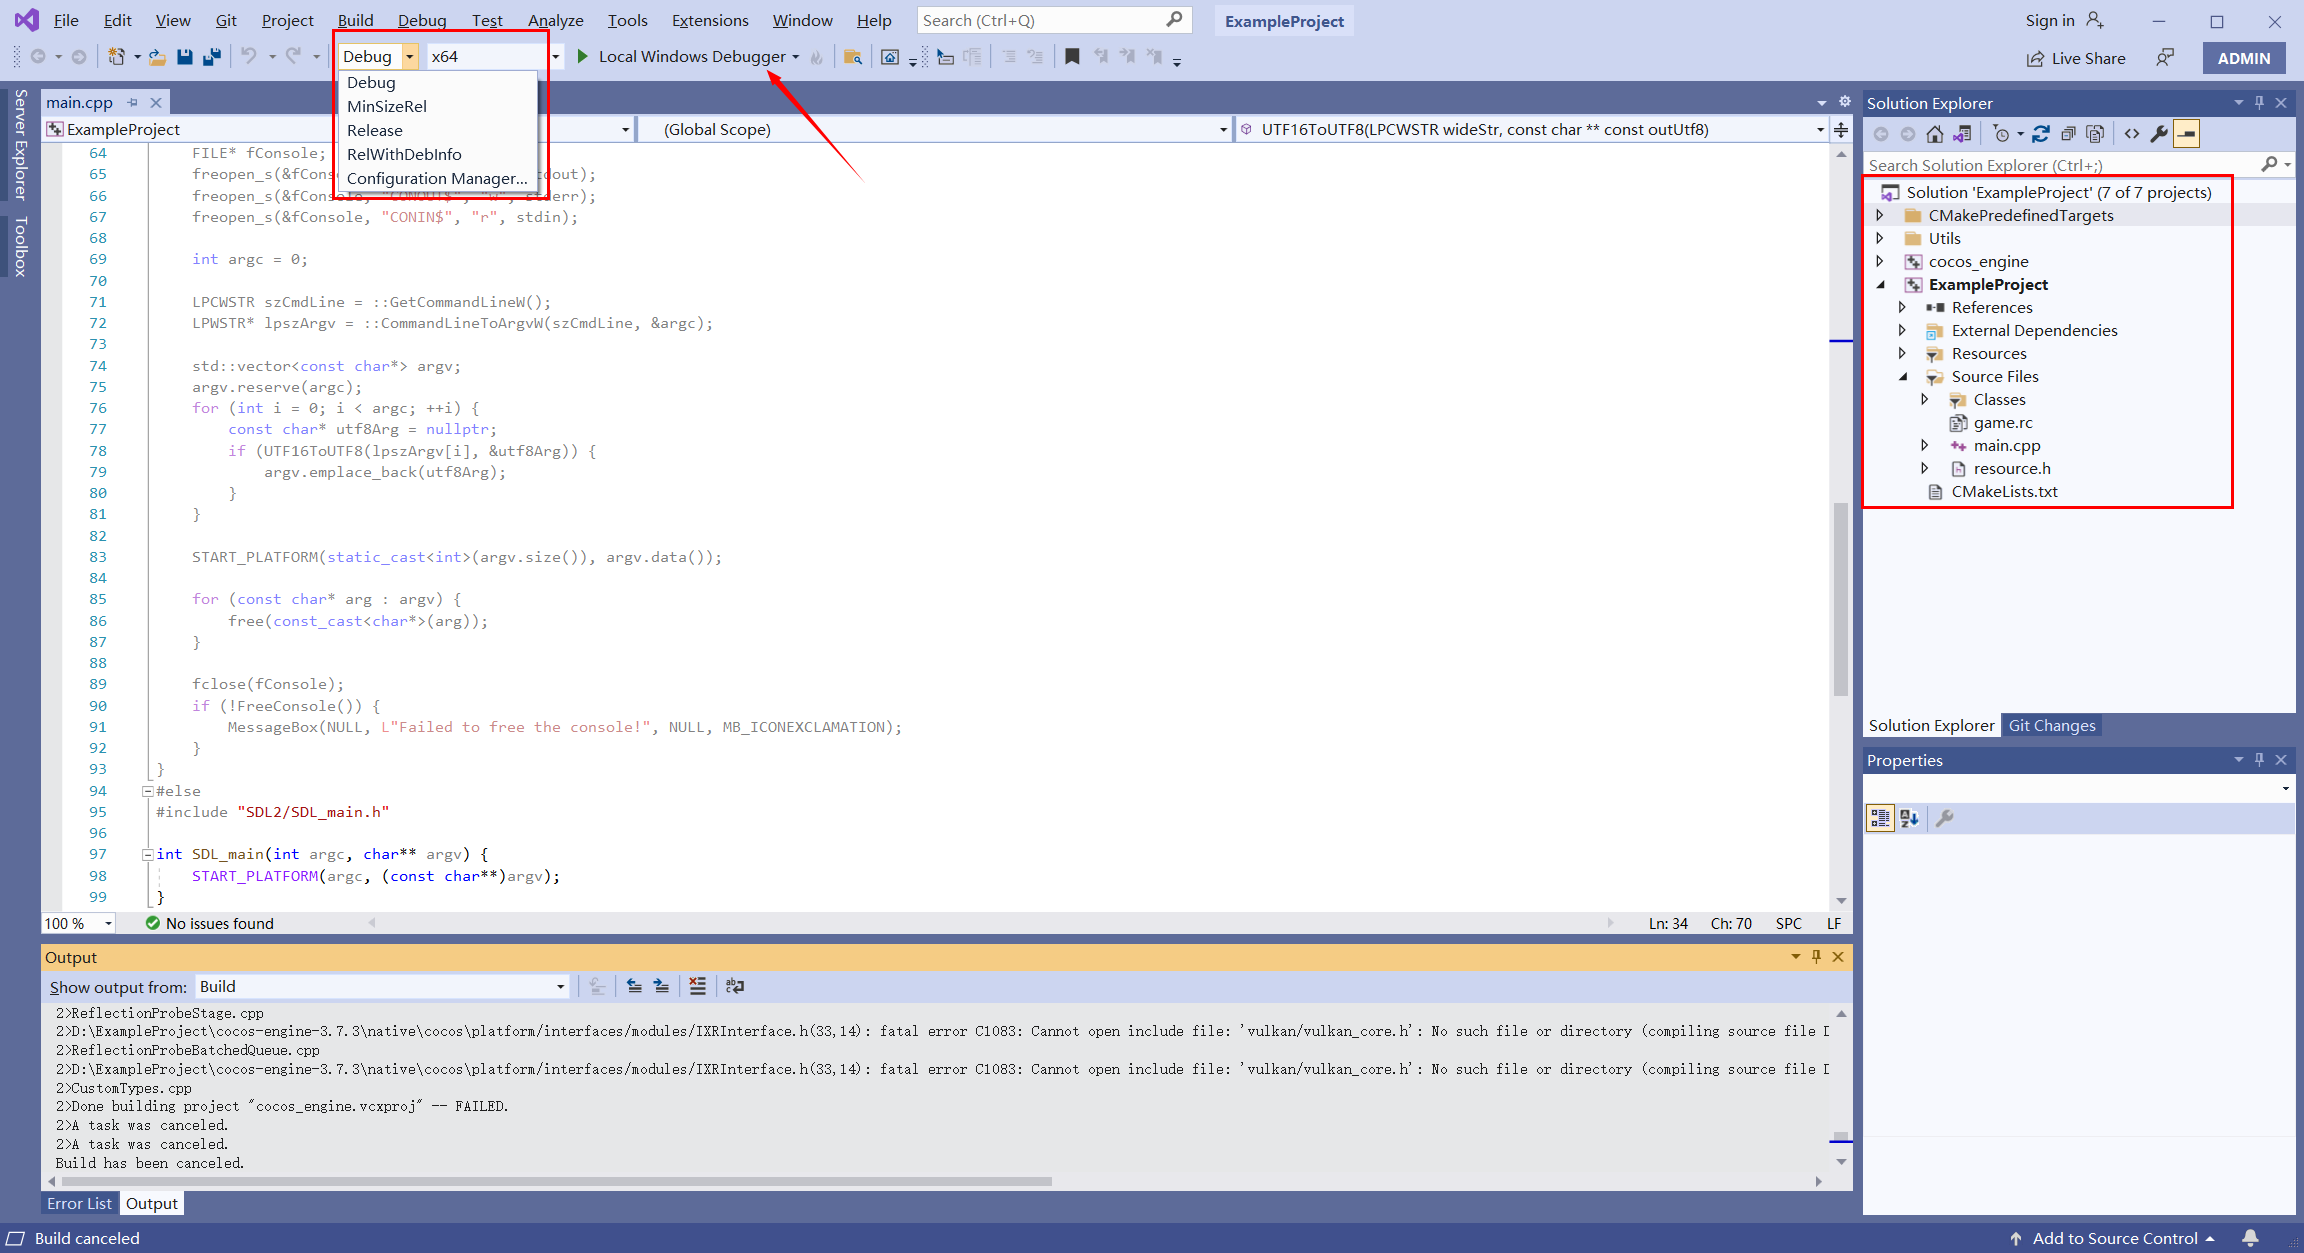
As shown in the image above, the project includes the cocos-engine library and project code. Click the compile and run button to start the project.
*.slnis a Visual Studio project solution file, and it is recommended to open it with Visual Studio. You can also use IDEs such as Rider that support*.slnfiles.
Modifying the Resolution
You can modify the resolution in native/engine/common/classes/Game.cpp using the _windowInfo property.
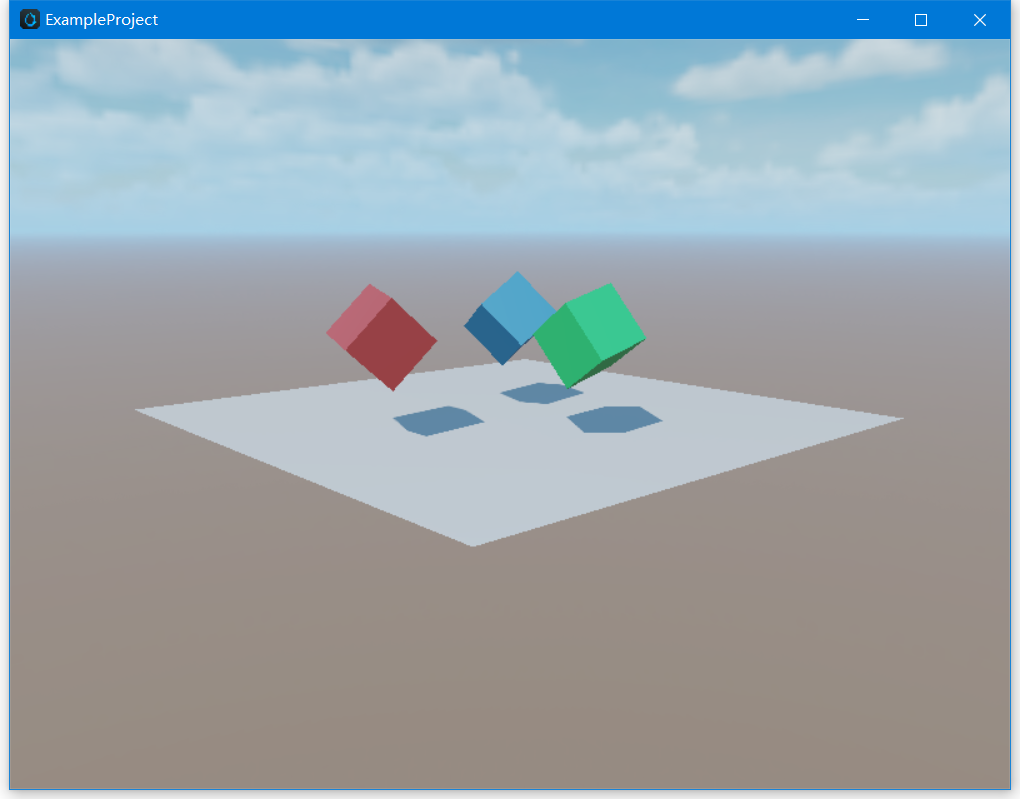
The default resolution is set to 800 x 600. Let's take an example of changing it to 800 x 400.
int Game::init() {
  _windowInfo.title = GAME_NAME;
  // configure window size
  _windowInfo.width  = 800;
  _windowInfo.height = 400;
}
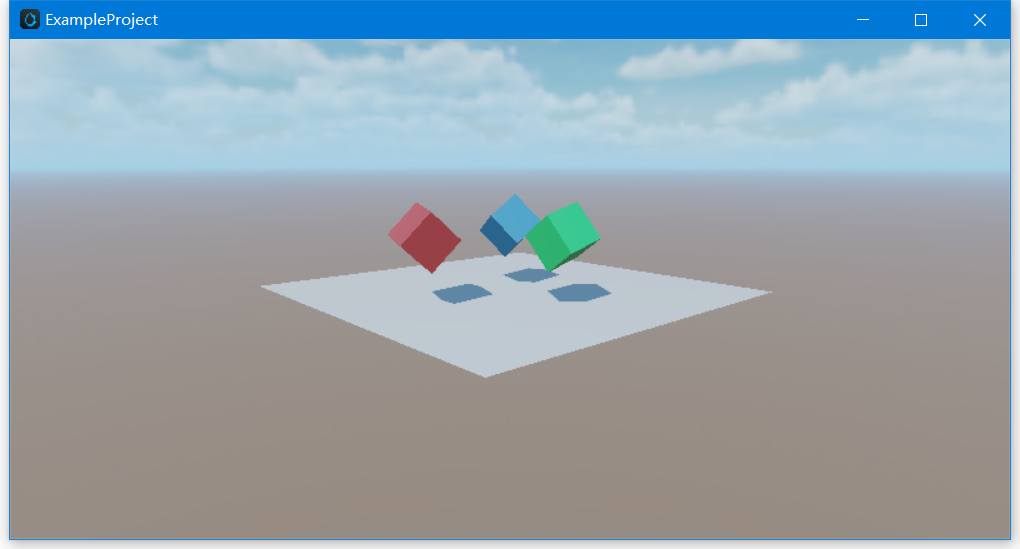
After making the modification, compile and run again in Visual Studio. The effect will be as shown in the image below:
Read More
Script-Native Communication
Sometimes, projects need to call Windows system functions or, when integrating a third-party SDK, use script code to call its APIs. In such cases, the communication mechanism between the script layer and the native layer is required.
For information on the JS script and C++ communication mechanism, please refer to the Tutorial: JSB 2.0。
Debugging JavaScript on Native Platforms
Some issues only occur on specific devices and environments. If you can debug the code on the corresponding situation, you can quickly identify the problem and find a solution.
Cocos Creator provides a native debugging mechanism that allows you to easily debug game code on a device. For more details, please refer to Debugging JavaScript on Native Platforms.