macOS Publishing Example
This article will demonstrate the process of publishing a Cocos Creator project as a macOS application. Before getting started, you will need the following preparations:
- A macOS device
- Xcode installed
Publishing Process
Verify the macOS System and Xcode Version
Publishing macOS desktop apps via Cocos Creator environment requirements:
- Xcode version 11.5 or above.
- macOS version 10.14 or above.
Note: By default, the corresponding Xcode version in the App Store matches the system. If you want to use a specific version of Xcode, you can download it from the Xcode download page.
Prepare a Test Project
Open an existing project or create a new one.
Build
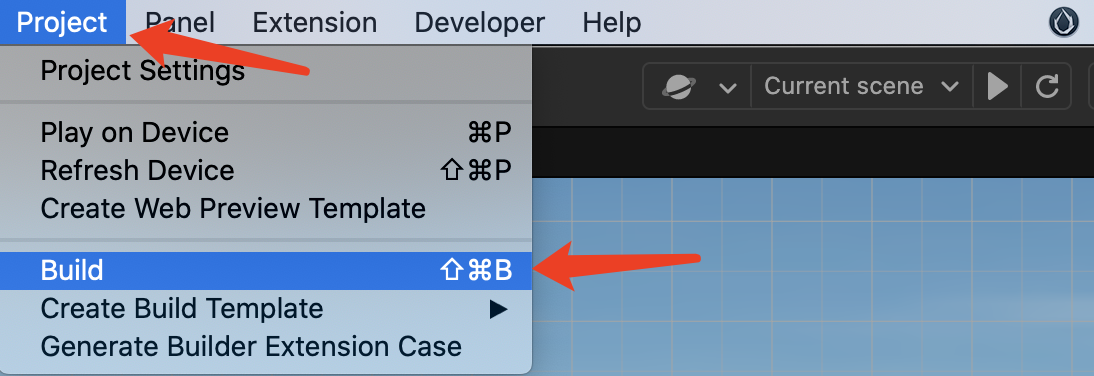
As shown in the image above, select Project -> Build from the top menu in Cocos Creator to open the build panel.
General Options
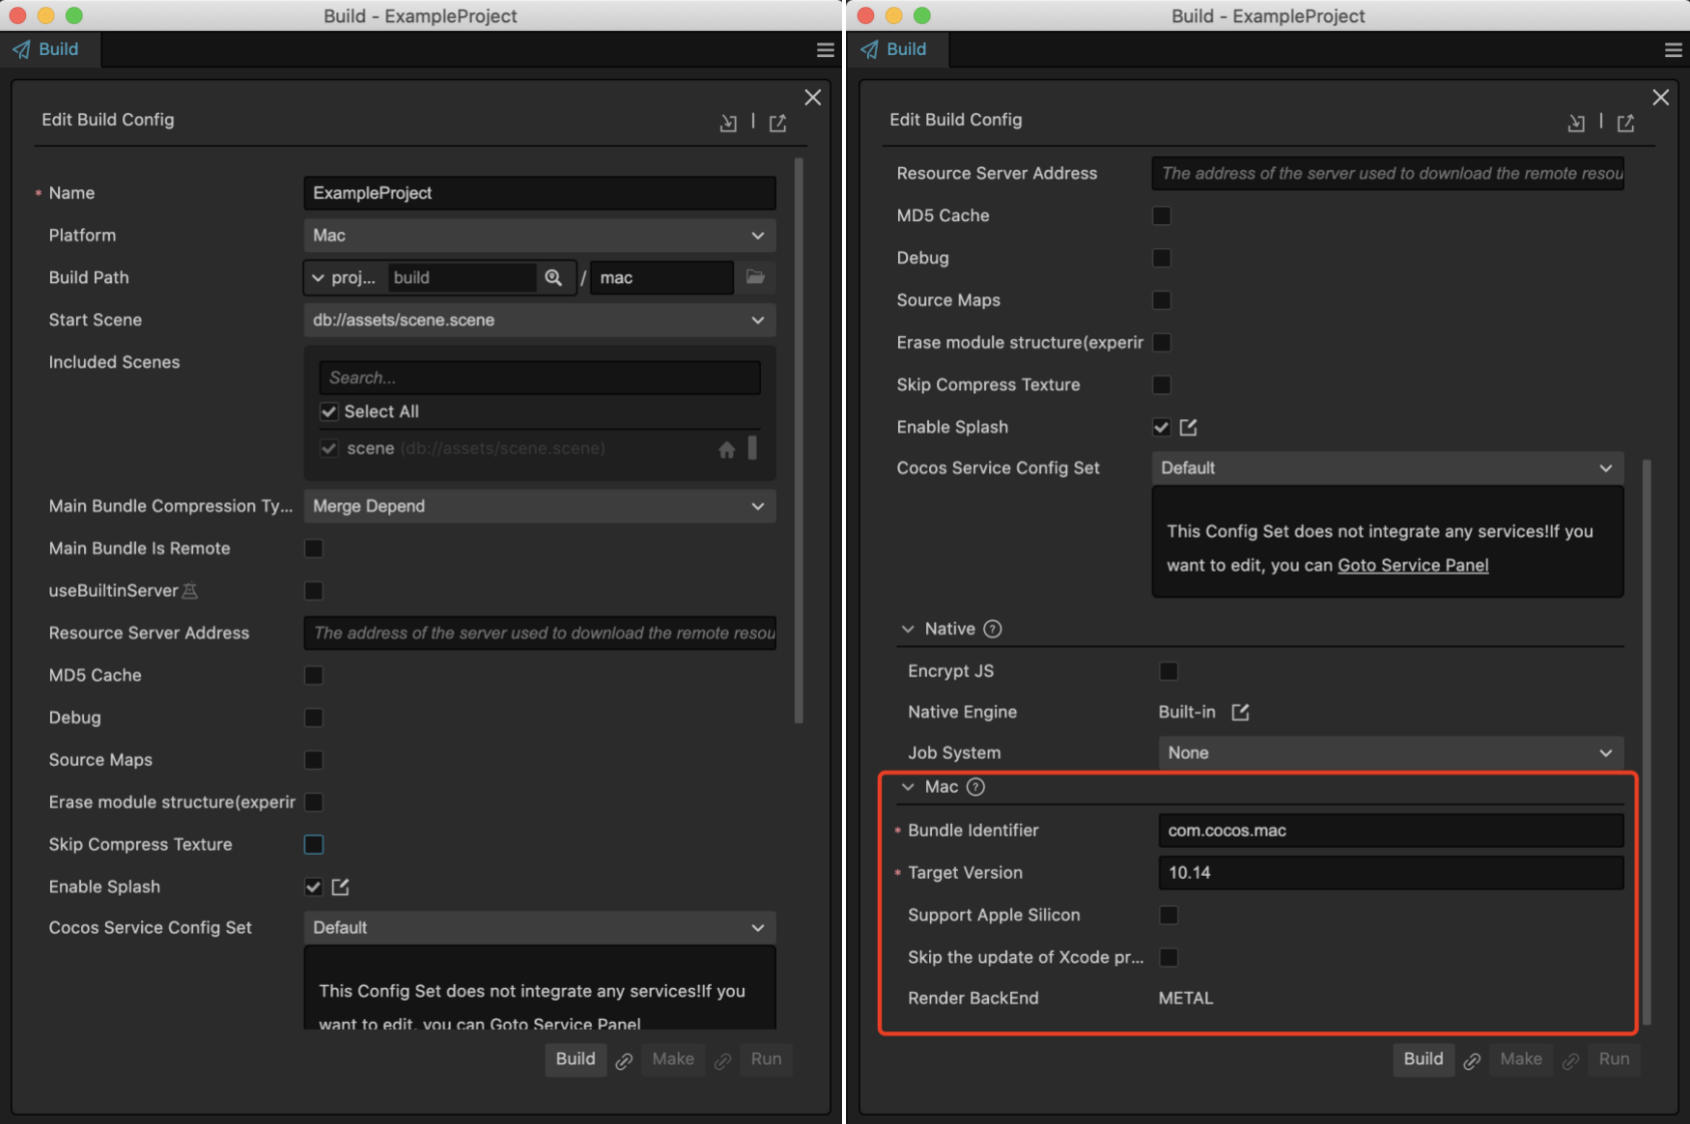
In the blue section on the left side of the image, you can find the common parameters that need to be configured for all platforms supported by Cocos Creator. For more details, you can refer to the General Build Options page.
macOS Specific Options
Choose the platform as Mac, and as you scroll down the panel, you will see the red section on the right side. These are the configurations specific to the native and Mac platforms. For more details, please refer to the General Native Build Options and Build Options - macOS pages.
Bundle Identifier
The Bundle Identifier is a required configuration. It is generally in the format of com.mycompany.myproduct. For example, in this example, it is set to com.cocos.mac.
Perform the Build
After completing the configurations, click the Build button to generate the Xcode project.
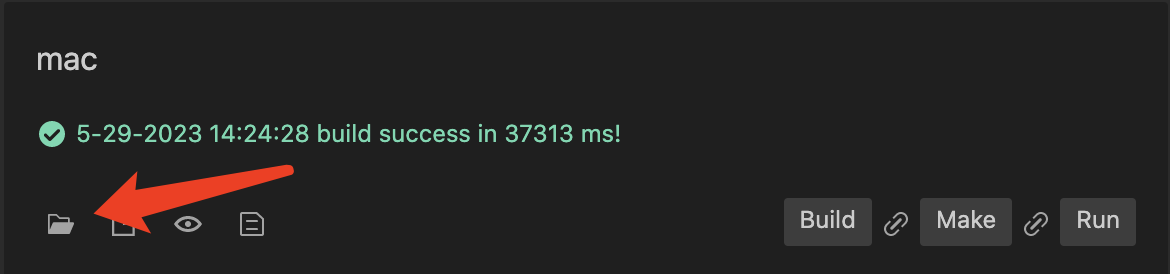
Once the build is successful, you can click the open file button as shown below to open the generated project folder.
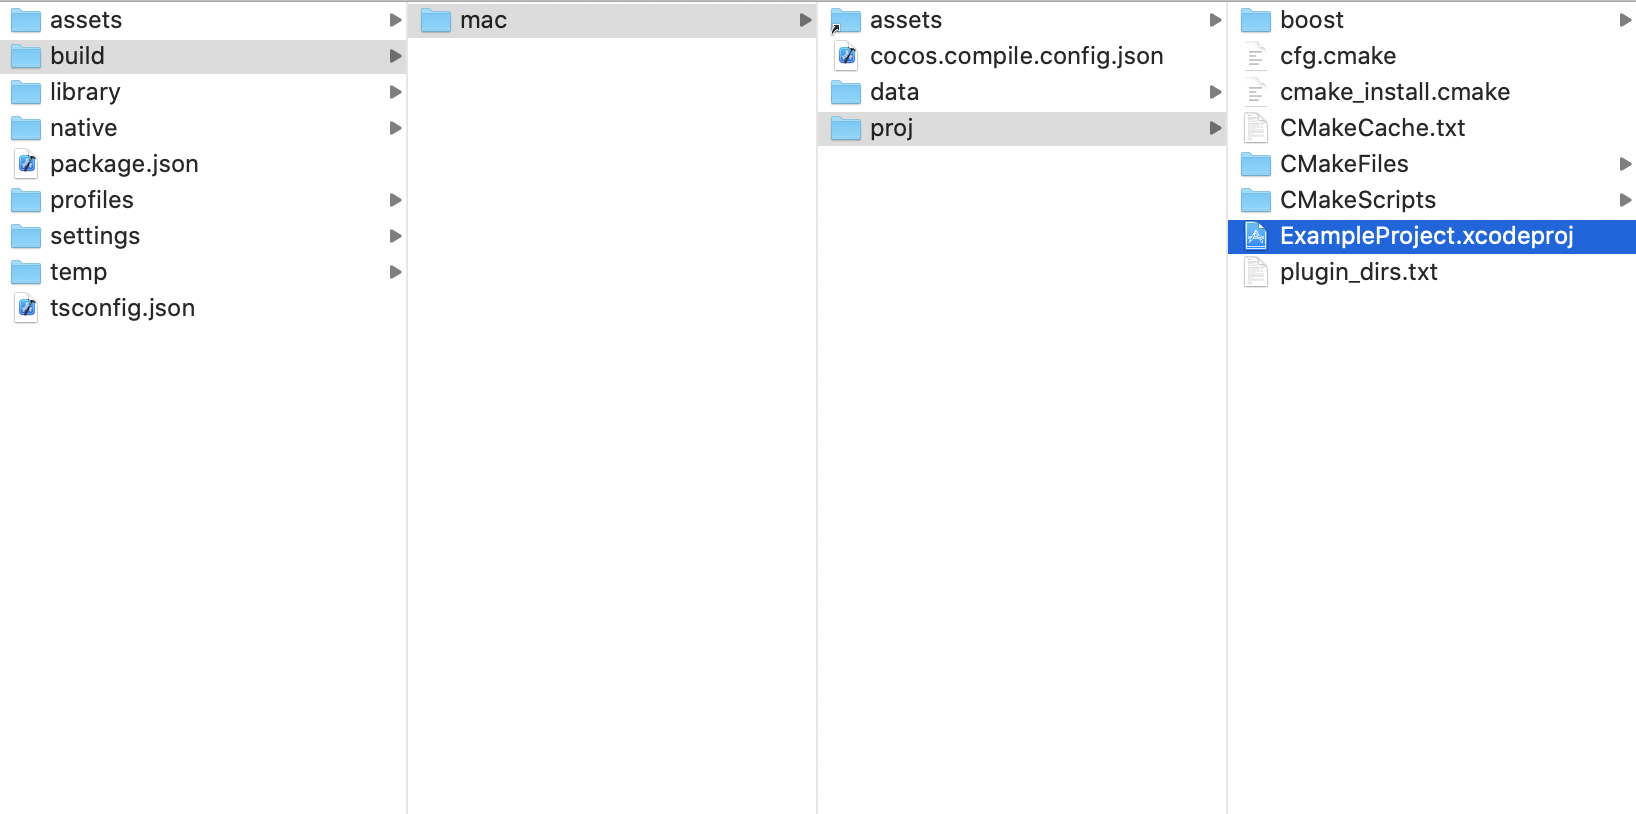
If you haven't changed the build path, you can find the build/mac/proj directory in the project root, which contains the following files:
Compile and Run in Xcode
Double-click on build/mac/proj/<project_name>.xcodeproj to open the Xcode project.
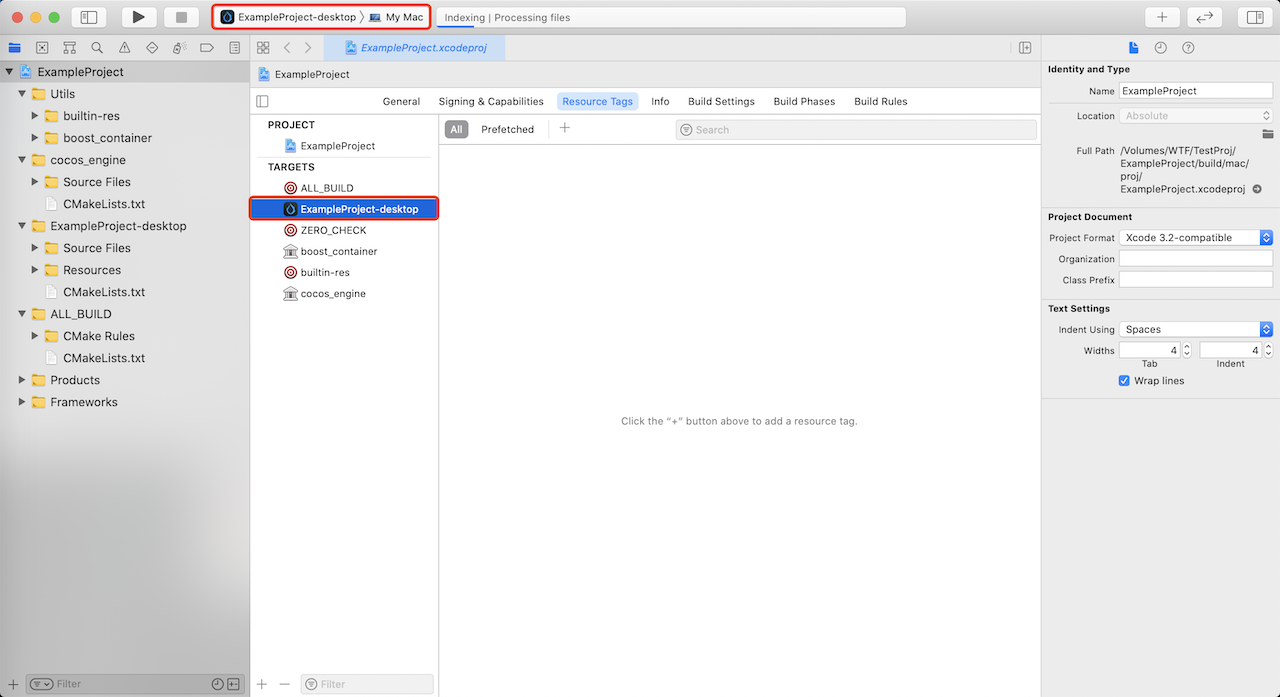
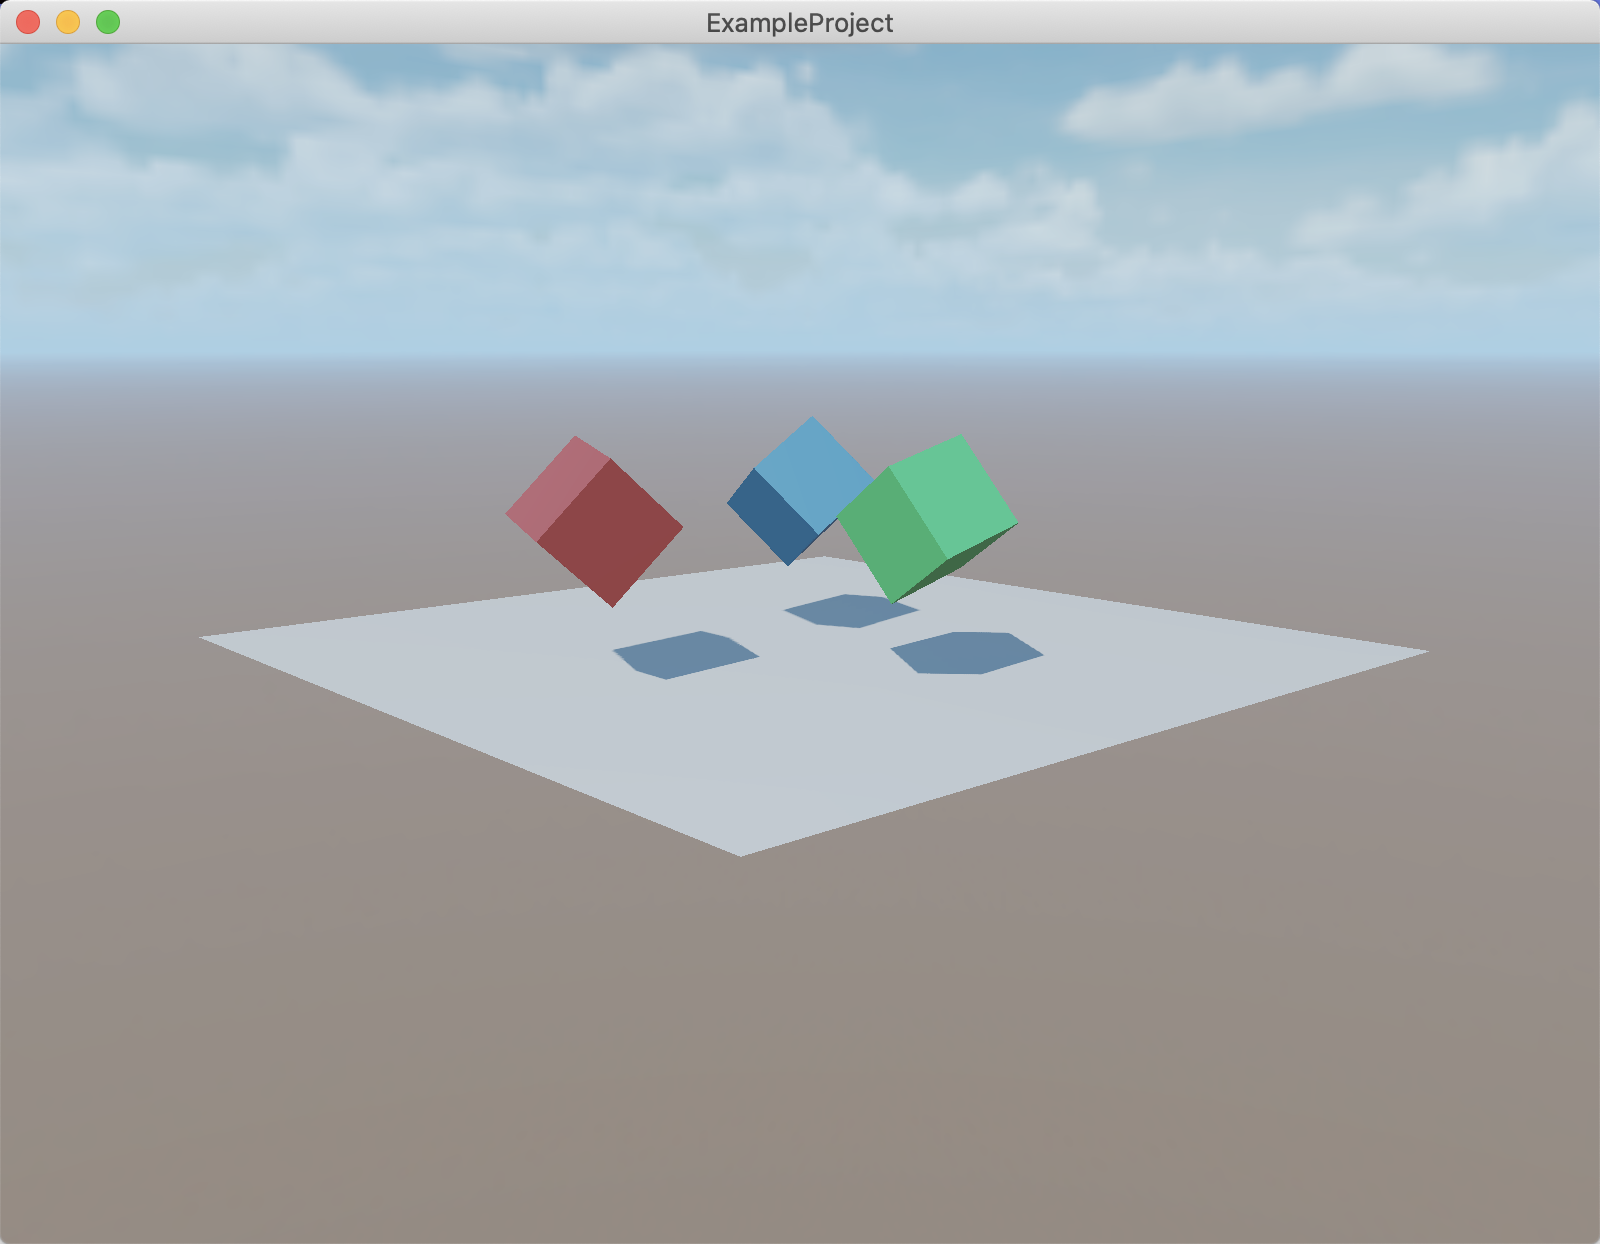
Select <ProjectName>-desktop as the build target, choose a suitable simulator or a connected Mac device, and click the compile and run button to start the project.
Modifying Resolution
You can modify the resolution by editing _windowInfo in native/engine/common/classes/Game.cpp:
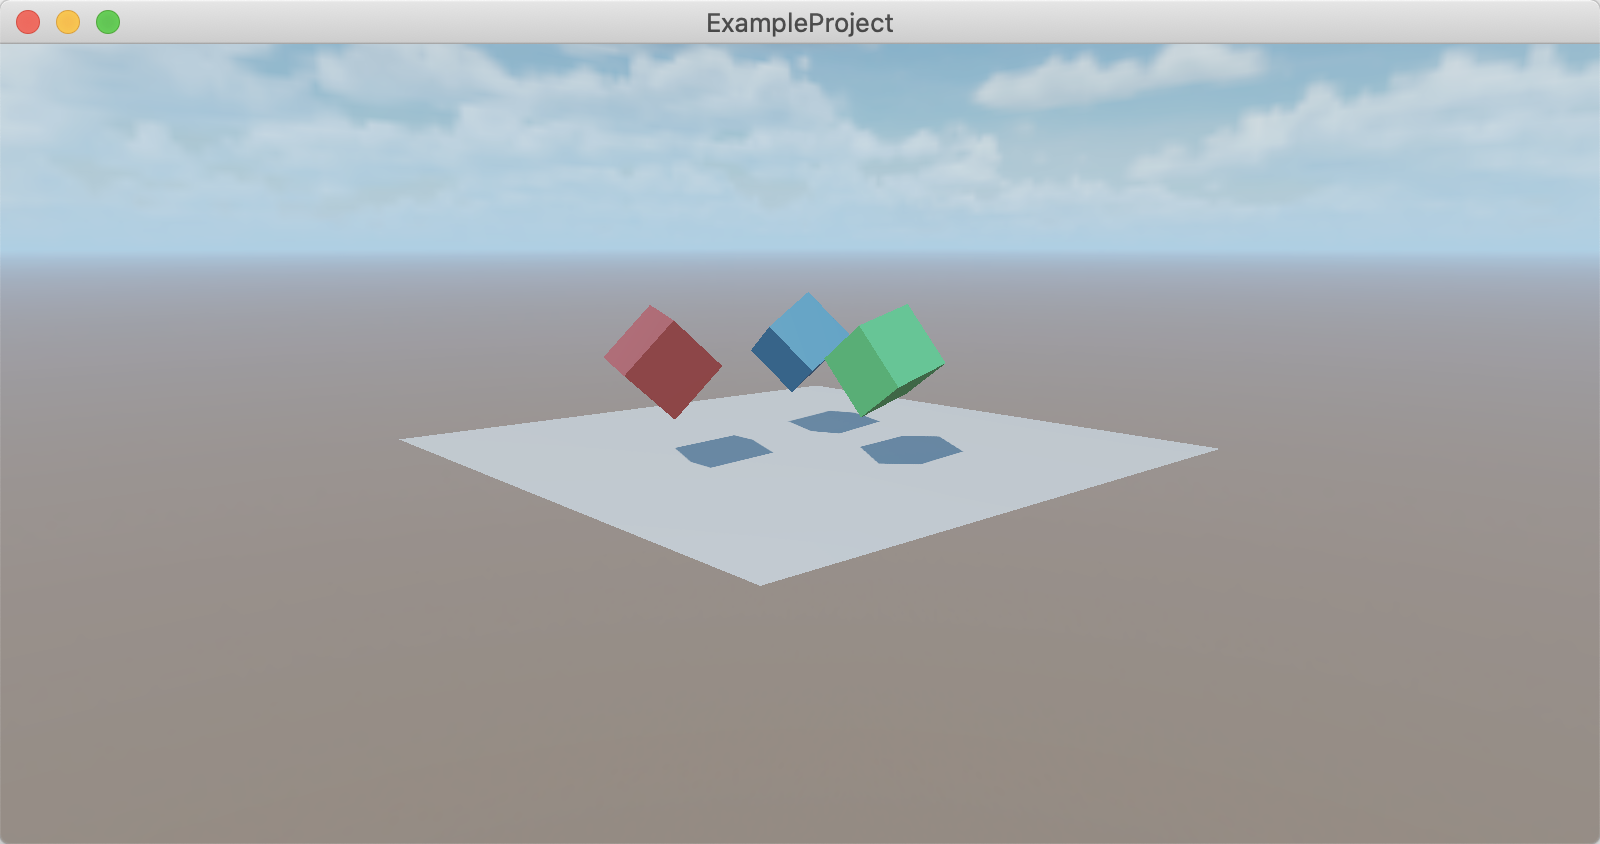
The default resolution is 800 x 600. Let's take the example of changing the resolution to 800 x 400.
int Game::init() {
  _windowInfo.title = GAME_NAME;
  // configure window size
  _windowInfo.width  = 800;
  _windowInfo.height = 400;
}
After making the modifications, compile and run the project again in Xcode. The effect should be as shown in the following image:
Read More
Script-Native Communication
Sometimes, projects need to call macOS system functions from the script layer, or when integrating a third-party macOS SDK, it is necessary to call its API through script code. In such cases, the communication mechanism between the script layer and the native layer is required.
For communication mechanisms, please refer to:
- JavaScript and iOS/macOS Communication with Reflection
- JavaScript and Objective-C Communication using JsbBridge
Debugging JavaScript on Native Platforms
Some issues only occur on specific devices and environments. If you can debug the code on the corresponding situation, you can quickly identify the problem and find a solution.
Cocos Creator provides a native debugging mechanism that allows you to easily debug game code on a device. For more details, please refer to Debugging JavaScript on Native Platforms.
Features and System Versions
Different features rely on specific system versions. Please refer to Features and System Versions for more details.