iOS and macOS Installation and Setup
Prerequisites
A supported environment. See Installation Prerequisites
Setting up Cocos2d-x
You can get started with Cocos2d-x by either downloading a self-contained .zip from the website or by cloning our GitHub Repo. Pick what works for you. There is no need to do both.
By downloading a .zip archive
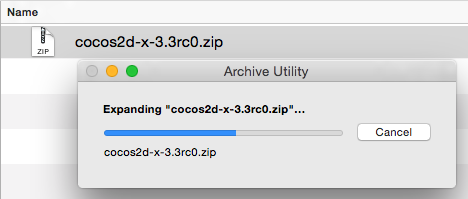
Download Cocos2d-x and unzip it. (maybe: ~/ or ~/Projects )


Cloning from GitHub
Use the following commands to clone our GitHub repo and get your environment setup. If you are not familar with GitHub's workflow, learn it or download using the step above, By downloading a .zip archive.
cd <to where you want to clone this repo>

git clone git@github.com:cocos2d/cocos2d-x.git

git submodule update --init

git submodule update

./download-deps.py
Make sure you have a working environment!
See Prerequisites above. This means a working Python, having run
Build and Run
iOS
- Enter
/build and open cocos2d_tests.xcodeproj - Choose cpp-tests iOS from targets drop-down box
- Click run to compile and run cpp-tests
macOS
- In
/build , open cocos2d_tests.xcodeproj - Choose cpp-tests Mac from targets drop-down box
- Click run to compile and run cpp-tests
Running on an iOS Device
In order to run on iOS Device an iOS Developer Program membership is needed. You can purchase one from Apple: https://developer.apple.com/programs/ios/ . The steps to run on iOS device are the same as running in a simulator except you select you device from the device list.
Starting a new project
Once everything above works, you can start a new project! To do this, read our document on the Cocos Command-line tool.
Troubleshooting
Please see this F.A.Q for troubleshooting help.
Revision history
- 1/2/2017 - slackmoehrle - tested steps, re-worded, added Github, combined iOS and OSX instructions.