First Extension
Through this article, we will learn to create a Cocos Creator extension and execute a custom script through the extension.
Creating and Installing Extensions
Click Extension -> Create Extension in the menu bar of the editor, and select Global/Project to create a extension package.
If selecting Global, the extension will be applied to all Cocos Creator projects. The path of Global is:
Windows:
%USERPROFILE%\.CocosCreator\extensionsMacOS:
$HOME/.CocosCreator/extensions
If selecting Project, this will apply the extension to the specified Cocos Creator project. The path of Project is:
$Your project address/extensions
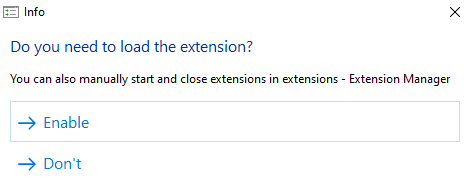
When creating an extension, there will be a prompt whether to enable the extension directly or not, choose as needed (in the example, choose Enable):

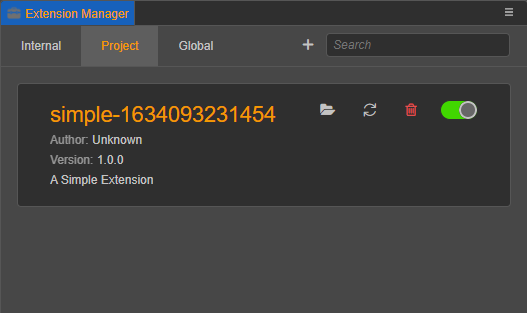
Then click Extension -> Extension Manager-> Project/Global in the top menu bar to see the extension just created, with the default name simple-timestamp:

: Open the extension package in the operating system's file manager.
: Refresh the extension.
: Delete the extension.
: Enable/Disable the extension.
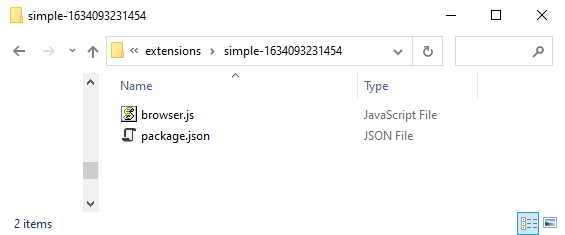
Click the button to open the extension package, which has the following directory structure:

Define the Description File package.json
Every extension needs a package.json file to describe the purpose of the extension. Only after the description file package.json is fully defined, can Cocos Creator know the specific functions defined in this extension, loading entry and other information.
Although the definition of many fields in package.json is similar to that of node.js's npm package, they are obviously customized for different products and services. The npm module downloaded from the npm community cannot be directly put into Cocos Creator to become an extension, but one can use the modules in the npm community in the Cocos Creator extension.
To continue creating an extension, open the package.json file and see the following:
{
    "name": "simple-1634093231454",
    "package_version": 2,
    "version": "1.0.0",
    "description": "A Simple Extension",
    "author": "Unknown",
    "main": "browser.js"
}
Replace it with the following:
{
    "name": "hello-world",
    "package_version": 2,
    "version": "1.0.0",
    "description": "A Simple Extension",
    "author": "Unknown",
    "main": "browser.js",
    "contributions": {
        "menu": [{
            "path": "Develop",
            "label": "test",
            "message": "log"
        }],
        "messages": {
            "log": {
                "methods": ["log"]
            }
        }
    }
}
The meanings of the fields are as follows:
nameString -- Defines the package name, which is globally unique and relates to the login name on the official website server in the future.Note: if the plugin will be uploaded to the Cocos Store, there are certain restrictions on the package name. The
nameonly allows lowercase letters, numbers, hyphens (-), underscores (_), dots (.), and begin with a lowercase letter or number.versionString -- The version number. We recommend using the semver standard to manage the package versions.mainString (optional) -- The entry filedescriptionString (optional) -- Describe the package in one sentence.contributionsObject (optional) -- Configuration objects that extend the existing functionality of the editor.menuarray -- Define amenuarray incontributionsto provide basic information of a menu to the menu component. Finally, bind this menu to a message. For more details, please refer to the Menu documentation.messages: Object -- It is necessary to define amessagesobject incontributions, which is the method of editor message registration. This message can be bound to one or more methods defined in the extension. For more definition data, please refer to the Message documentation.
For a detailed package.json format definition, please refer to the Extension documentation.
Entry Program browser.js
After defining the description file, the next step is to write the entry program browser.js.
Open the browser.js file and write the following:
'use strict';

// The method defined in the extension
exports.methods = {
    log() {
        console.log('Hello World');
    },
};

// Execute when the extension is enabled
exports.load = function() {};

// Execute when the extension is disabled
exports.unload = function() {};
The methods defined in exports.methods will be used as the operation interface, which can be called across extensions through messages or communicate with the panel.
This entry program is the main process of the extension and will be loaded during Cocos Creator startup. Because Creator will launch each extension when it starts, the main process of the extension will be loaded when the extension is launched.
Running an extension
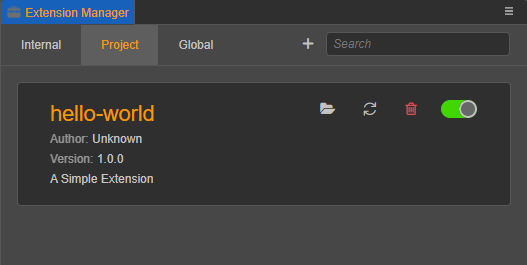
Go back to the editor and click the Extension -> Extension Manager-> Project/Global in the top menu bar to find the extension created before. Click the button on the right side of the extension to make the above changes take effect, and we can see that the name of the extension has been changed to hello-world.

If the extension is enabled, a Develop menu will appear in the top menu bar of Creator with a test menu option. Clicking test will trigger a message sending according to the definition, and execute the corresponding method in the extension according to the message definition, and then print the log message "Hello World" in the Console.