Cocos Creator
Creating Scripts
Creating Component Scripts
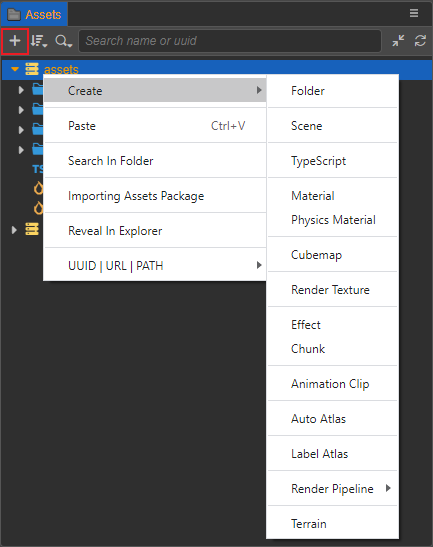
In Cocos Creator, scripts are also part of resources. You can create a component script by selecting the folder in the Assets panel where you want to place the script file, then right-clicking and selecting TypeScript, or just click the Create button (+) in the upper left corner.
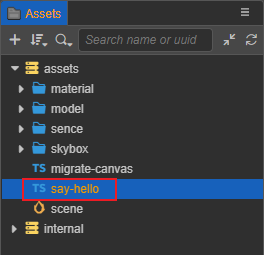
Next, name it as say-hello, and notice a script file named say-hello has been generated in the Assets panel.
A simple component script may look like this example:
typescript
import { _decorator, Component, Node } from 'cc';
const { ccclass, property } = _decorator;

@ccclass('NewScript')
export class NewScript extends Component {
    /* class member could be defined like this */
    // dummy = '';

    /* use `property` decorator if your want the member to be serializable */
    // @property
    // serializableDummy = 0;

    start () {
        // Your initialization goes here.
    }

    // update (deltaTime: number) {
    //     // Your update function goes here.
    // }
}Note: it is recommended to use TypeScript to write scripts, currently the Assets panel only supports creating TypeScript, but the user can also create JavaScript externally and then import it into Creator for use as a plugin script.
Editing Scripts
Choose a favorite text-editing tool (such as: Vim, Sublime Text, Web Storm, VSCode...) for script editing, please setup in the Preferences -> External Program -> Default Script Editor option of the editor menu bar.
By double-clicking the script resource, the script editor directly opens to allow for editing. When the script is edited and saved, then returned to the editor, Cocos Creator will automatically detect the changes to the script and compile it quickly.
Before writing code, please read the following documentations to learn more about scripts:
Add a Script to a Scene Node
Adding a script to a scene node is actually adding a script component to that node. Select the scene node to which you wish to add a script in the Hierarchy panel, at which point the properties of that node will be displayed in the Inspector panel. Adding a script component includes the following two ways:
Drag and drop the script from Assets panel directly into the Inspector panel.
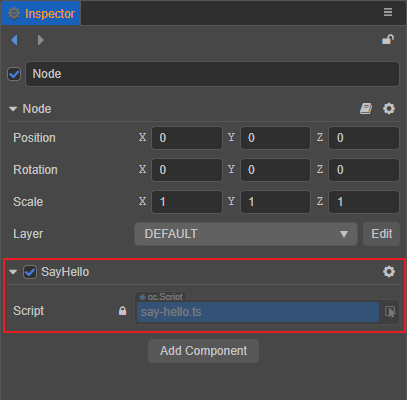
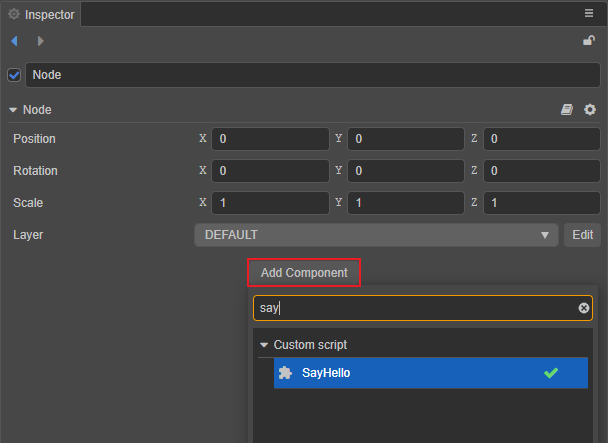
Click the Add Component button at the bottom of the Inspector panel and select Custom script -> SayHello to add the script component just created. It is also possible to add it by searching for SayHello in the Add Component search box.
Note that the component name of a script component is the class name defined in the script, not the script file name. When a script is created, the script file generates the class name according to the following rules:
- Use Upper Camel Case.
- There are no numbers on the head.
- Without special characters.
- Use the symbols and spaces in the script file name as intervals, and capitalize the first letter after each interval. For example, the script file name is
say-hello, and the class name isSayHello.
If there are secondary changes to the script file name/script class name afterwards, the two are not automatically synchronized, and can be synchronized manually if needed.
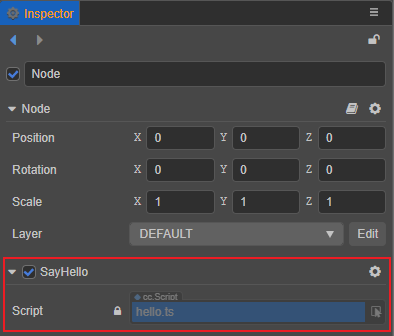
Using say-hello.ts as an example, if it is renamed to hello in the Assets panel, notice that the script component name in the Inspector panel is still the original name, SayHello, only the script name has changed to hello:
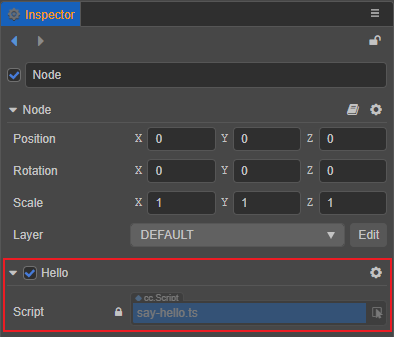
Double click to open say-hello.ts, and change the class name to Hello:
TypeScript
import { _decorator, Component, Node } from 'cc';
const { ccclass, property } = _decorator;

@ccclass('Hello')
export class Hello extends Component {}
After saving the script and returning to the editor, notice that the script component name in the Inspector panel has changed to Hello, but the script file name is still the original name, say-hello: