Fontss
There are three types of font assets available to games made with Cocos Creator: system fonts, dynamic fonts, and bitmap fonts.
The system font renders text by calling the system font that comes with the game running platform, and does not require the user to add any related assets to the project. To use system fonts, use the Use System Font property in LabelComponent.
Importing font assets
Dynamic fonts
Cocos Creator currently supports dynamic fonts in True Type format. Simply drag a font file with an extension of .ttf into the Assets Panel, and you can import the font asset.
Bitmap fonts
The bitmap font is composed of a font file in .fnt format and a .png image. The .fnt file provides an index of each character thumbnail. Fonts in this format can be generated by specialized software, please refer to:
When importing bitmap fonts, be sure to drag both the .fnt file and the .png file into the Assets Panel at the same time.
Note: after importing the bitmap font, you need to change the type of the
.pngfile to sprite-frame, otherwise the bitmap font will not work properly.
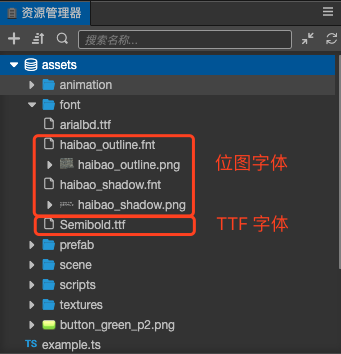
The imported fonts are displayed in the Assets Panel, as follows:

Note: in order to improve the efficiency of asset management, it is recommended that the imported
.fntand.pngfiles be stored in separate directories and not mixed with other assets.
Using font assets
The font asset needs to be rendered through the Label component. Here is how to create a Node with a Label component in the scene.
Creating a Label (Font) Node Using the Menu
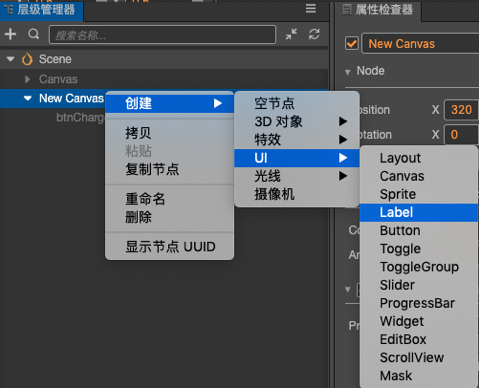
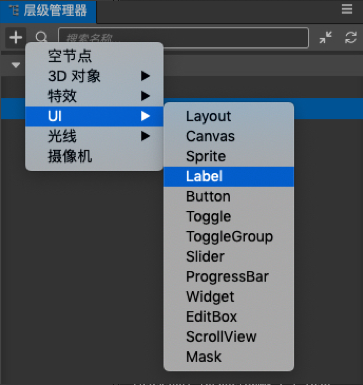
Click on the Create Node button in the upper left corner of the Hierarchy Manager and select Create Render Node --> Label (Text), and a component with Label will be created in the Scene node.

You can also complete the creation through Node --> Create Render Node --> Label (Text) of the main menu, the effect is the same as the above method.

Associated Font Assets
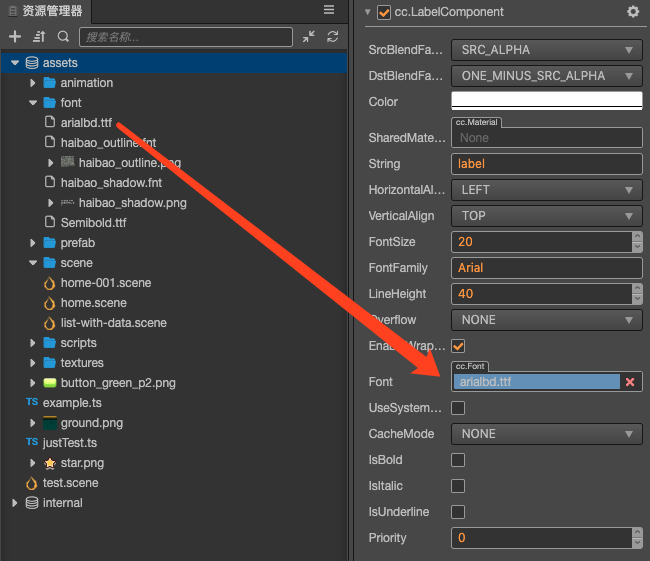
The font components created using the above method use the system font as the associated asset, by default. If you want to use a TTF or bitmap fonts in the project, you can drag your font assets to the created Label component.

At this time, the font used in a scene will be immediately rendered using the font asset specified. You can also freely switch the Font property of the same Label component to use TTF or bitmap fonts according to the needs of the project. When switching font files, other properties of the Label component are not affected.
If you want to restore the use of system fonts, you can click the property check box of Use System Font to clear the font file specified in the Font property.
Dragging and droping to create a Label node
Another quick way to create font nodes using specified assets is to directly drag and drop font files, either TTF or bitmap fonts, from the Assets Panel into the Hierarchy Panel. The only difference from the menu created above is that text nodes created using drag and drop will automatically use the dragged font asset to set the Font property of the Label component.