Scene Assets
In Cocos Creator 3D, the Scene is the cornerstone for organizing game content during development, and presenting all game content to the players. The Scene itself is a file, also considered a game asset, and saves most of the game's information.
Creating a Scene
There are three ways to create a Scene:
In order to have a good directory structure in your project, it is strongly recommend that you use Method 1 to create a Scene.
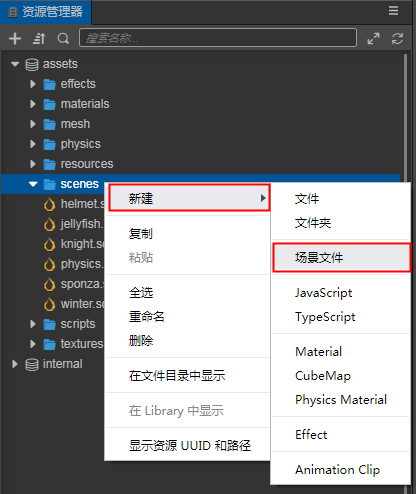
Method 1: Select the folder where you want to create the Scene file in the Assets. On the folder Right click --> New --> Scene file, and then type the desired Scene name.

Method 2: Click the Create menu in the Assets to create a new Scene.

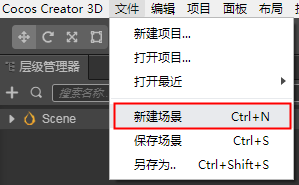
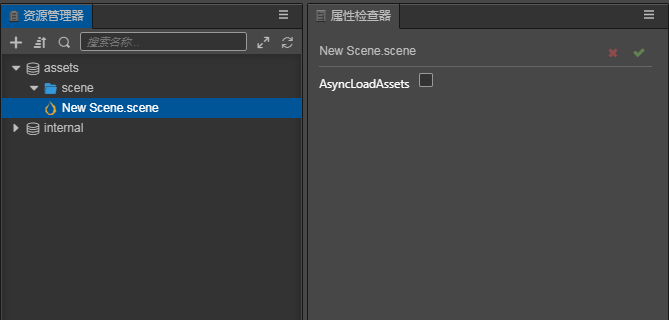
Method 3: Select File --> New Scene, a new Scene will appear directly in the Hierarchy Panel, but a new Scene will not appear in the Assets. You need to save it in the root of the asset folder. A New Scene.scene Scene file appears in the directory.

Saving a Scene
While creating Scenes, you can quickly save Scenes with the shortcut keys Ctrl + S (Windows) or Command + S (Mac).
Switching Scenes
In the Assets, double-click the Scene you want to open. When needing to switch Scenes in the game, you can use the director.loadScene() API to implement dynamic scene loading and switching in the game. For further details, please see the API documentation.
Scene Asset Properties
Since the Scene is an Asset a property can be set in the Assets to load assets asynchronously.

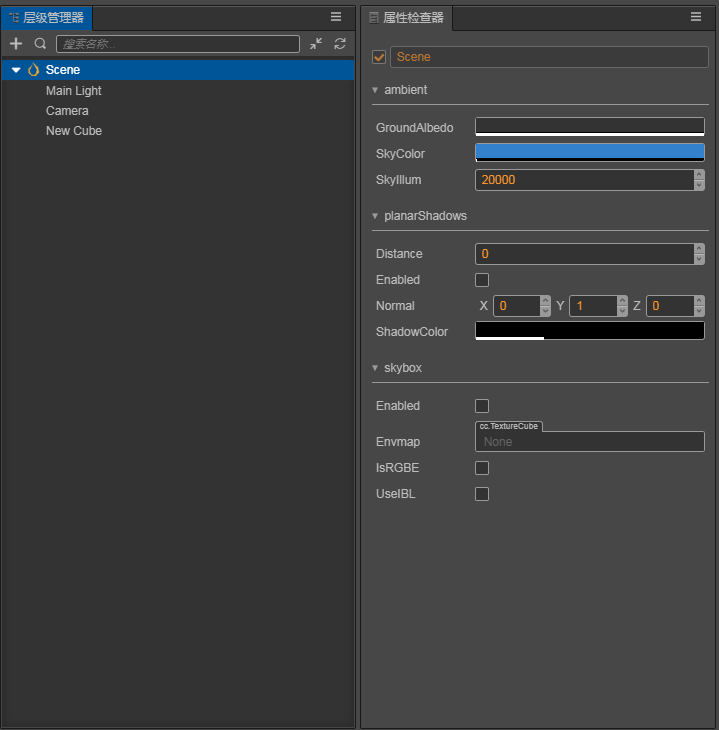
After opening the Scene file, Scene is the root node of the Scene node tree. Select the Scene node in the Hierarchy Manager. In the Property Inspector on the left, you can set the properties of the entire Scene, including ambient light settings, shadow settings and sky box settings.

For a detailed description of each attribute, see the following documents: