
- 中文
- Cocos Creator
- Cocos2d-x
- AnySDK
-
Cocos Creator 1.9Version: 1.9
Coding Environment Setup
In quick start tutorial we showed double clicking script file to edit them in builtin Code Editor. However the builtin Code Editor is only for quick edit and review of scripts and lack of many features we need for daily coding work. So we will introduce the recommended coding environment for Cocos Creator and how to set it up.
Visual Studio Code
Visual Studio Code (refer to as VS Code) is a cross-platform light weight development environment. It has great support for JavaScript editing and debugging. We have created extensions for VS Code so we have API auto-complete and native debugging support.
Install VS Code
Go to home page of VS Code and click the download button to get the software package.
Mac user can extract the software to anywhere you like, and double click Visual Studio Code.app to launch.
Windows user can run VSCodeSetup.exe to install it.
Install Cocos Creator API Extension
Open your project in Cocos Creator, and choose Developer -> VS Code Workflow -> Install VS Code Extension from main menu.
This will install Cocos Creator API Extension to VS Code's extension library, usually with the path .vscode/extensions in your user home folder. You need to install this extension only once unless there's a update with Cocos Creator.
You will see VS Code extension installed to ... in Console panel.
Generate API Source In Your Project
For syntax highlight and autocomplete you also need to generate API source to your project folder.
Choose Developer -> VS Code Workflow -> Update VS Code API Source from main menu. It will generate a creator.d.ts file to the root of your project (same level as assets folder). You'll see API data generated and copied to ... when it's complete.
This operation is only required when the API source is updated, or for some reason your project does not have a creator.d.ts file in it.
Notice: Since VS Code 0.10.11, you'll also need a jsconfig.json for your project to work. The above command will copy over a predefined jsconfig.json file along with creator.d.ts to your project. You can customize jsconfig.json according to VS Code JavaScript guide to better suit your habit.
Open Project With VS Code
Let's run VS Code, and choose File -> Open... from main menu, then select your project's root folder and click Open.
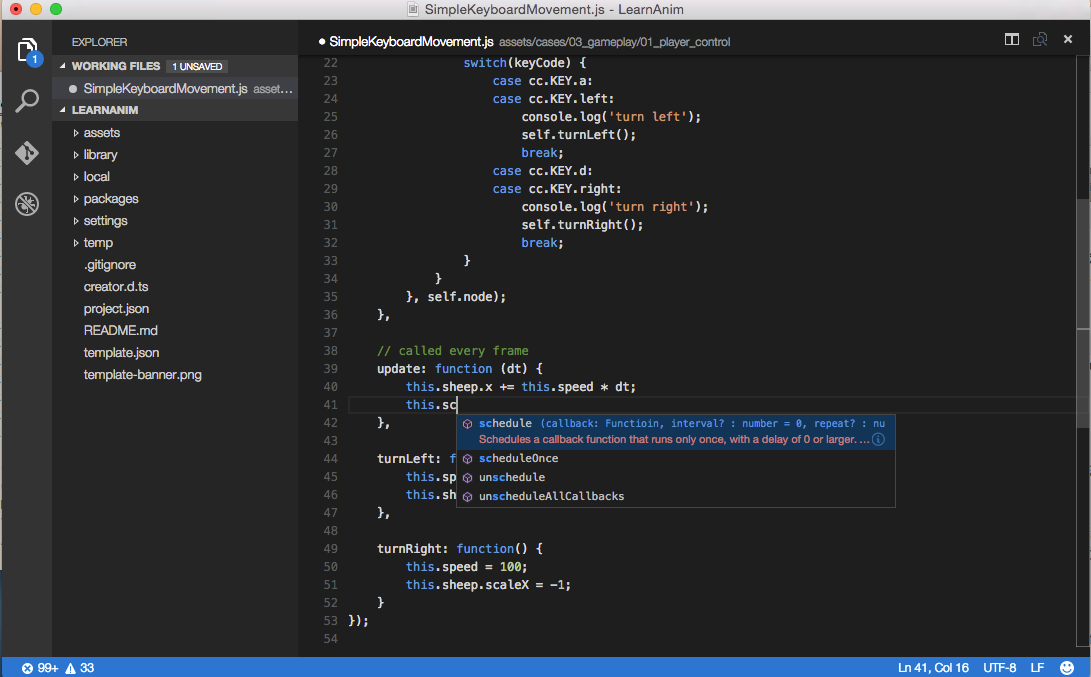
Now you can create a new script or edit existing script and enjoy autocomplete and syntax highlight.
Notice creator.d.ts and jsconfig.json file must reside in the folder you open with VS Code to make the whole language and API autocomplete work.
Setup File Tree and Search Filter
Choose Code -> Preferences -> User Settings from VS Code main menu. The user settings file will be opened for edit. Let's add the following content:
{
    "search.exclude": {
        "**/node_modules": true,
        "**/bower_components": true,
        "build/": true,
        "temp/": true,
        "library/": true,
        "**/*.anim": true
    },
    "files.exclude": {
        "**/.git": true,
        "**/.DS_Store": true,
        "**/*.meta": true,
        "library/": true,
        "local/": true,
        "temp/": true
    }
}
The above settings exclude folders generated and managed by Cocos Creator from search and file tree.
Use VS Code to debug web games
VS Code has excellent debug capability, we can debug the Web version of the game program directly in the source project in VS Code.
First we need to install:
- Chrome (Google Chrome)
- VS Code extension: Debugger for Chrome
To install the VS Code extension, click on the 'Extensions' button in the left navigation bar of the VS Code to open the Extensions panel and enter Debugger for Chrome in the search box and click Install to continue. After installation, you may need to restart VS Code to take effect.
Next, in the Cocos Creator editor main menu, execute the VS Code Workflow -> Add Chrome Debug Setting. This menu command adds a .vscode/launch.json file to your project folder as the debugger configuration. Then in VS Code you can click Debug button on the left sidebar to open the Debug panel, and in the top of the debug configuration, select Creator Debug: Launch Chrome, and then click the green start button to start debugging.
Debugging process depends on the Cocos Creator editor built-in Web server, so you need to have the editor running for debug to work. If the editor uses non-default port to preview the game, you need to manually modify the url field in launch.json to add up the correct port.
We can directly add breakpoint in the source files, make changes, recompile and continue debugging process. This workflow is more convenient and friendly than using the built-in DevTools of Chrome.
Use VS Code to debug native projects
VS Code debugging native engineering please refer to Native Platform Debugging, but only support Creator v1.6 and below. If the Creator version is greater than v1.7, use Chrome or Safari for debugging, refer to Debug JavaScript on Native Platform.
Learn More About VS Code
Go to the documentation page of VS Code, to learn the editing, customization and extensions for VS Code.
If you are a cocos2d-x user, please continue to read: