Tiled Map Resources (TiledMap)
Problem
When using a texture atlas, if a 1-pixel stretch is not applied, adjacent images may blend together, leading to incorrect edge colors, such as the appearance of black edges. Therefore, when creating the texture atlas, it is necessary to stretch each image by one pixel to serve as the edge pixel.
The previous implementation of the engine handled this automatically and would indent by 1 pixel. The code implementation was as follows:
if (spFrame) {
    grid._name = spFrame.name;
    const lm = spFrame.unbiasUV[0];
    const bm = spFrame.rotated ? spFrame.unbiasUV[1] : spFrame.unbiasUV[5];
    grid.l = lm + (grid.x + 0.5) / texWidth;
    grid.t = bm + (grid.y + 0.5) / texHeight;
    grid.r = lm + (grid.x + grid.width - 0.5) / texWidth;
    grid.b = bm + (grid.y + grid.height - 0.5) / texHeight;
    grid._rect = new Rect(grid.x, grid.y, grid.width, grid.height);
}
But there's another problem, it makes the UI design of a good map may look indented, as seen in this issue.
To fix this, in version 3.8.5 we are removing the code that automatically indents by 1 pixel, and will need to require the user to make a texture altas that needs to be set to extend by 1 pixel.
Creating a Texture Atlas for Tiled Maps
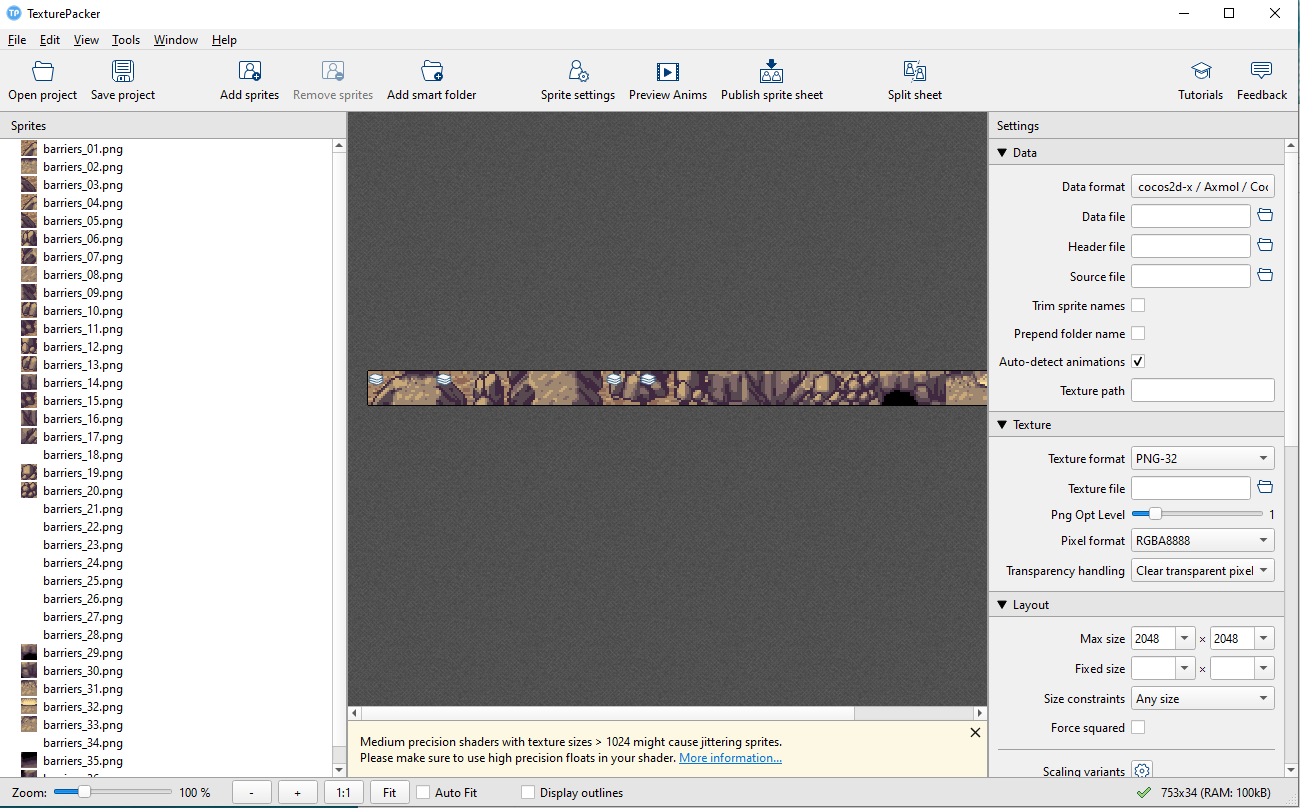
Generally, you'll need to create a texture atlas. You can use the TexturePacker tool for this.
Add the materials to the tool, as shown in the image below:
Arrange the exported atlas layout and set the parameters.
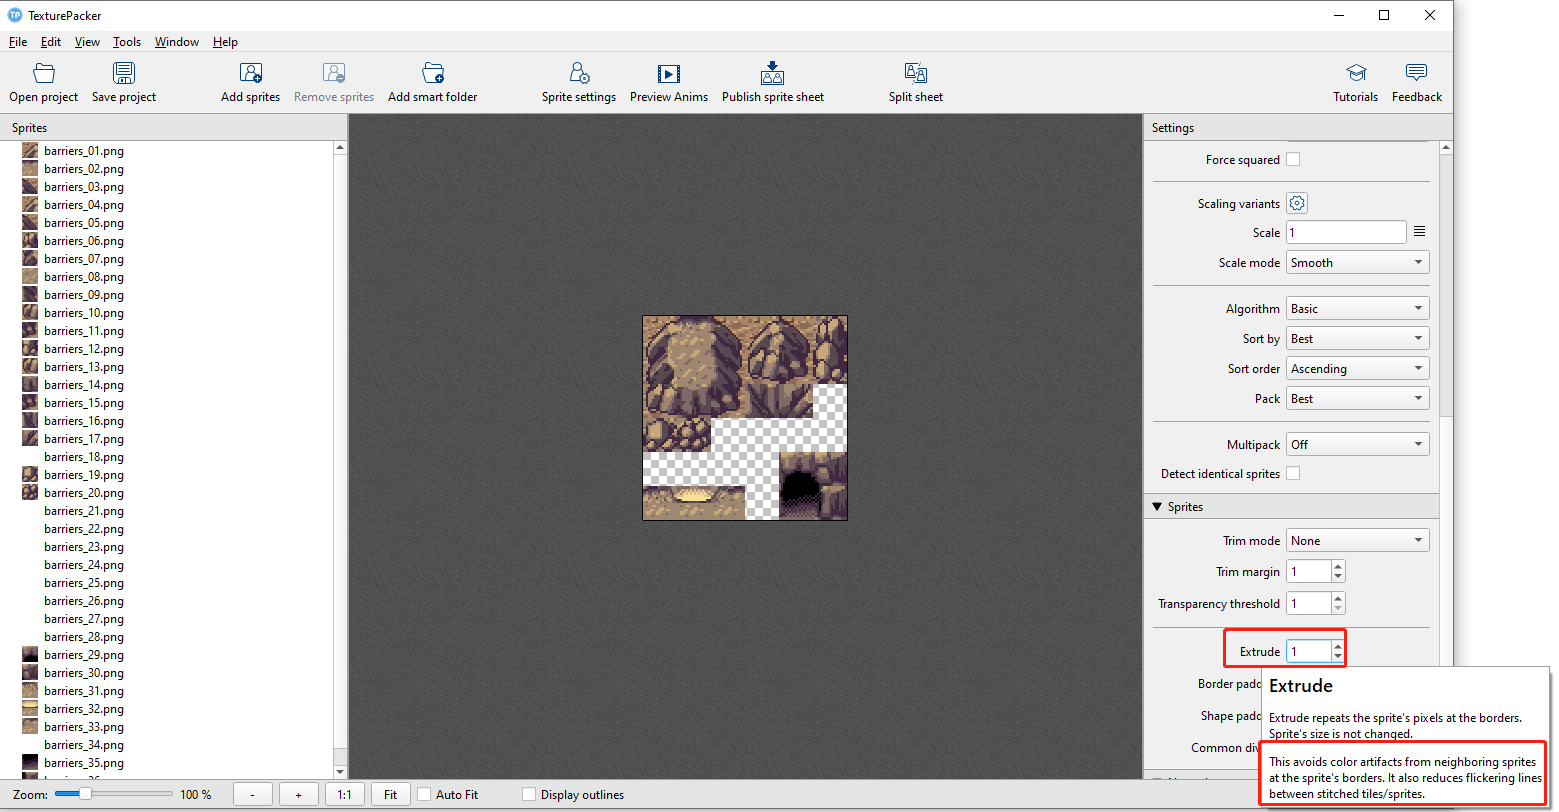
Note: You need to stretch by 1 pixel here. If you don't stretch by one pixel, the edges of adjacent textures may appear abnormal when used.
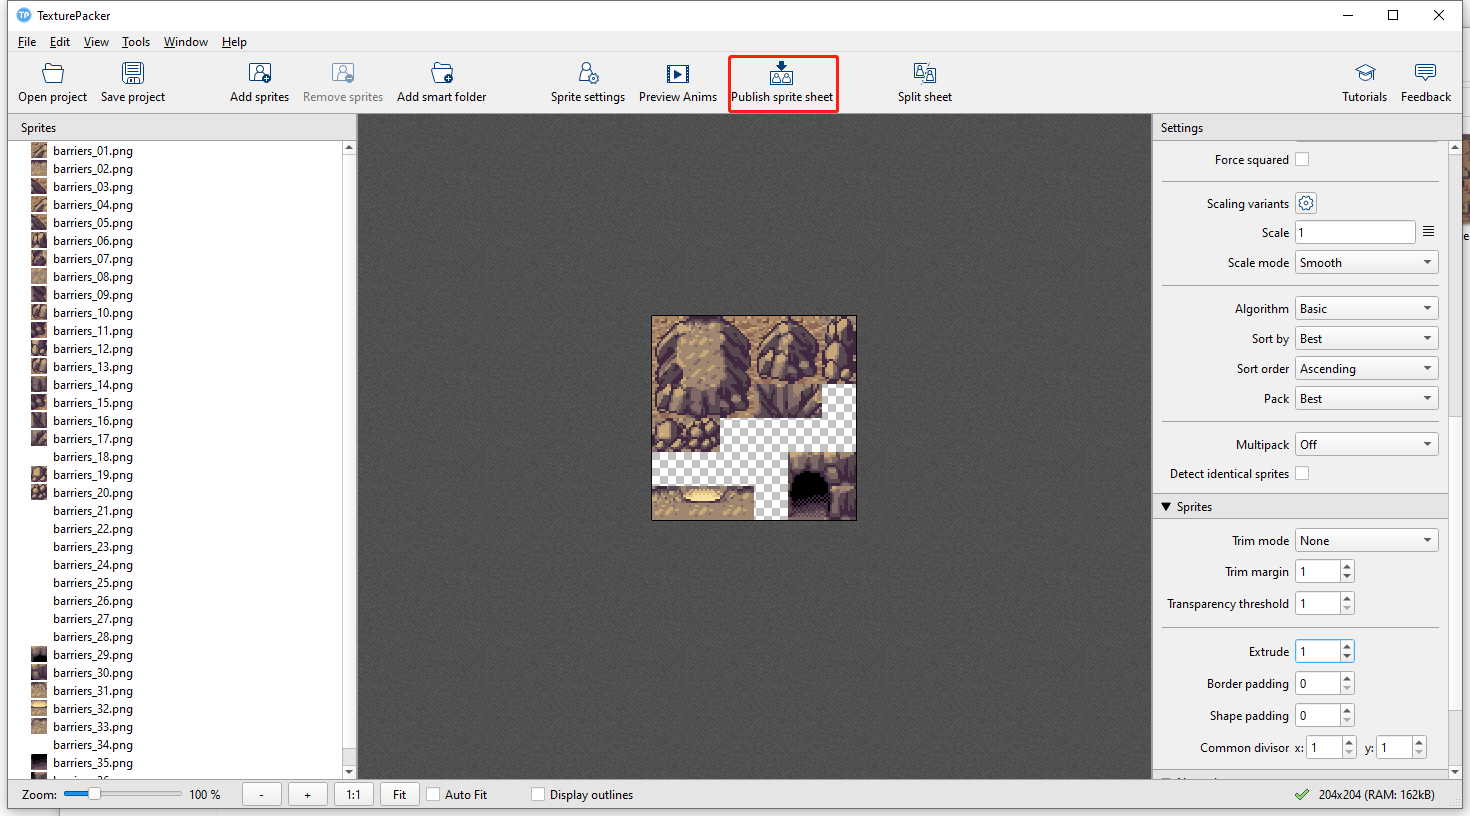
Export the sprite sheet and then set the save path.
Creating and Editing Maps Using Tiled
Tiled map resources are exported in a data format by the Tiled Editor.
| Creator Version | Tiled Version |
|---|---|
| v3.0 and above | v1.4 |
| v2.2 and above | v1.2.0 |
| v2.1 and below | v1.0.0 |
Create map tiles.
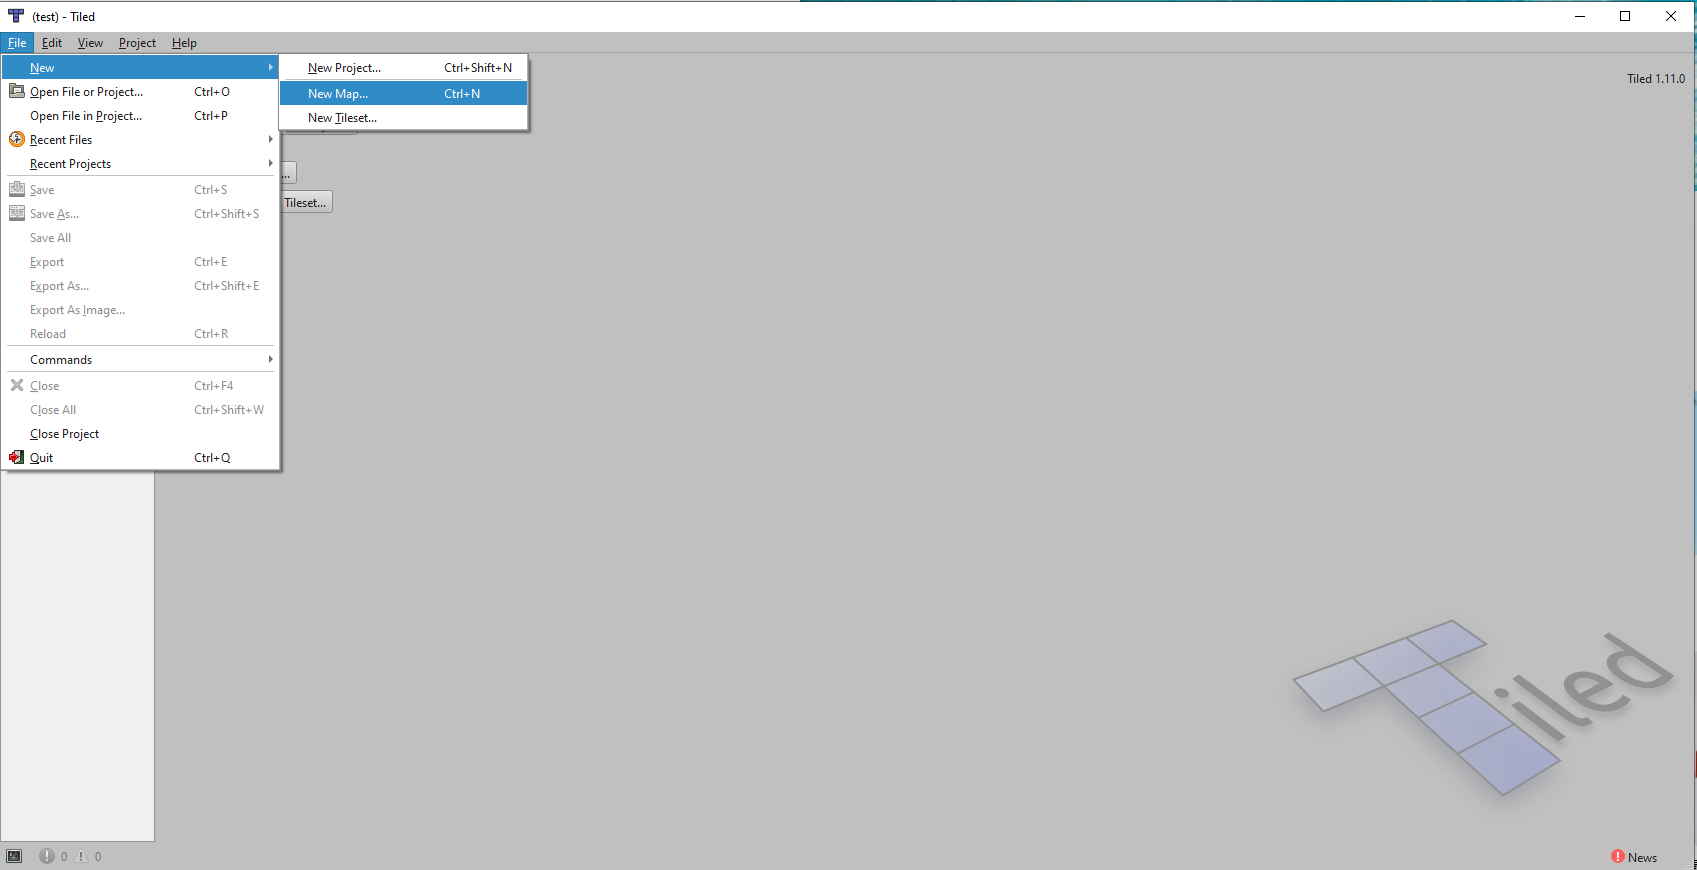
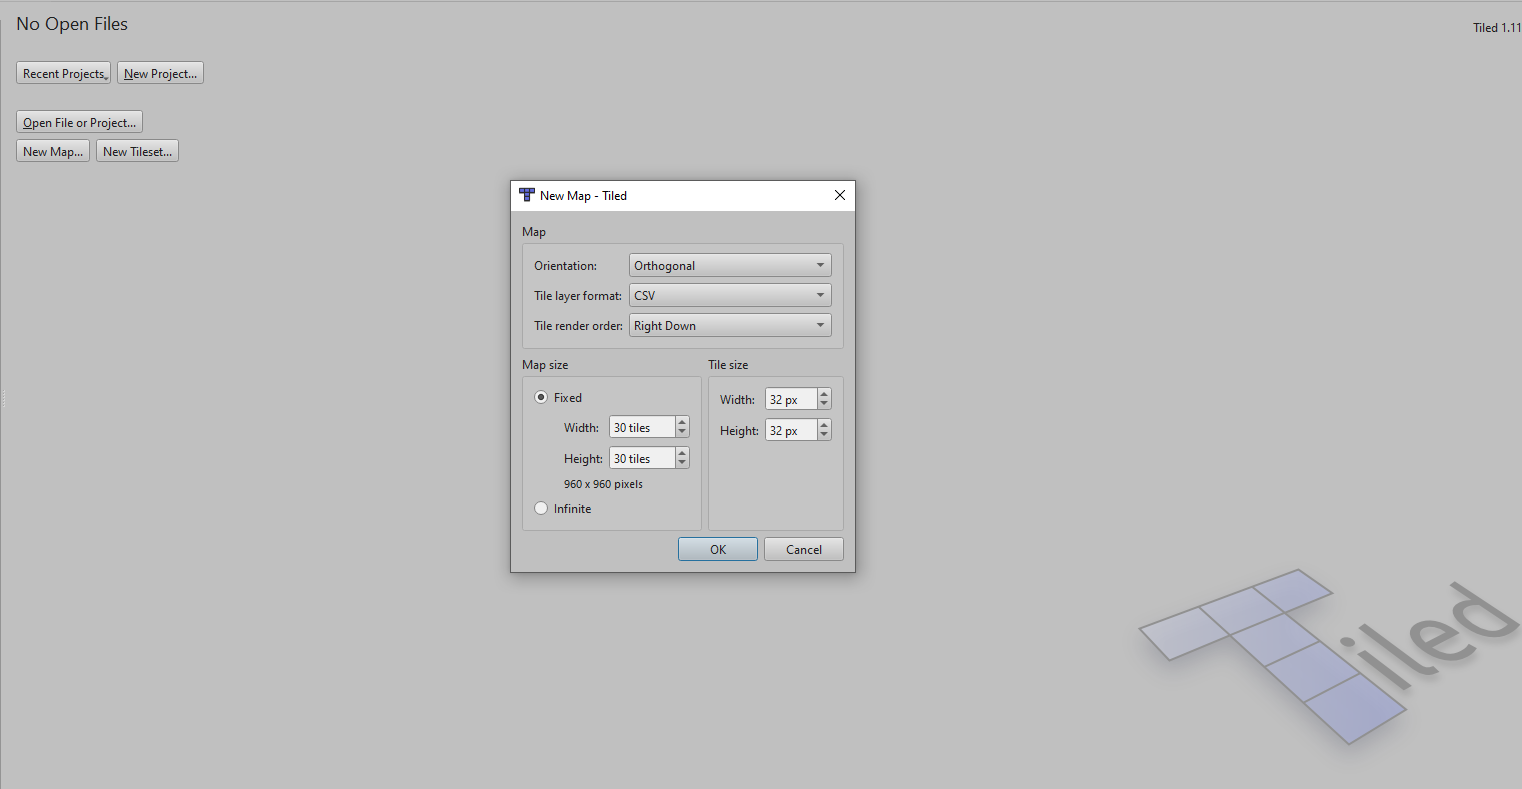
Set the tile size.
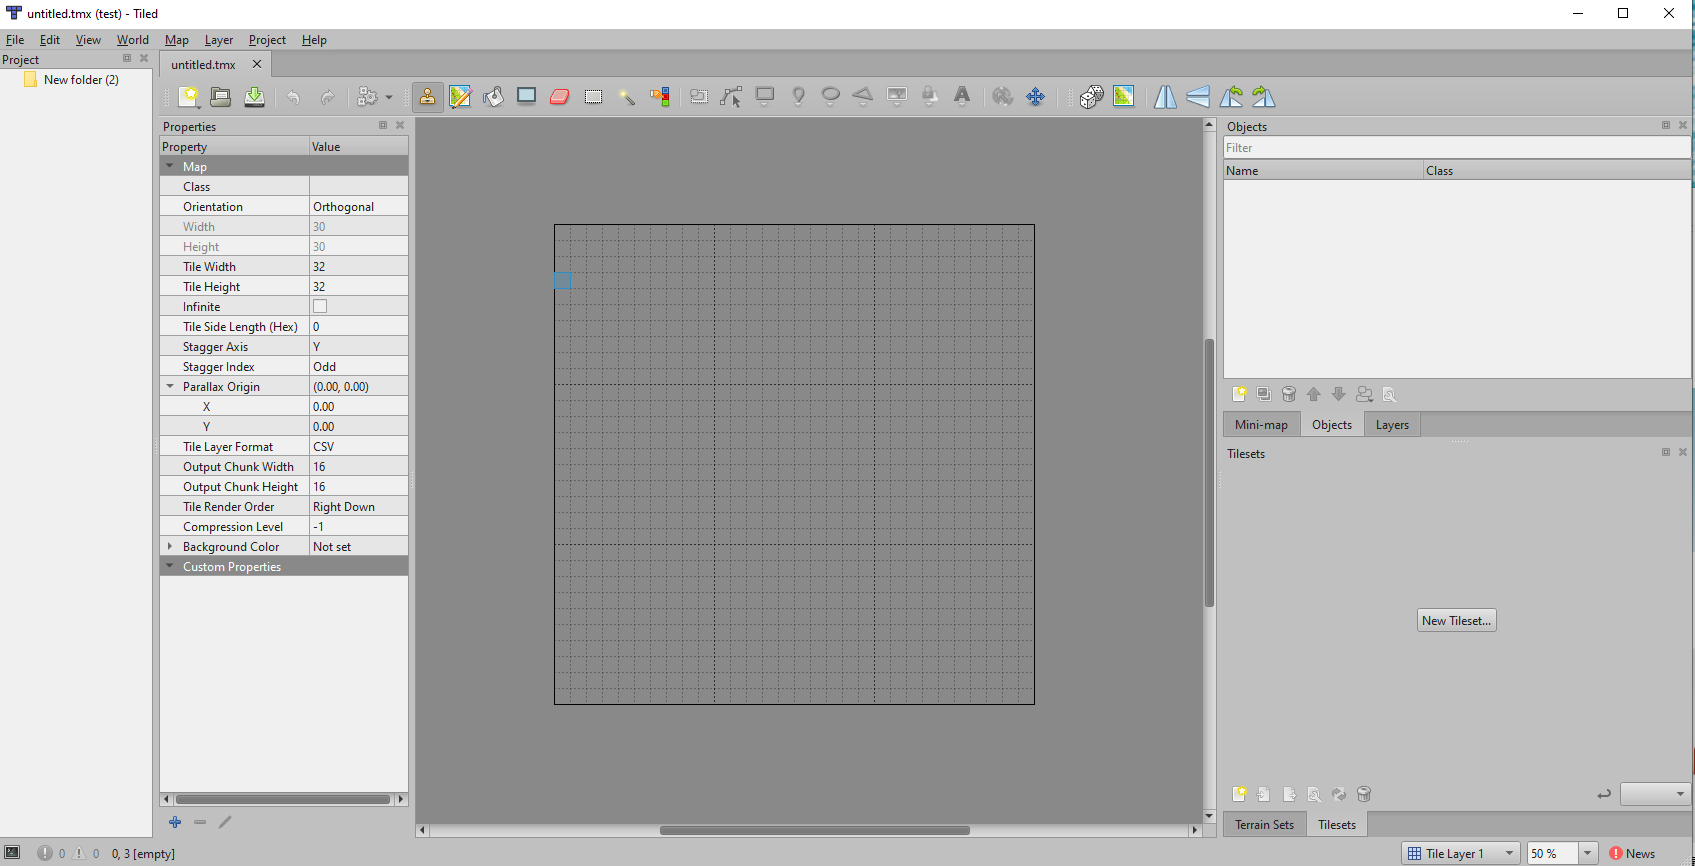
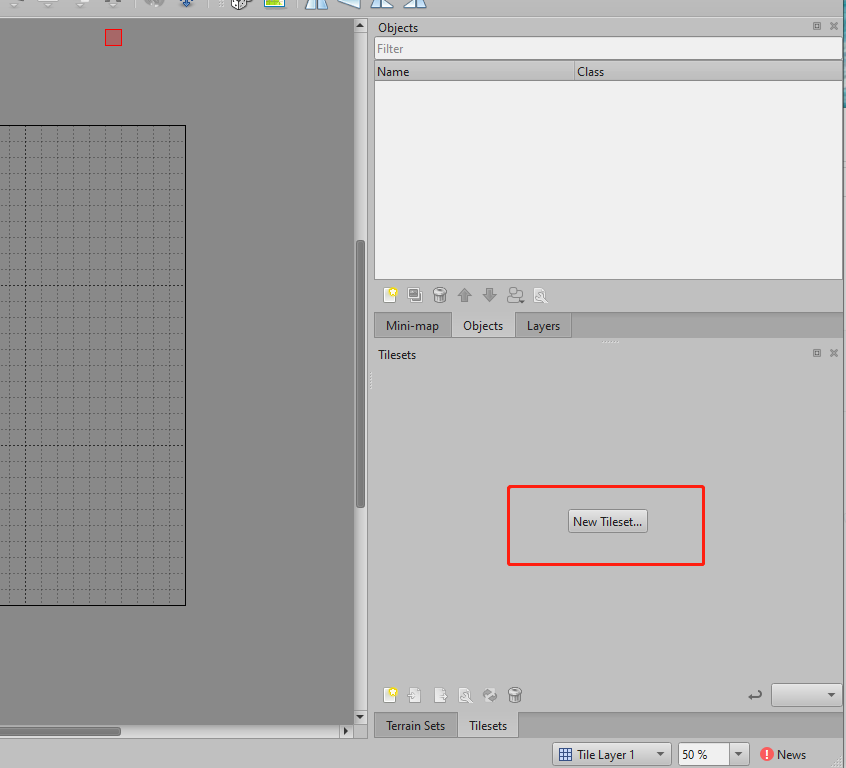
Create a new tileset.
Select the texture atlas created using TexturePacker.
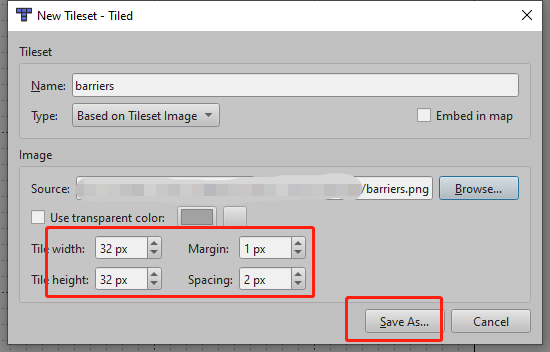
Set the size to match the original image, i.e., 32x32 pixels. Also, set the margin to 1 (offset the image by 1 pixel on all sides) and set the spacing to 2 (1 pixel on each side, making it 2 pixels total).If you haven't set stretching in TexturePacker, you need to set the margin to 0 and the spacing to 0 here
Complete the map, as shown below:
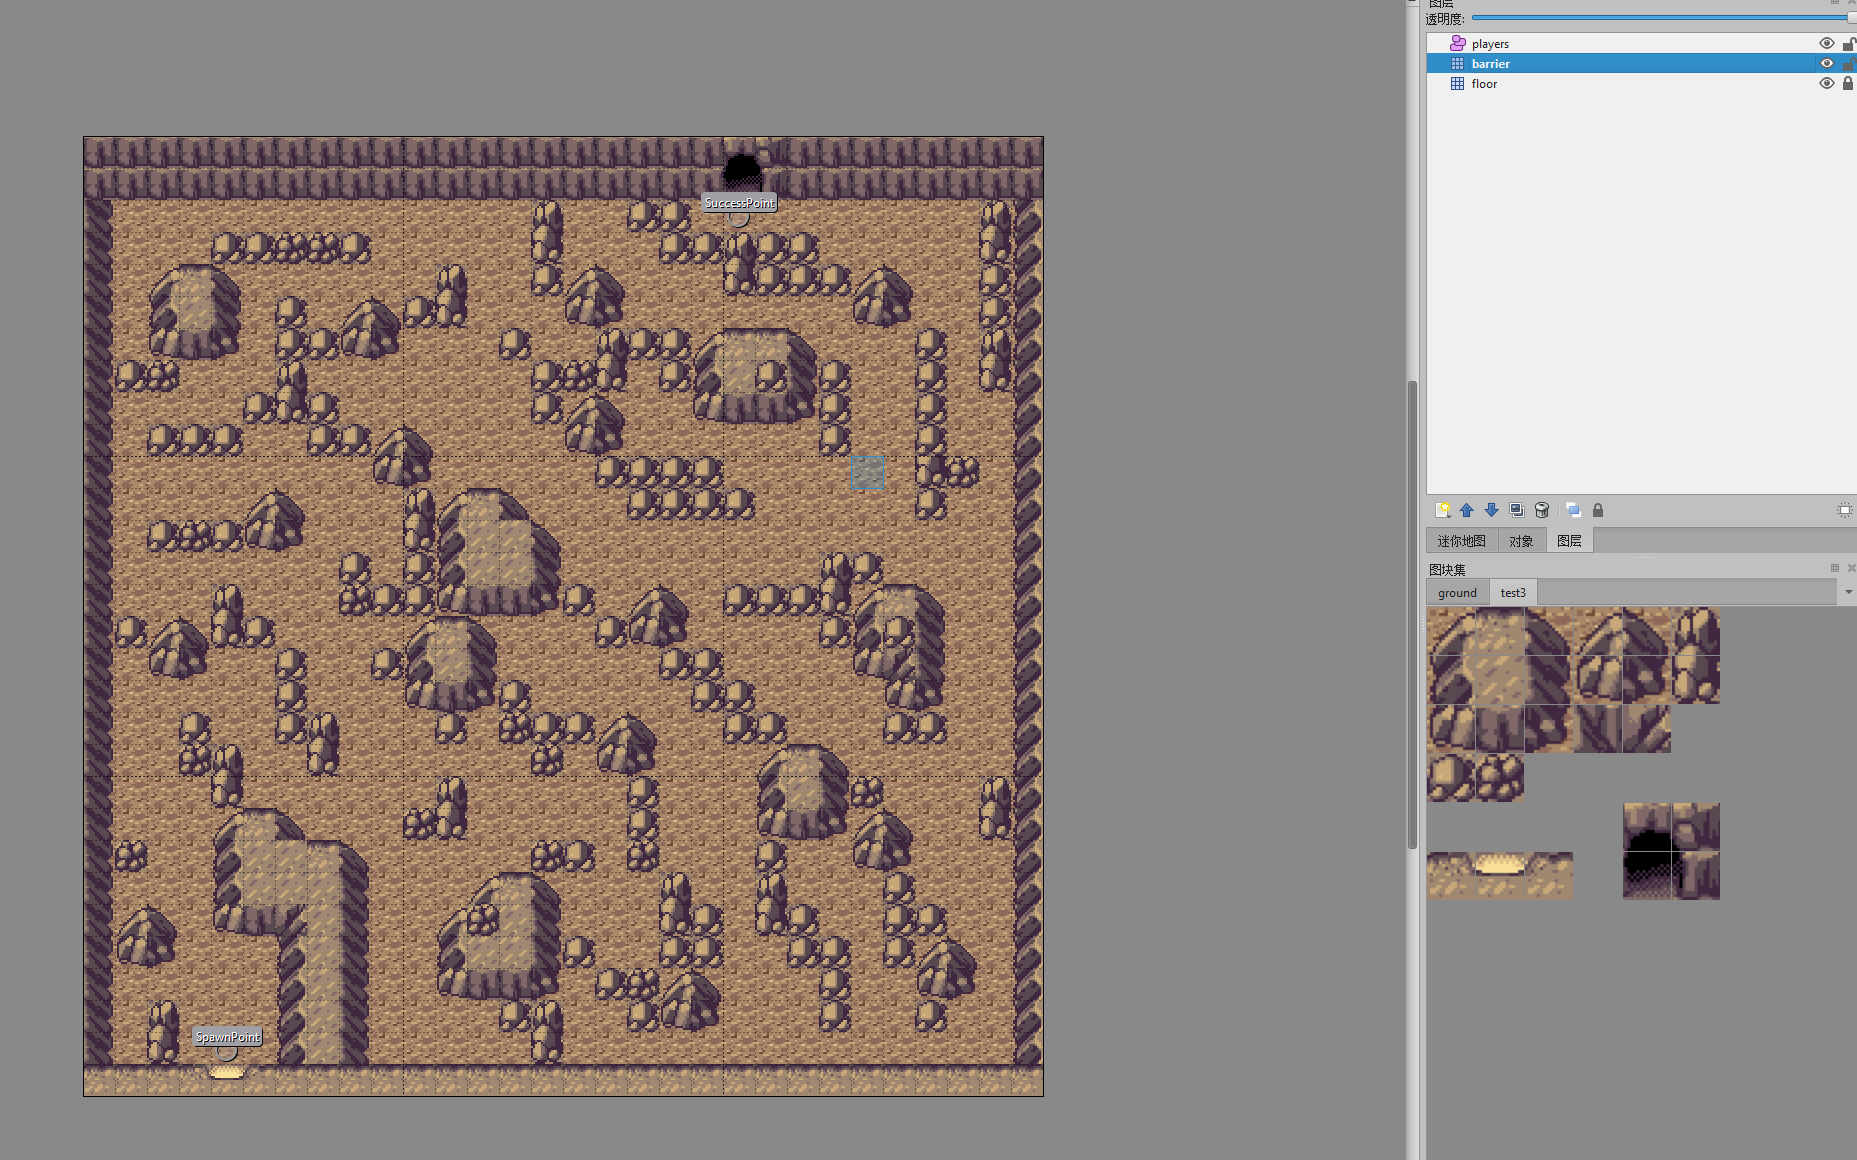
Save the
.tmxfile.
Importing Map Resources
The resources required for the map include:
.tmxmap data.pngtexture atlas.tsxtileset configuration file (required by some.tmxfiles)
Creating Tiled Map Resources
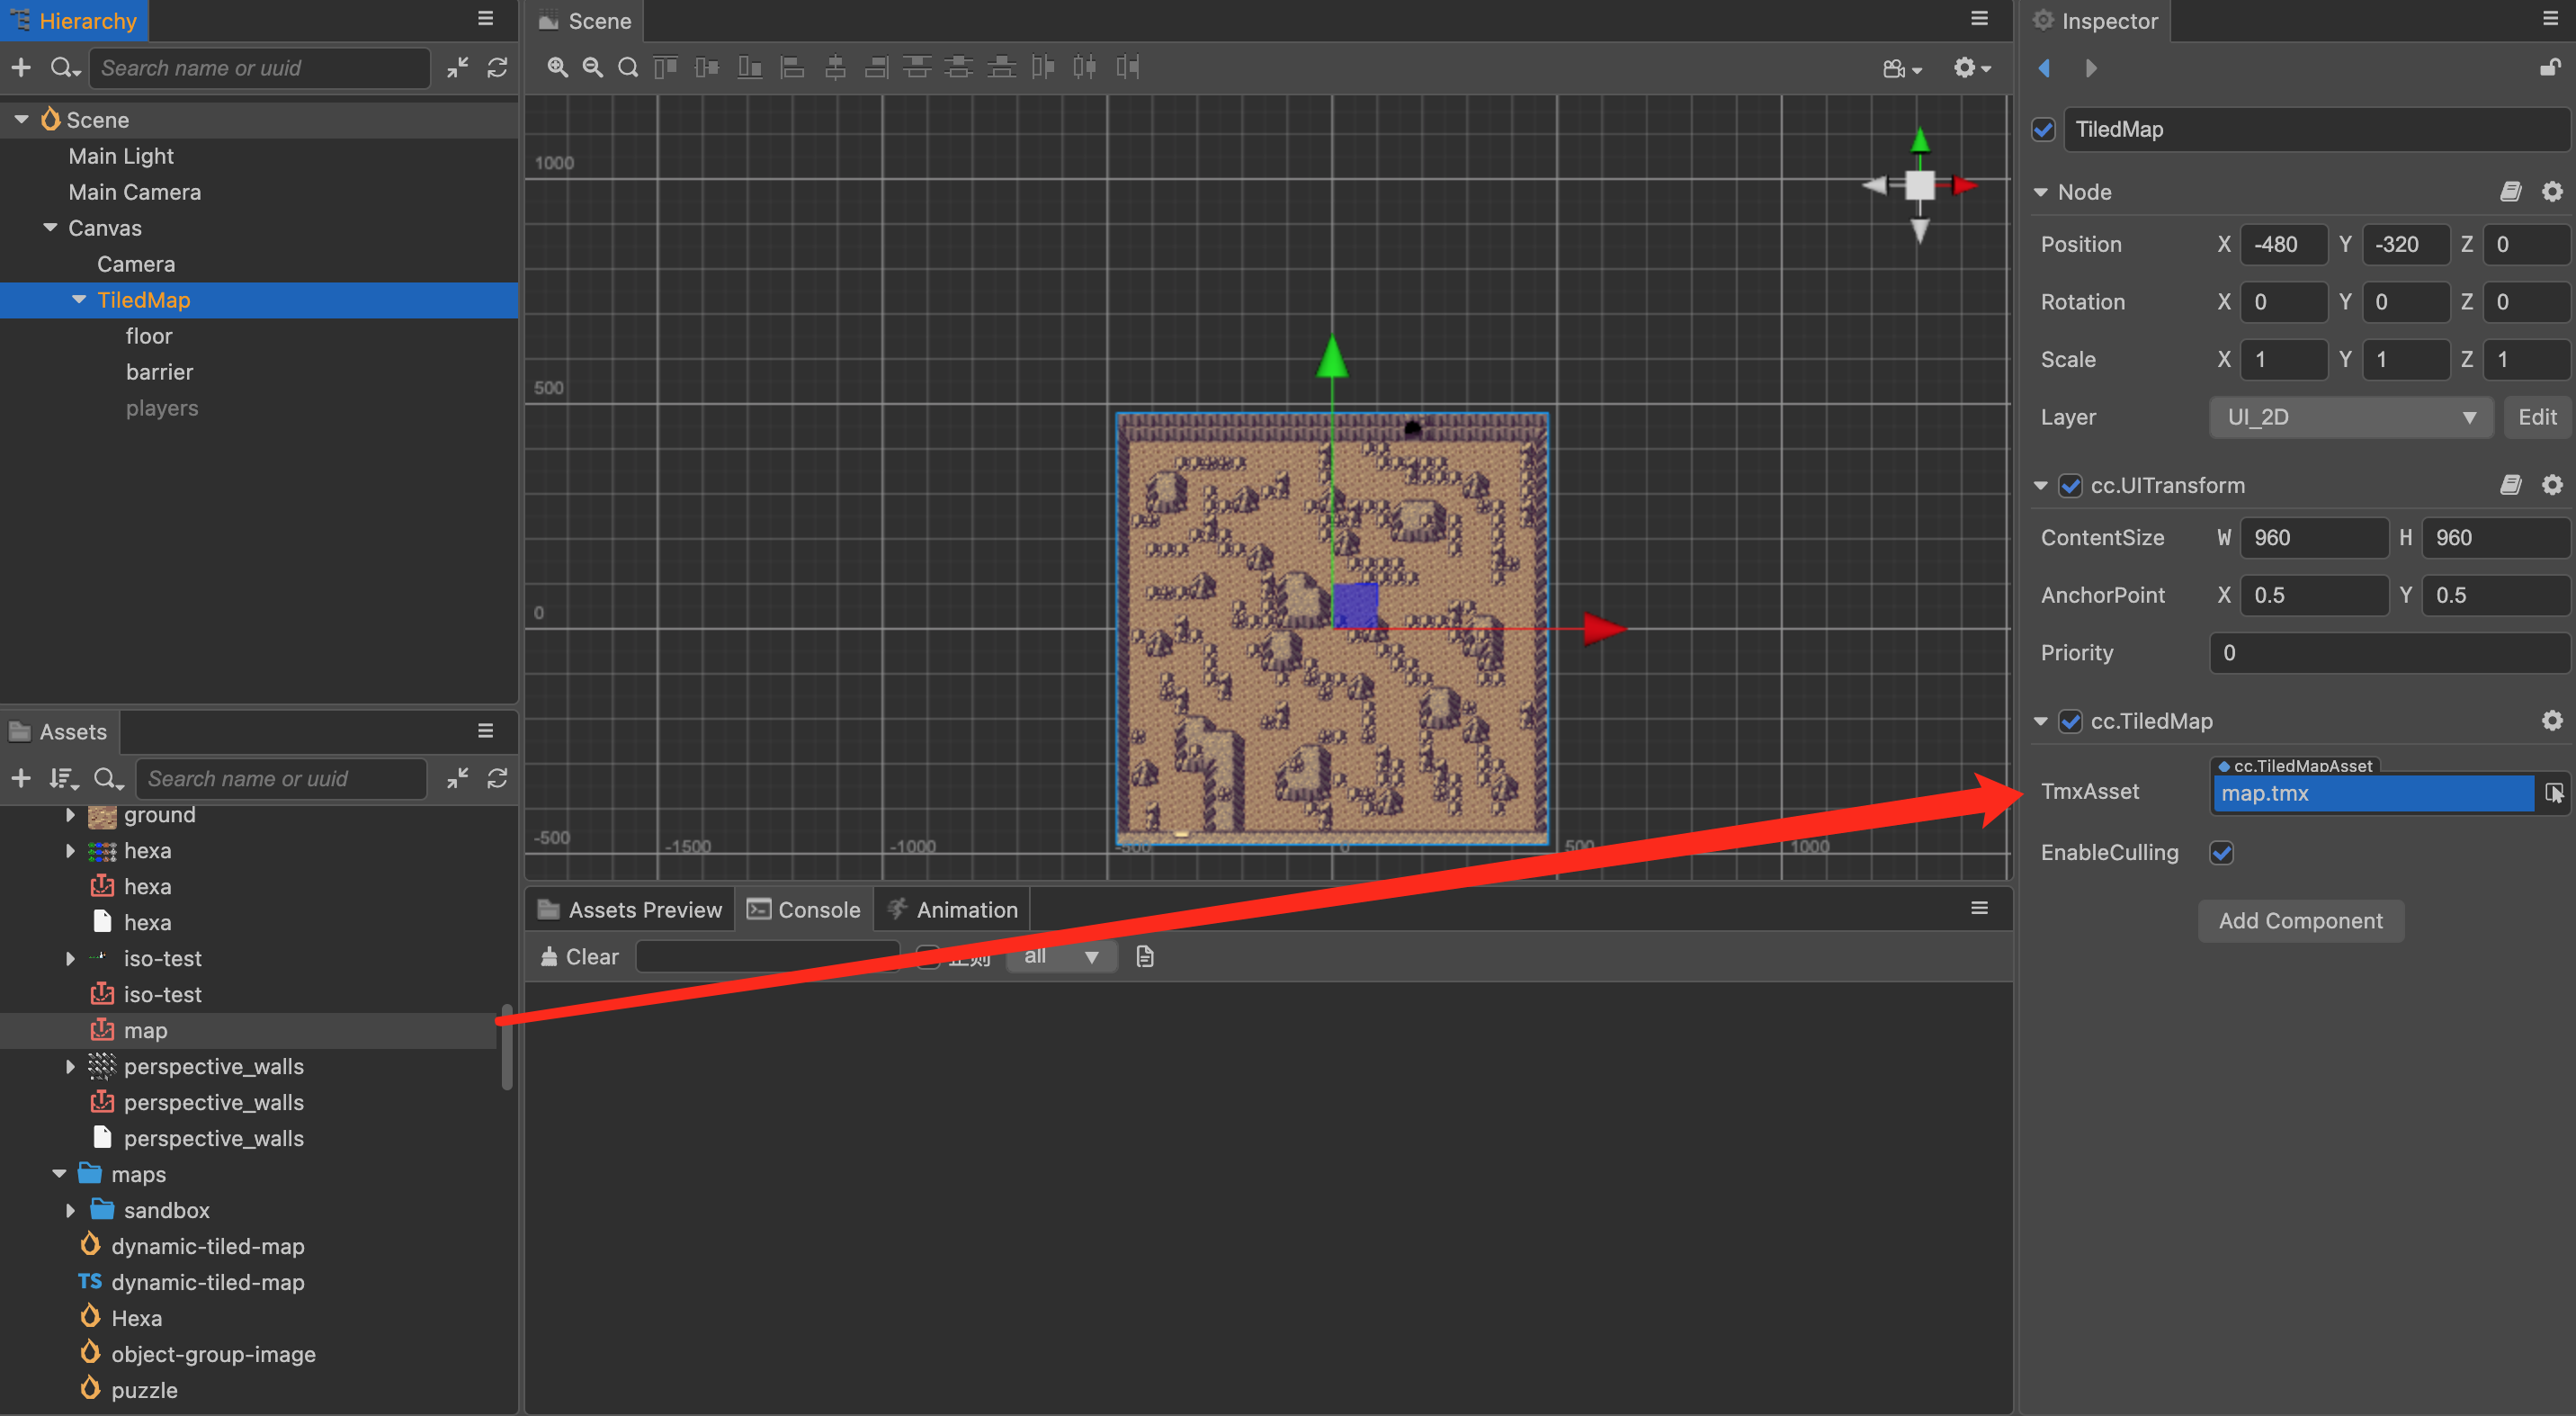
Drag the map resources from the Assets panel to the Tmx File property of the created TiledMap component:
Organizing in the Project
To improve resource management efficiency, it is recommended to store the imported .tmx, .tsx, and .png files in a separate directory, rather than mixing them with other resources. Make sure to keep the .tmx and .tsx files in the same directory; otherwise, the resources might not load correctly.
Notes
If the texture is not stretched in the TexturePacker, the result may be an error.
Without stretching, the effect is as shown below:
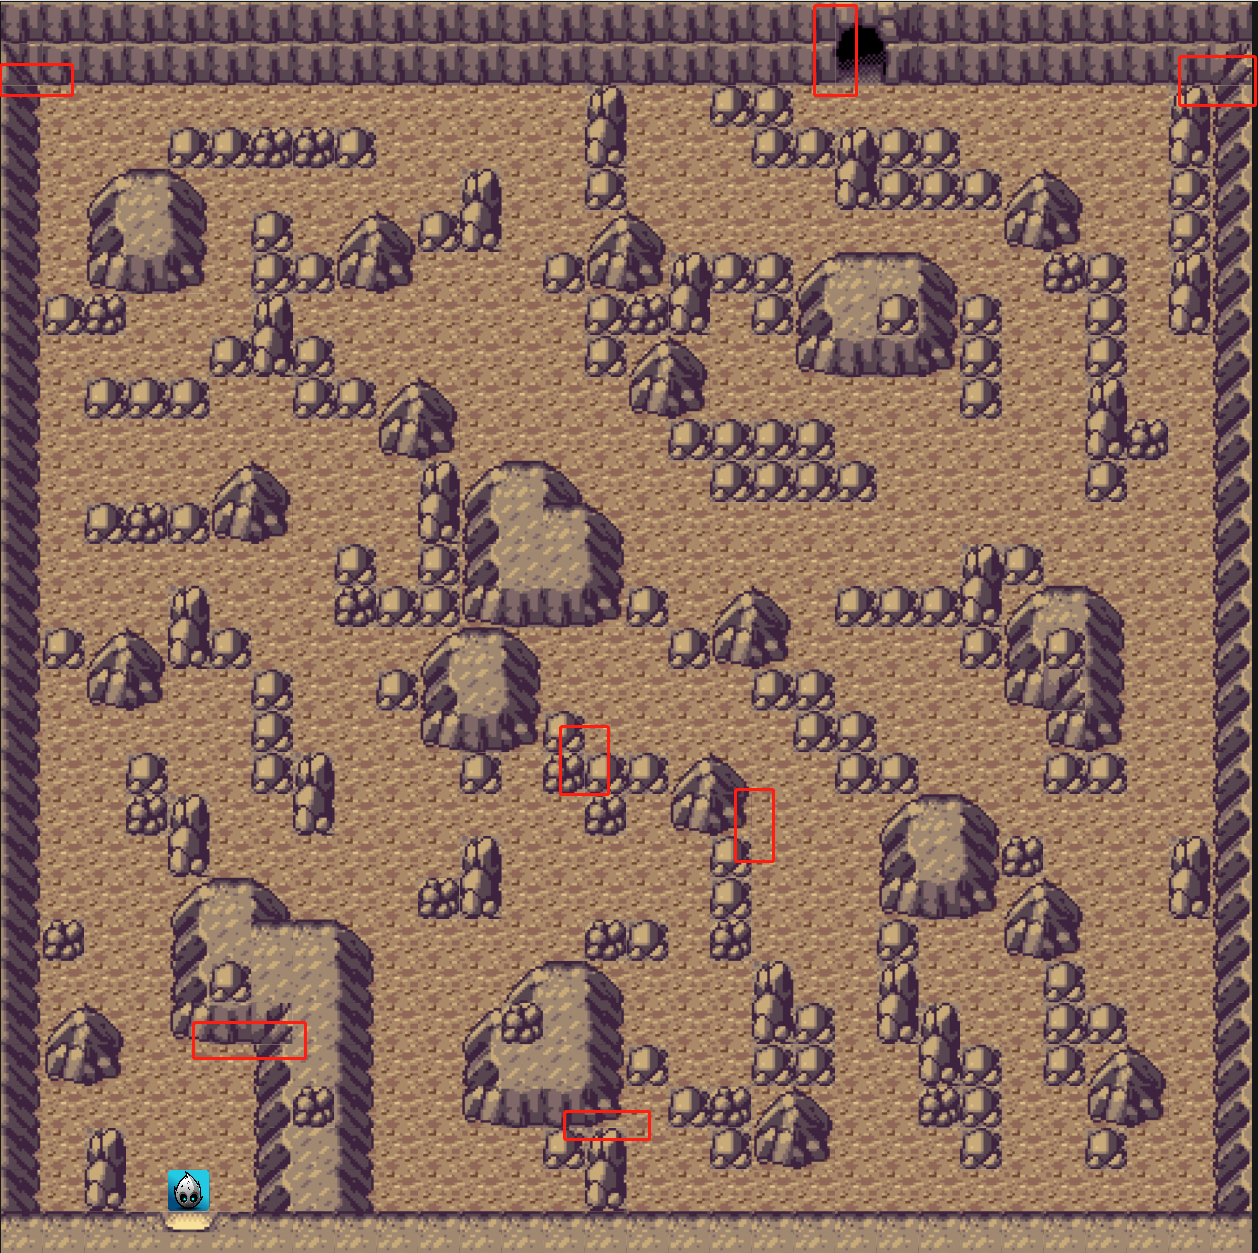
With stretching, the effect is as shown below:
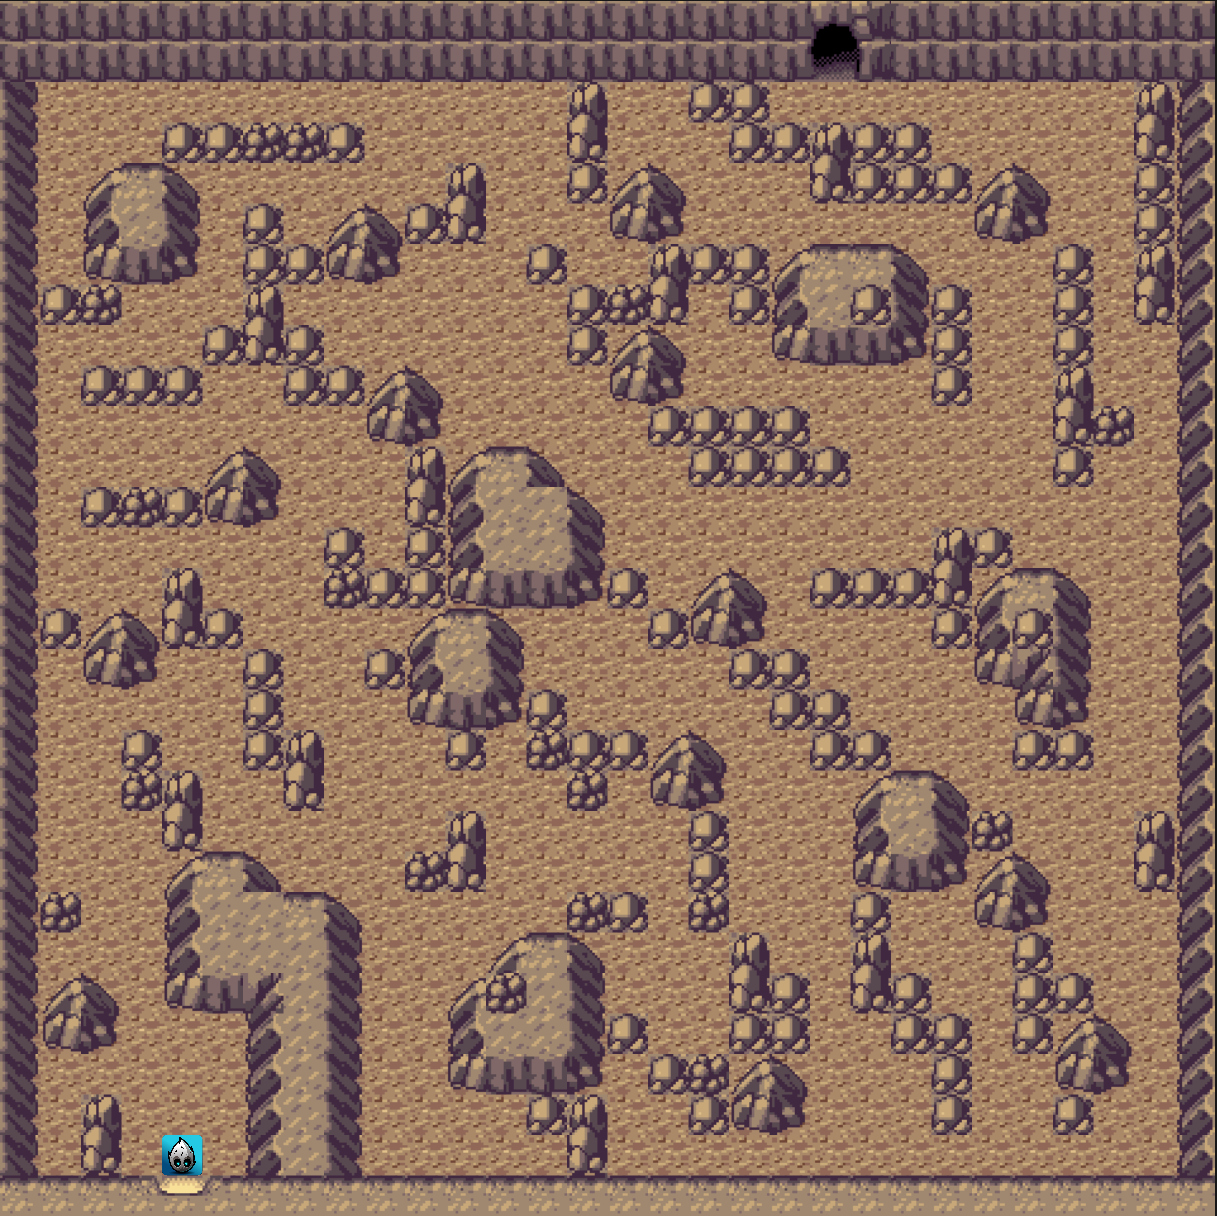
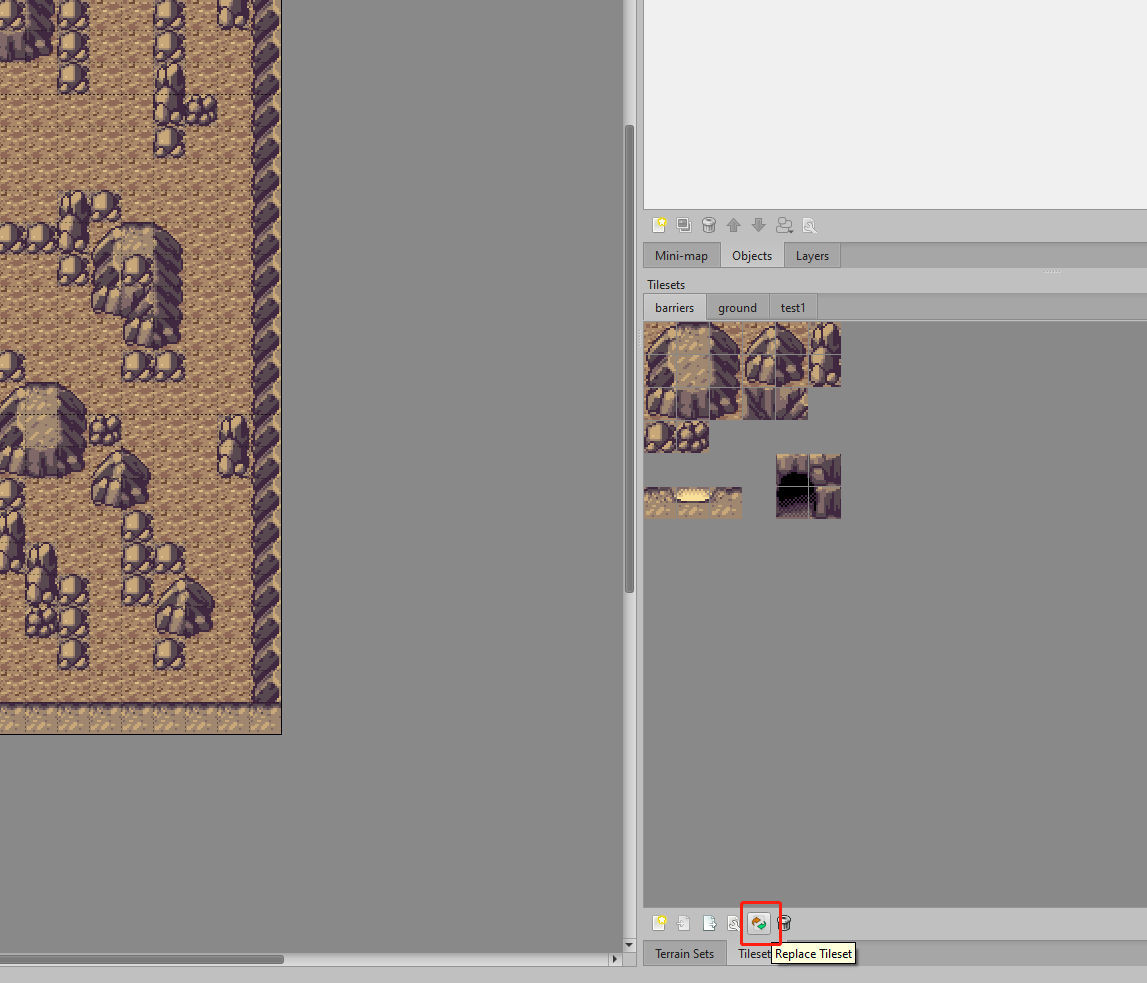
If you have existing atlases and maps, you can update the atlas without having to recreate it.
(1) Add a new atlas with new configurations, making sure not to embed it in the map.
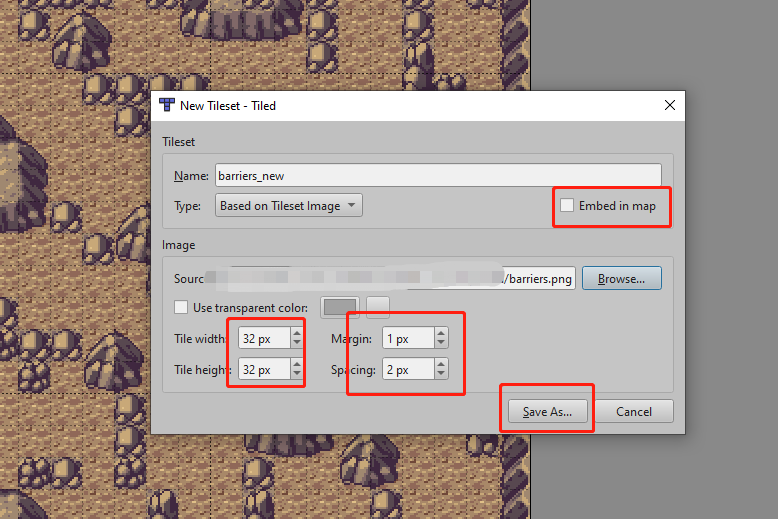
(2) In the old atlas tab, select and click Replace Tileset, then choose the new atlas created in step (1) to complete the update.
