Cocos Creator
自定义后效
自定义后效有两种方式,简单的后效可以直接将后效材质添加到 Blit-Screen 后效组件 上,复杂的后效需要自定义一个后效 pass 。
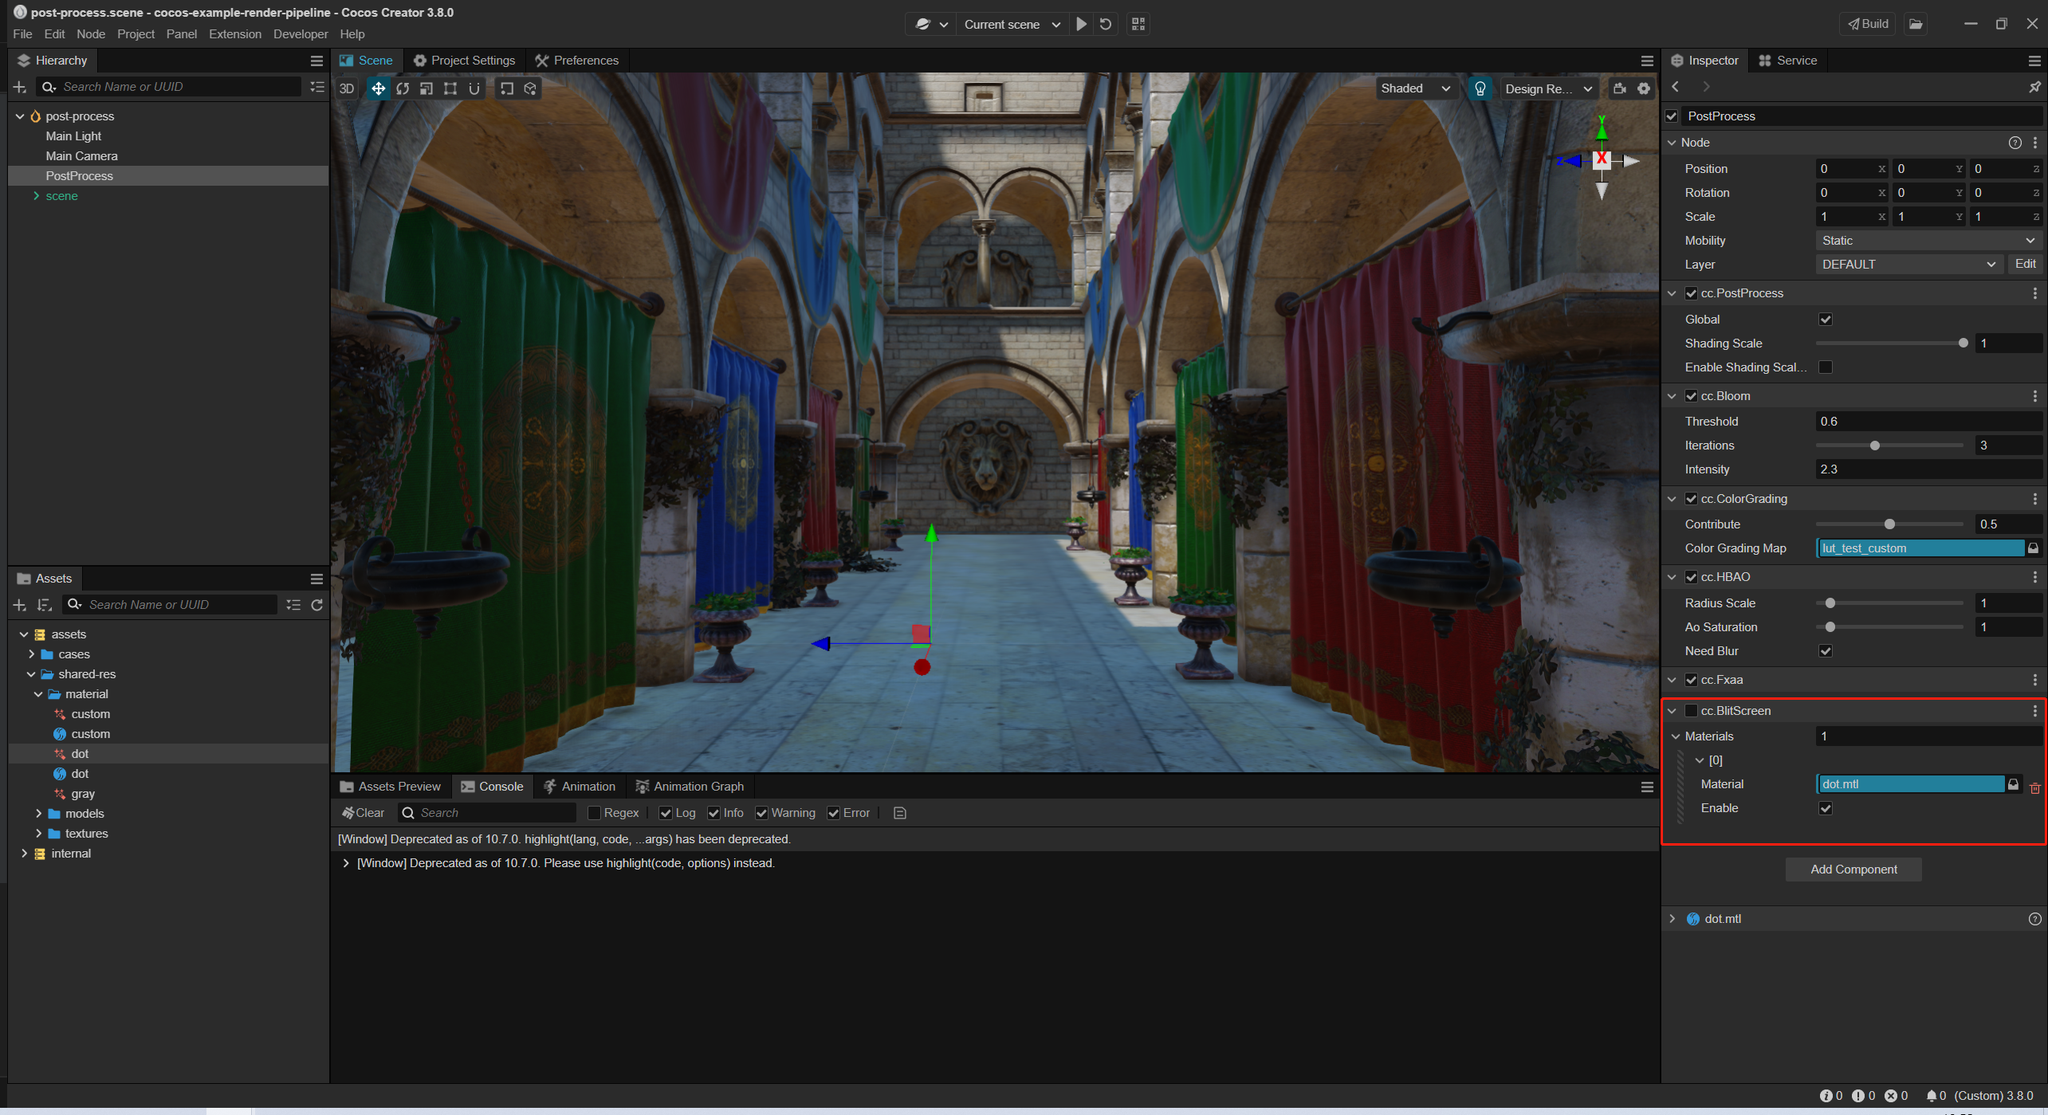
Blit-Screen 后效组件
参考 设置后效流程 添加 Blit-Screen 后效组件, 将自定义后效材质拖入 Material 属性中,Blit-Screen 会按照 Materials 数组顺序依次渲染后效材质。
Materials 属性中每个自定义后效材质都支持单独开关,方便开发者管理。
具体可以参考 cocos-example-render-pipeline
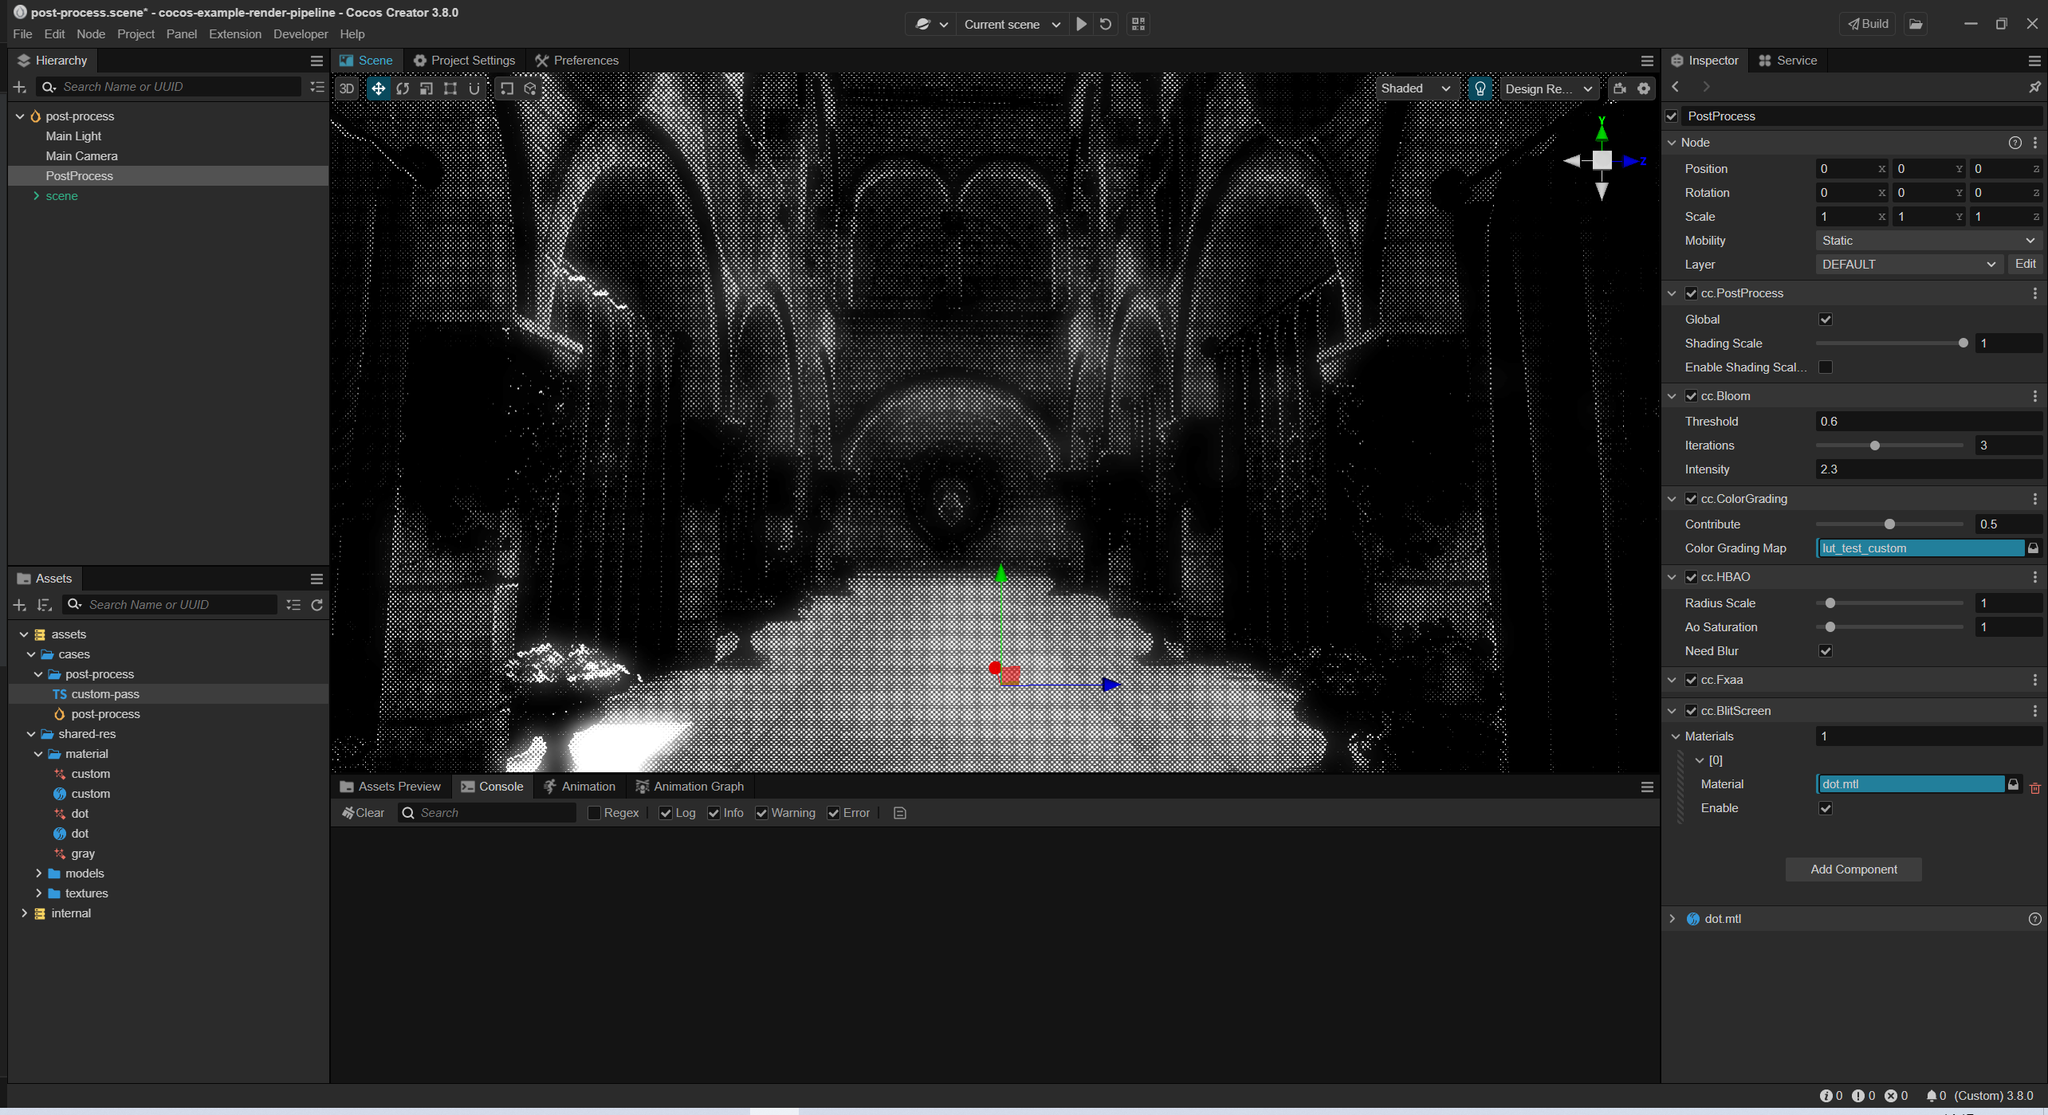
自定义后效 Pass
如果需要自定义更加复杂的后效流程,你可以创建自定义后效 Pass 。
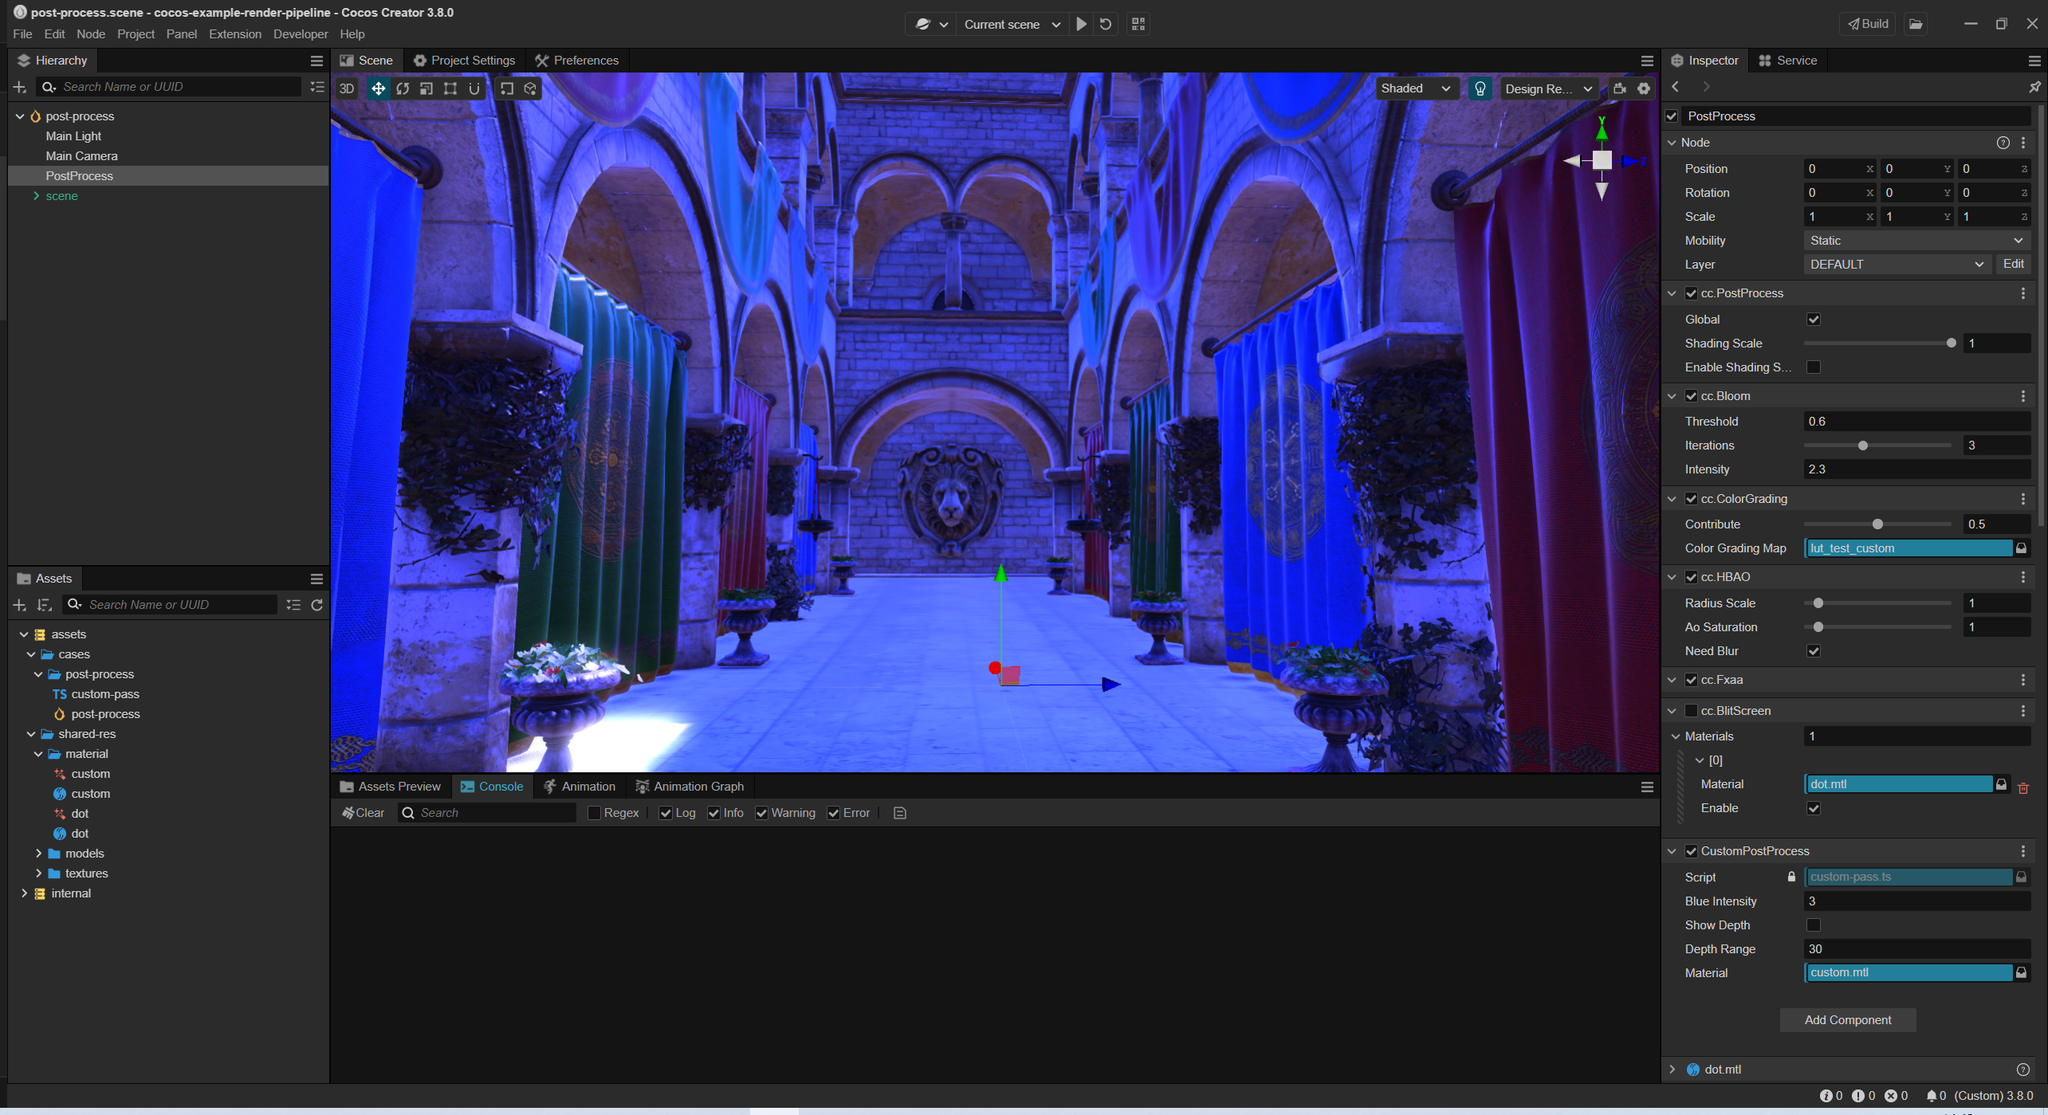
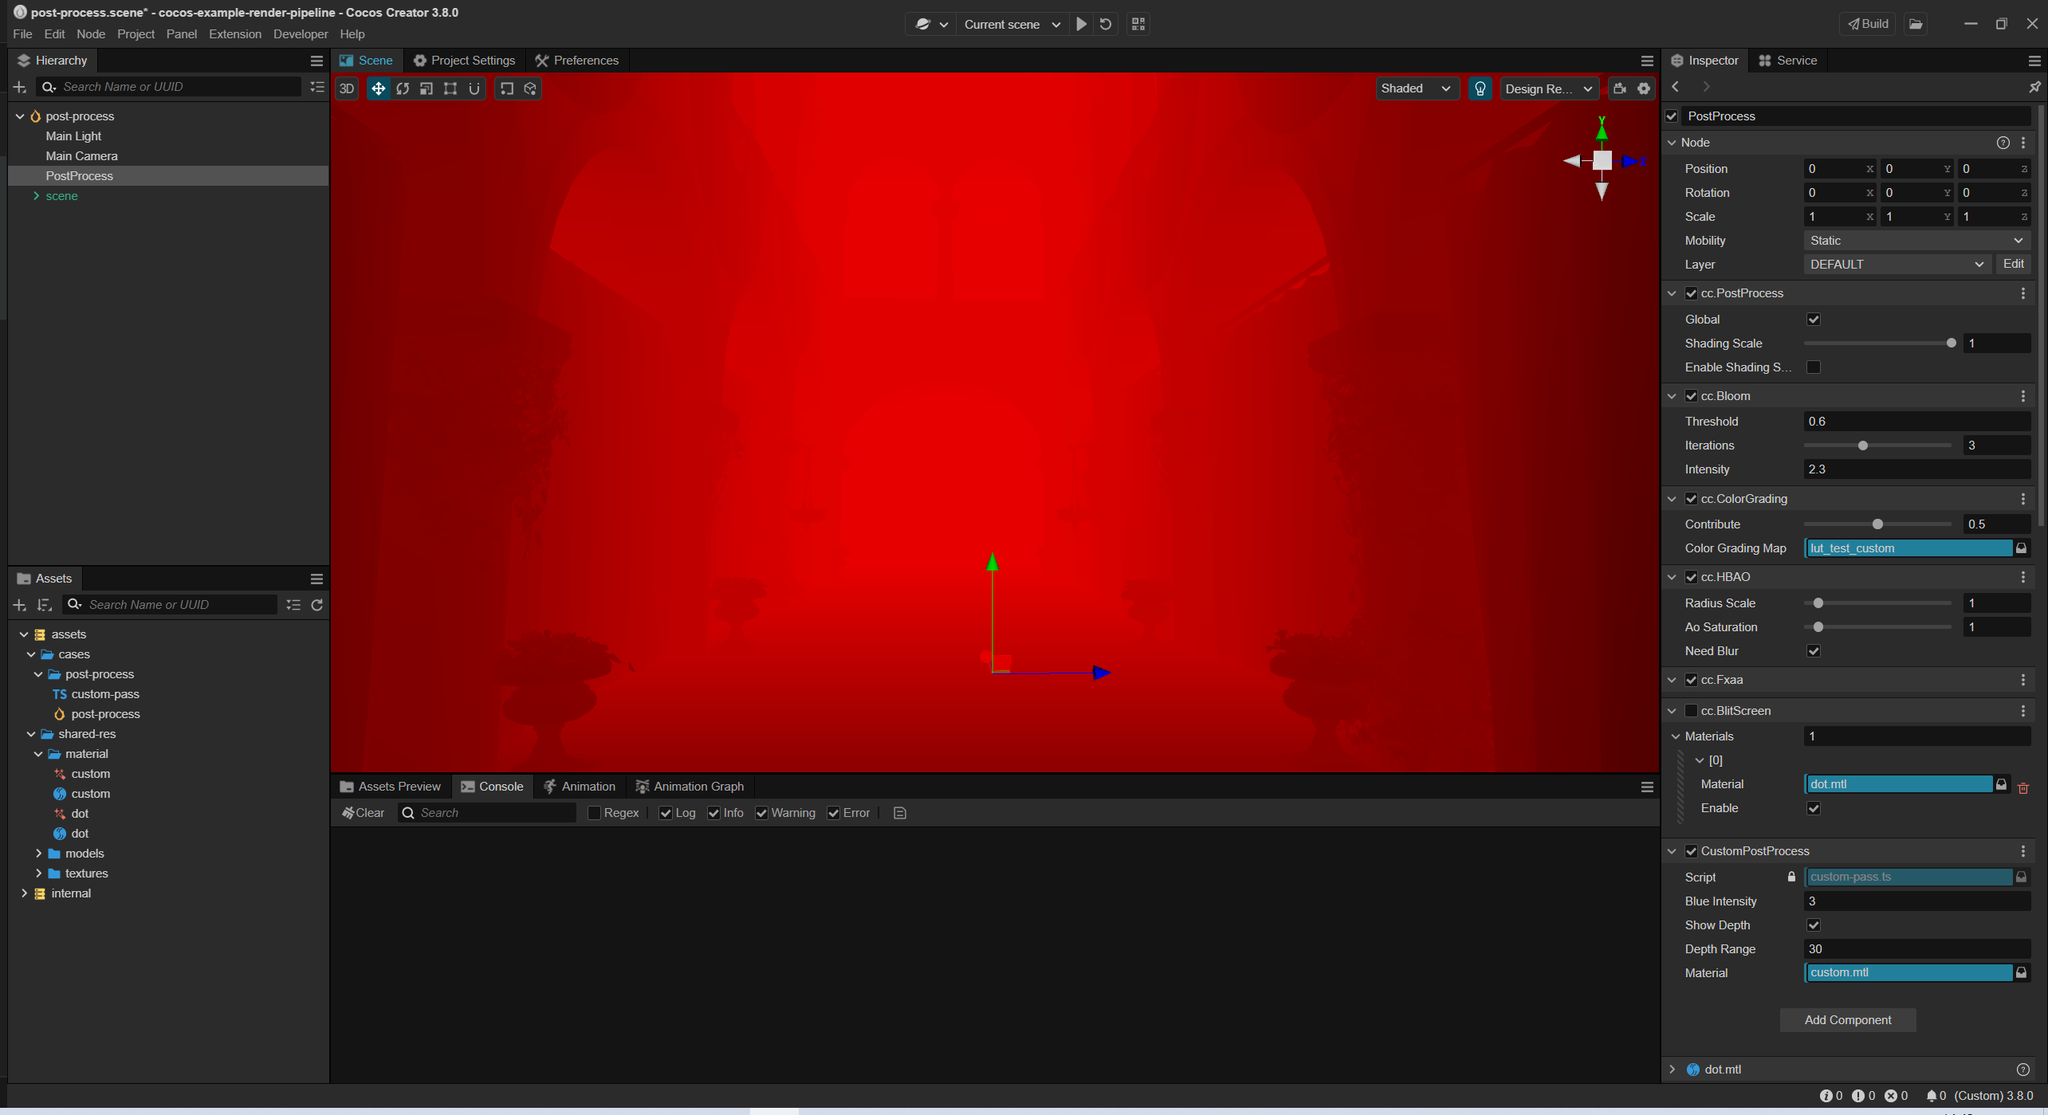
定义 PostProcessSetting 组件,传递参数到 CustomPass 中
jsimport { _decorator, Material, postProcess } from 'cc'; const { ccclass, property, menu } = _decorator; @ccclass('CustomPostProcess') @menu('PostProcess/CustomPostProcess') export class CustomPostProcess extends postProcess.PostProcessSetting { @property blueIntensity = 1 @property showDepth = false @property depthRange = 30 @property(Material) _material: Material | undefined @property(Material) get material () { return this._material; } set material (v) { this._material = v; } }定义 CustomPass
jsimport { Vec4, gfx, postProcess, renderer, rendering } from "cc"; import { CustomPostProcess } from "./CustomPostProcess"; export class CustomPass extends postProcess.SettingPass { // custom pass name name = 'CustomPass' // out out slot name outputNames: string[] = ['CustomPassColor'] // reference to post process setting get setting () { return this.getSetting(CustomPostProcess); } // Whether the pass should rendered checkEnable(camera: renderer.scene.Camera): boolean { let setting = this.setting; return setting.material && super.checkEnable(camera); } params = new Vec4 render (camera: renderer.scene.Camera, ppl: rendering.Pipeline) { const cameraID = this.getCameraUniqueID(camera); // clear background to black color let context = this.context; context.clearBlack() // input name from last pass's output slot 0 let input0 = this.lastPass.slotName(camera, 0); // output slot 0 name let output = this.slotName(camera, 0); // get depth slot name let depth = context.depthSlotName; // also can get depth slot name from forward pass. // let forwardPass = builder.getPass(ForwardPass); // depth = forwardPass.slotName(camera, 1); // set setting value to material let setting = this.setting; this.params.x = setting.blueIntensity this.params.y = setting.showDepth ? 1 : 0; this.params.z = setting.depthRange; setting.material.setProperty('params', this.params); context.material = setting.material; context // update view port .updatePassViewPort() // add a render pass .addRenderPass('post-process', `${this.name}${cameraID}`) // set inputs .setPassInput(input0, 'inputTexture') .setPassInput(depth, 'depthTexture') // set outputs .addRasterView(output, gfx.Format.RGBA8) // final render .blitScreen(0) // calculate a version .version(); } }注册 custom pass
jslet builder = rendering.getCustomPipeline('Custom') as postProcess.PostProcessBuilder; if (builder) { // insert CustomPass after a BlitScreenPass builder.insertPass(new CustomPass, BlitScreenPass); }
具体可以参考 custom-pass