Asset Manager
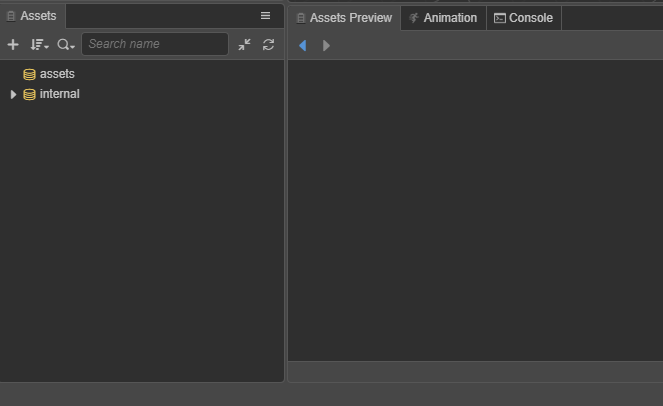
The Assets Panel is an important tool we use to access and manage project assets. When starting a game, importing assets is usually a necessary step. You can use the template project when creating a new project. The project will be opened automatically after the new step is completed. The default layout includes the Assets Panel, which contains two asset libraries, referred to as DB, assets and internal. internal belongs to the default built-in assets, which can be copied, but cannot be modified directly. internal assets are also shared by all projects.
Panel operation preview:
Asset Panel Introduction
The Assets Panel contains the head menu area and the tree list area on the panel:
- The functions of the
head menu areaare: New Resource Button, Sorting Method Button, Search Filter, Search Box, All Collapse or Expand Button , Refresh list button - The
tree list areamainly reflects the relationship between assets. The root node such asassetsandinternalare asset mounts, each mount is similar to the file manager in the operating system. The editor is called aDB.assetsis the project asset mount, which is empty by default in a new project.internalis the built-in asset mount. It is a read-only asset and cannot be added, deleted or modified, but it can be directly referenced by your project. You can also copy any internal asset to the projectassetsmount as a template, then modify it as you wish.- Panels and nodes have right-click menu events, which are important operating functions. The grayed-out menus are not available.
Panel shortcuts currently support asset operations:
- Copy: Ctrl or Cmd + C
- Paste: Ctrl or Cmd + V
- Clone: Ctrl or Cmd + D, Ctrl + drag assets
- Delete: Delete
- Up and down selection: up and down arrows
- Folder folding: left arrow
- Folder expansion: right arrow
- Multiple selection: Ctrl or Cmd + click
- Multiple selection: Shift + click
- Rename: Enter/F2
- Cancel input: Esc
New Assets
Click the New Asset button when adding a asset, or right-click menu of a folder, you can enter into creating asset.
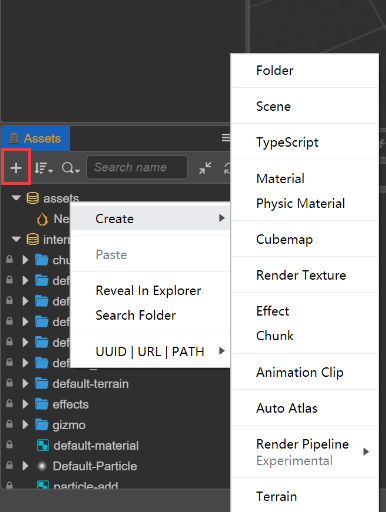
When a new asset is added to the folder, an input box will appear first. It is required to fill in the name of the new asset. The name cannot be empty.
Selecting Assets
You can use the following operations to select assets in the list:
- Single click to select assets
- The keyboard up and down arrows can switch the selected asset up and down
- Hold Ctrl or Cmd + click to select multiple assets
- Hold Shift + click to select multiple assets
Dragging Resources
Assets can also be added by dragging:
- Move the asset, drag the asset from one folder in the tree list to another folder. At this time, the location box of a target folder will follow the change.
- Drag out assets to the Scene Panel or Hierarchy Panel to generate nodes. Currently,
cc.Prefab,cc.Mesh,cc.SpriteFrameassets are supported. - Drag files from System File Manager to the list to import assets.
Drag in the node and drag the node from the Hierarchy Panel to a folder in the Assets Panel to save the node as a
cc.Prefabasset, see the Prefab documentation.
Deleting Assets
The Delete option is located in the right-click menu, or the shortcut key Delete, which supports batch deletion after multiple selections. After the asset is deleted, it is kept in the system recycle bin, and can be deleted if necessary reduction.
Selecting All In The Folder
Right-click Select All in the menu to select all sub-assets in the folder.
Searching In Folders
Right-click Search in Folder in the menu to narrow the search scope.
Displaying In The File Manager
Right-click Show in File Manager in the menu to locate the system directory where the asset is located.
Re-importing Assets
Right-click Reimport Resources in the menu to update the corresponding assets in ./library in the project, and these generated data can be recognized by the editor and engine; support multiple selections and batch reimport.
Sorting Assets
There are 2 sorting methods in the Sort Method Button in the header menu: Sort by Name, Sort by Type. The sorting method is memorized, and the saved sorting method will be kept when the editor is opened next time.
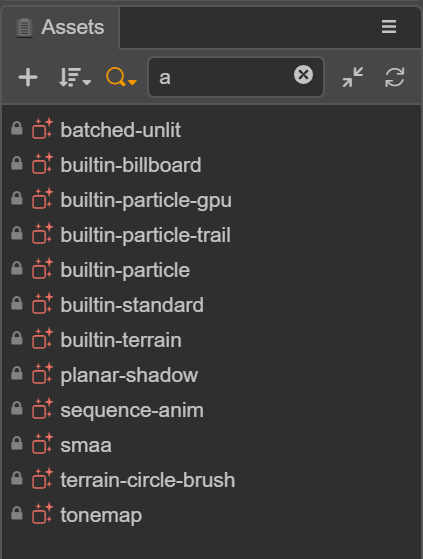
Searching Assets
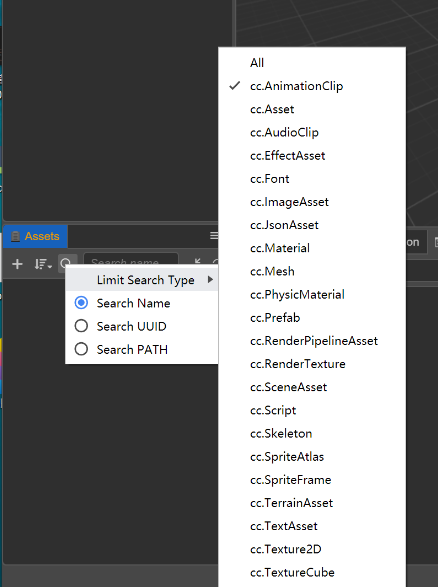
The search function is a combined function that can limit the search type and specify the search field.
- Limited search type is a major premise. This point requires special attention, which may cause the tree list to be empty. The button is highlighted to indicate that the function is enabled.
- Multiple selections are possible, select
Allin the type to return to the normal tree list. - There are 3 ways to specify the search field: Search Name, Search UUID, Search Path. Among them, UUID and PATH PATH can output data from the last item of the right-click menu.
- Search box changes instantly.
Select the asset in the search results, clear the search, the window will relocate to the asset, to achieve the purpose of finding the asset through search; in addition, double-click the folder in the search result to quickly locate the folder in the tree.
Collapsing assets
Head menu areaAll collapse or expand buttons are global.- The triangle icon of the tree node, you can press the
altkey to expand or collapse all sub-assets.
Renaming Assets
- Select an asset.
- Shortcut key
F2, shortcut keyEnter, enter name modification - Shortcut key
Escto cancel rename - In addition, the initial name of the Typescript asset will be treated as its
className, and theclassNamecannot be repeated.
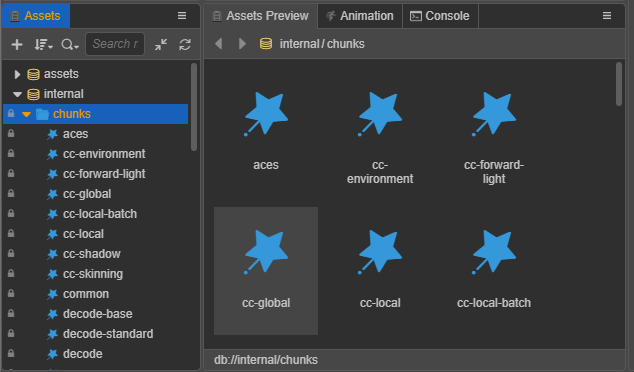
Big Picture Preview
In addition, it can be used in conjunction with the Assets Preview panel to click on a folder to display the sub-assets of the big picture arranged by type, which is more intuitive for picture assets.